Step-By-Step: Replacing a Clutch in a Vehicle With a Direct-Shift Gearbox
You’ll need impact-resistant gloves, safety goggles, and a torque wrench rated 5–250 Nm. Lift the vehicle with a hydraulic jack and secure it on 3-ton jack stands. Disconnect the negative battery terminal and remove the transmission using a transmission jack. Inspect both wet clutches for glazing or warping, and measure friction plates (2.8–3.2 mm). Replace the dual clutch pack if wear exceeds specs or pressure testing fails. Use VW-specified fluid like G 055 529 A2 and refill with 1 liter. Reassemble with OEM torque specs of 25–30 ft-lbs on bellhousing bolts. A successful replacement guarantees smooth shifts and long-term reliability under high-torque loads. Further details reveal even greater precision is required in hydraulic actuator calibration.
Notable Insights
- Lift the vehicle safely using a hydraulic jack and secure it with 3-ton jack stands on reinforced chassis points.
- Disconnect the battery, remove driveshafts, shift linkage, and wiring harnesses to access the transmission.
- Use a transmission jack to support and remove the gearbox, inspecting for metal debris or flywheel damage.
- Replace both wet clutches in the dual clutch pack if wear, glazing, or hydraulic pressure loss is detected.
- Refill with VW-specified fluid (e.g., G 055 529 A2) and bleed the hydraulic actuator using a vacuum pump.
Gather Tools and Safety Gear for DSG Clutch Replacement
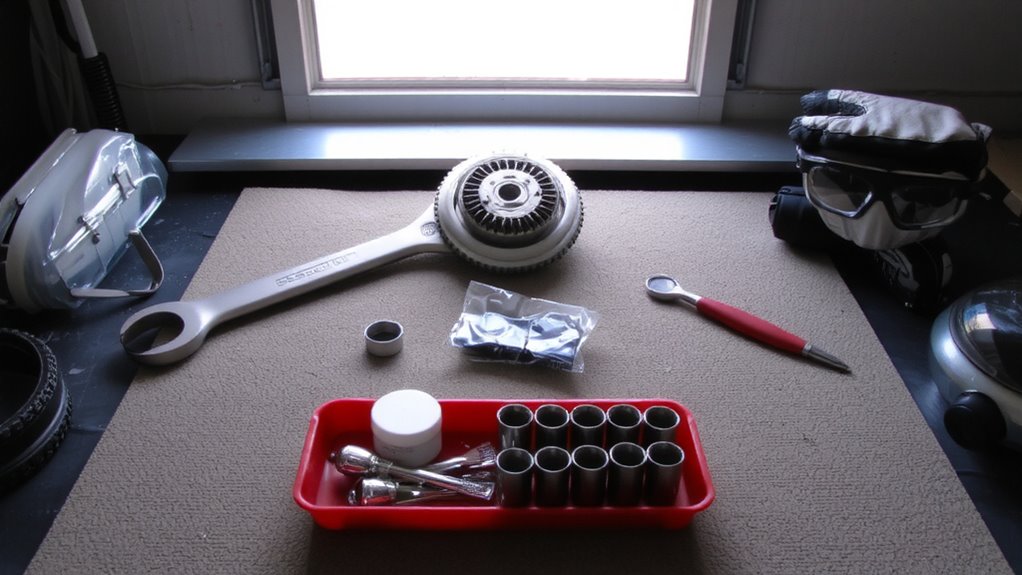
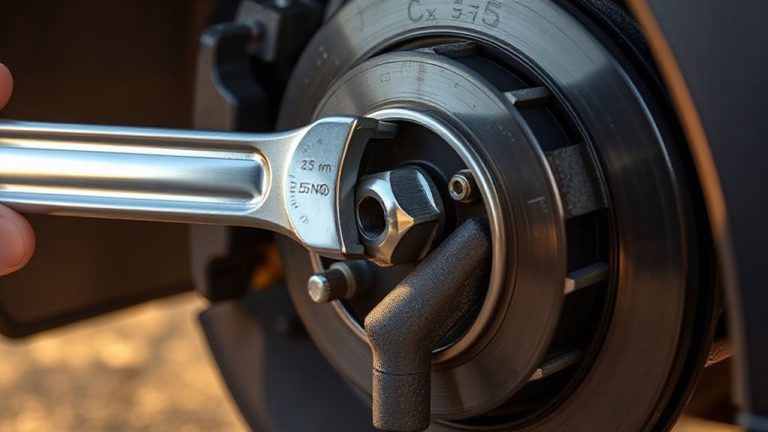
You’ll need the right tools and safety gear before starting a DSG clutch replacement-this job demands precision and protection. Wear impact-resistant gloves and safety goggles to guard against sharp edges and debris. Use a torque wrench rated for 5–250 Nm, a hex key set, and a clutch alignment tool for accurate installation. A vacuum pump is essential for bleeding the hydraulic actuator. High-temperature resistant brake cleaner removes oil or grime from the new clutch material. Always inspect the clutch assembly for warping or contamination-cheap or degraded clutch material reduces lifespan and causes slippage. You’ll also handle gearbox fluid; use only VW-specified fluid such as G 055 529 A2. One liter is typically needed to refill. Incorrect fluid damages internal solenoids and disrupts shift timing. Store used gearbox fluid in sealed containers for proper disposal. Keep your workspace clean and organized to prevent dust from entering the transmission.
Lift the Vehicle and Disconnect Critical Systems
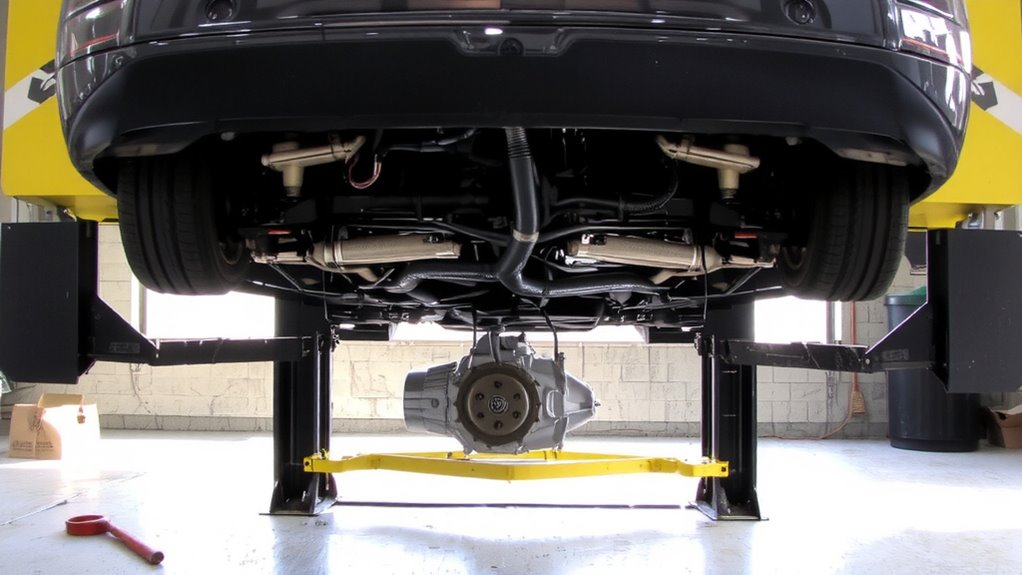
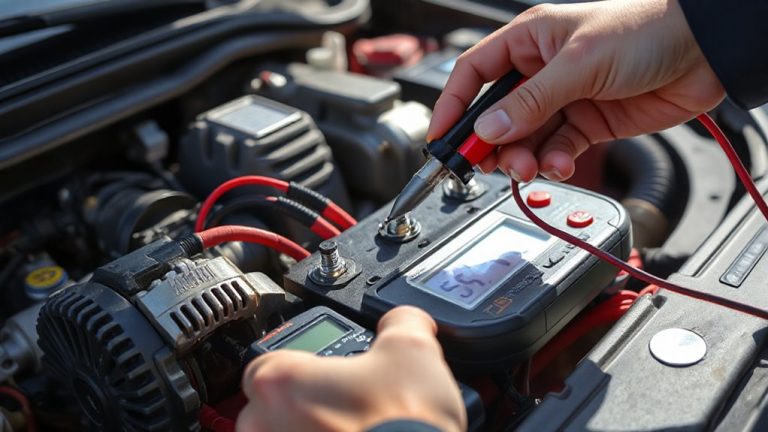
With tools and safety gear ready, the next step is securing the vehicle for access to the underbody components. Lift using a hydraulic jack rated for your car’s weight, then support it with jack stands at designated frame points to guarantee vehicle stability. Never rely solely on the jack. Confirm the transmission is in neutral and the parking brake is released to prevent binding. For electrical isolation, disconnect the negative battery terminal first-this stops accidental shorts and protects sensitive DSG control modules.
| System | Action |
|---|---|
| Lift Support | Use 3-ton jack stands on reinforced chassis points |
| Battery | Disconnect negative cable; secure away from terminal |
| Drive Wheels | Chock rear and front wheels to prevent roll |
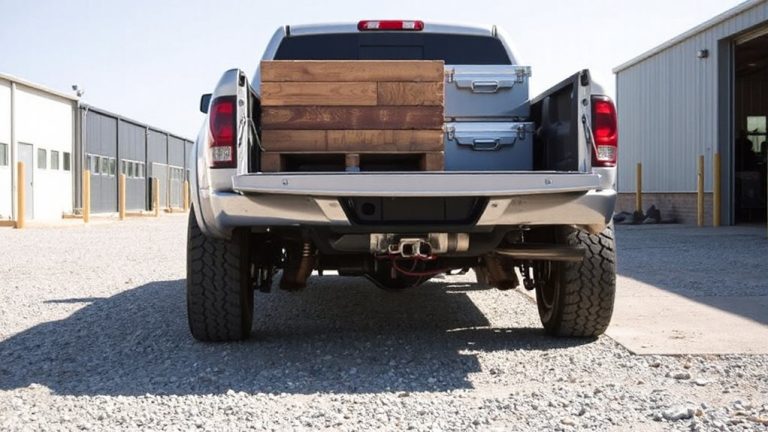
Double-check stability before sliding under the vehicle. Proper lift and disconnection prevent injury and system damage. A heavy-duty floor jack for trucks ensures reliable lifting performance when working on larger vehicles with substantial curb weights.
Remove the Transmission to Access the Clutch
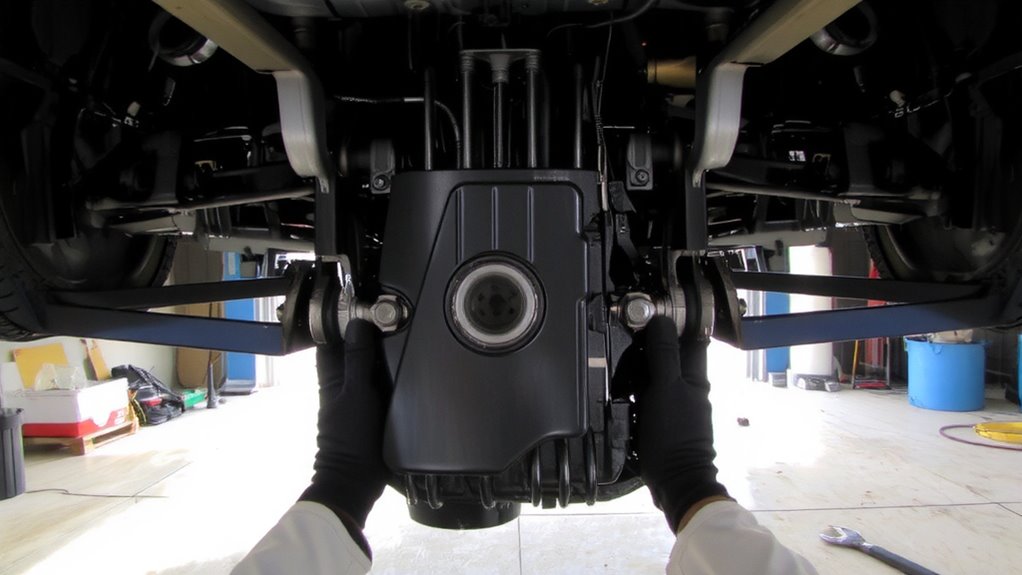
The transmission is the gateway to the clutch in a direct-shift gearbox, and removing it demands precision. You must fully support the vehicle on jack stands and disconnect the driveshafts, shift linkage, and wiring harnesses before loosening the bellhousing bolts. Use a transmission jack to stabilize the unit as you lower it. Clear access is critical-without it, you risk damaging sensitive components. Once the transmission is out, inspect the area for signs of clutch wear and flywheel damage. Metal shavings or glazed friction surfaces indicate excessive wear, while warping or scoring on the flywheel suggests thermal stress or mechanical failure. These conditions compromise engagement and must be addressed before reassembly. Always follow OEM torque specs when removing bolts-typically 25–30 ft-lbs for most DSG applications. Handle the transmission carefully; its compact, weighted design makes it top-heavy and awkward.
Inspect and Replace the Dual Clutch Pack
Precision matters when handling the dual clutch pack, as this assembly controls gear engagement in your DSG transmission. You must inspect both wet clutches carefully for signs of burning, warping, or uneven friction surface degradation. Look for distinct clutch wear patterns-glazing or scoring indicates prolonged slip or contamination. Measure each friction plate’s thickness against OEM specs, typically 2.8–3.2 mm; replace if below minimum. Examine the opposing steel plates for flatness-warp greater than 0.1 mm requires replacement. Conduct hydraulic pressure testing on the piston assemblies to confirm proper apply and release function. Pressure should hold at 8–10 bar for 30 seconds without drop. Any leakage suggests internal seal failure. Replace the entire dual clutch pack if testing fails or wear exceeds limits. Use manufacturer-specified torque when installing fasteners.
Reassemble, Reset, and Test Drive the DSG
Now that you’ve verified the dual clutch pack is in proper working order or replaced it as needed, reassembly begins with meticulous attention to cleanliness and alignment. Carefully reinstall the transmission, guaranteeing the input shaft engages smoothly with the clutch assembly. Tor conflates all mounting bolts to factory specifications-typically 25–30 Nm in a crisscross pattern. Reconnect electrical connectors and fluid lines securely. Refill the DSG transmission with OEM-specified fluid, usually 5.2 to 5.8 liters of VW G 052 180 A2. After mechanical reassembly, perform clutch calibration using a factory-level scan tool. This step enables transmission synchronization, allowing the control module to map clutch travel and pressure points. Without proper calibration, shifts may be harsh or delayed. Conduct a road test under varied conditions-low-speed crawling, hard acceleration, and coast-downs-to verify smooth gear changes. Monitor for error codes and guarantee no abnormal noises or vibrations occur.
On a final note
You’ve completed the DSG clutch replacement with precision. The dual-clutch pack is rated for 150,000 miles under normal conditions. Make sure the torque converter bolts are tightened to 44 lb-ft in a star pattern. Refill with 7.5 liters of VW G 052 182 A2 fluid. Perform a clutch adaptation reset using manufacturer-specified software. Test drive confirms smooth shifts between gears one through six.