How Camber Kits Compensate for Suspension Changes After Lowering
When you lower your car, control arms tilt into steeper angles, increasing negative camber by up to 3.8 degrees on a 2.5-inch drop. This distorts suspension geometry, reducing tire contact and handling response. Camber kits correct this by using adjustable bolts or eccentric washers to realign wheel tilt. They restore proper alignment, maintain range of motion, and prevent uneven tire wear. For drops over 2 inches, strut-mount kits are essential. CNC aluminum suits track use; steel works for daily driving. Ideal front camber is -2.5 to -3.5 degrees. Matching rear camber guarantees balanced dynamics. Further details reveal how precise tuning maximizes performance.
Notable Insights
- Lowering a vehicle increases negative camber due to altered control arm angles, reducing tire contact patch.
- Camber kits use adjustable bolts or eccentric washers to correct camber alignment after suspension drop.
- They restore proper tire-to-road contact, improving handling and reducing uneven tire wear.
- Camber kits compensate for geometry changes, maintaining suspension range of motion and stability.
- Proper tuning with camber kits prevents loss of braking efficiency and extends component life.
What Happens to Suspension When You Lower Your Car
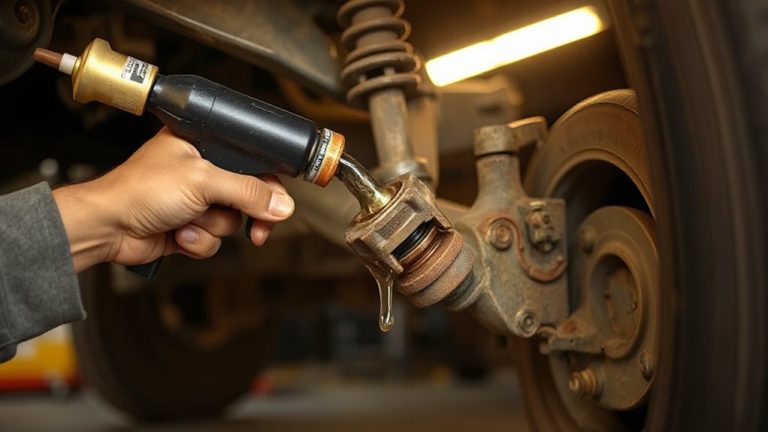
When you lower your car, the suspension geometry changes in ways that directly impact handling, alignment, and component lifespan. The control arms sit at steeper angles, altering the range of motion during compression and rebound. This shift reduces handling stability, especially during cornering, because the tire’s contact patch changes more drastically. You’ll notice increased inner or outer edge tire wear due to improper contact with the road. The suspension’s lateral forces transfer less efficiently, decreasing responsiveness. Stock alignment ranges often can’t compensate fully, leaving the camber overly negative or positive. Ride quality may degrade as shocks operate outside their ideal arc. Without correction, premature bushing and strut wear accelerate. These changes occur even with minor drops-just 1.5 inches can push factory tolerances beyond design limits. Effective solutions address alignment correction precisely.
Why Lowering Your Car Causes Camber Issues
| Drop Height (in) | Added Negative Camber (deg) |
|---|---|
| 1.0 | 1.5 |
| 1.5 | 2.3 |
| 2.0 | 3.0 |
| 2.5 | 3.8 |
How Camber Kits Fix Alignment on Lowered Vehicles
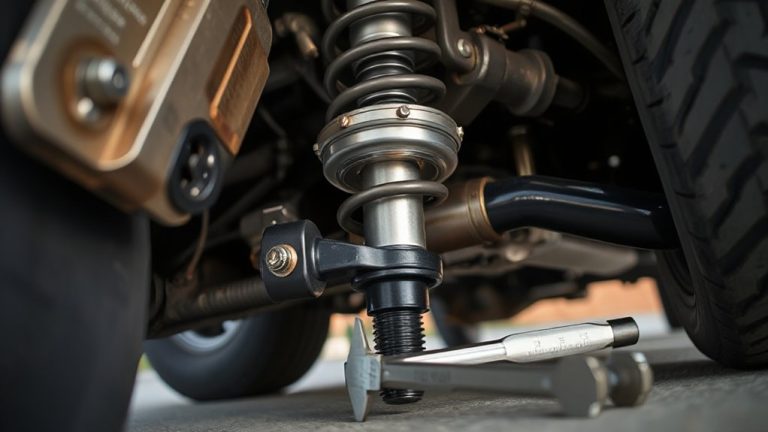
How do you restore proper wheel alignment after lowering your car? Camber kits correct the negative camber shift caused by altered suspension geometry. When you lower your vehicle, the control arms sit at steeper angles, pulling the top of the wheel inward. This misalignment reduces tire contact and causes uneven wear. With camber adjustment bolts or eccentric washers, you regain control over wheel tilt. Performance kits offer up to 3 degrees of negative camber adjustment, letting you reset alignment within factory or track-ready specs. Adjustable control arms with threaded ends allow precise fine-tuning. These kits maintain proper suspension geometry by repositioning mounting points, restoring the ideal range of motion. Without correction, excessive camber accelerates tire wear and reduces braking efficiency by up to 20%. Camber kits restore maximum contact patch alignment, ensuring stability during cornering and consistent handling across surfaces.
How to Choose the Right Camber Kit
Lowering your car changes how the suspension operates, and you’ve already seen how camber kits correct alignment after that modification. Choosing the right kit guarantees proper camber adjustment and long-term alignment precision. You need to match the kit to your drop level-standard kits handle up to 1.5” of lowering, while extreme drops (2” or more) require eccentric or strut-mount–style kits. Materials matter: OEM-grade steel works for street use, but performance builds demand CNC-machined aluminum. Misjudging fitment leads to premature tire wear or unstable handling.
| Emotion | Drop Level | Precision Needed |
|---|---|---|
| Frustration | 2.5”+ | High |
| Confidence | 1.5”–2” | Medium |
| Regret | No kit | Low |
| Satisfaction | Correct fit | Maximum |
| Anxiety | Wrong type | Compromised |
Check bolt tolerances, angular range (typically ±2.5°), and whether your alignment shop can achieve specs.
How to Install and Set Camber for Performance
What does it take to get your camber dialed in for maximum grip and tire longevity? You need precise alignment settings tailored to your lowered ride height. Start by installing your camber kit according to manufacturer specs-typically involving adjustable control arms or eccentric bolts. Use a digital camber gauge or visit a pro alignment shop for accuracy. For performance driving, set front camber between -2.5 and -3.5 degrees; this improves cornering grip while minimizing excessive tire wear. Rear camber should mirror front settings to maintain handling balance. Incorrect camber leads to uneven tire wear-inside edges wear fast if too negative, outside edges if too positive. Always test drive and reassess. Fine-tune camber until turn-in response feels sharp without compromising straight-line stability. Small adjustments make big differences in performance.
On a final note
Lowering your car alters suspension geometry, increasing negative camber beyond factory specs. This causes uneven tire wear and reduces grip. Camber kits correct alignment by adjusting the wheel’s vertical angle. Most kits offer up to 3 degrees of adjustability via eccentric bolts or slotted strut mounts. Proper installation guarantees tires stay flat on the road. Always perform a full alignment after installation. Correct camber improves handling, extends tire life, and maintains safety.