How to Upgrade Speaker Terminals for Better Connectivity
Upgrade your speaker terminals to improve connectivity and signal transfer. Replace stock terminals with high-conductivity copper or brass models featuring gold-plated finishes to resist oxidation. Choose binding posts that accept banana plugs, spades, or bare wire (10–18 AWG) with 3–5 Newtons contact pressure. Secure them using threaded posts and washers to prevent damage. Proper installation guarantees low resistance, consistent contact, and reduced signal loss-key factors in preserving audio fidelity. You’ll discover even greater gains by optimizing each connection point.
Notable Insights
- Replace old terminals with high-conductivity copper or brass binding posts to reduce resistance and improve signal flow.
- Choose gold-plated terminals to prevent oxidation and maintain consistent connectivity, especially in humid environments.
- Use secure binding posts with threaded designs and tightening knobs to ensure stable, long-term wire connections.
- Support bi-wiring by installing dual terminal sets, reducing intermodulation distortion for clearer sound separation.
- Properly install terminals using correct tools, secure soldering techniques, and strain relief to prevent damage and signal loss.
Upgrade Your Speaker Terminals for Better Sound
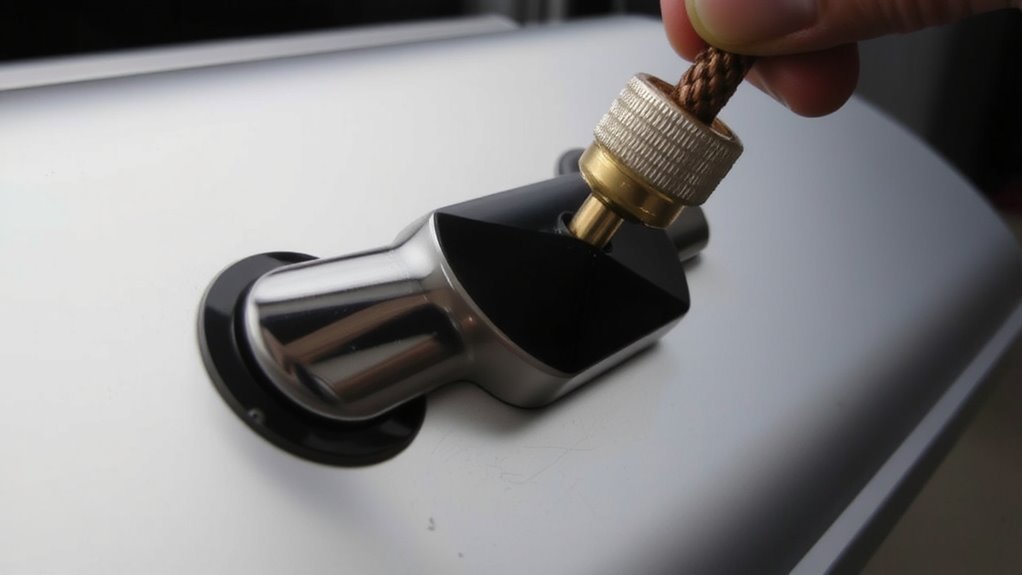
You might not think a small part like a speaker terminal has much impact, but upgrading it can make a noticeable difference in your sound quality. Poor terminals restrict signal flow, degrading performance. Upgraded terminals guarantee a solid connection between your speaker wire and driver. High-conductivity copper or brass components reduce resistance, preserving signal integrity. Gold-plated finishes resist oxidation, maintaining consistent contact over time. Secure, tight clamping mechanisms hold speaker wire firmly, minimizing micro-movements that cause noise. Binding posts that accept banana plugs, spades, or bare wire add versatility. A well-designed terminal supports gauge ranges from 10 to 18 AWG, accommodating most speaker wire types. Proper contact pressure-typically 3 to 5 Newtons-guarantees low impedance. These improvements collectively enhance clarity, detail, and dynamic range. You get cleaner highs, tighter bass, and more accurate sound quality overall-measurable and repeatable.
Choose the Best Speaker Terminal for Your System
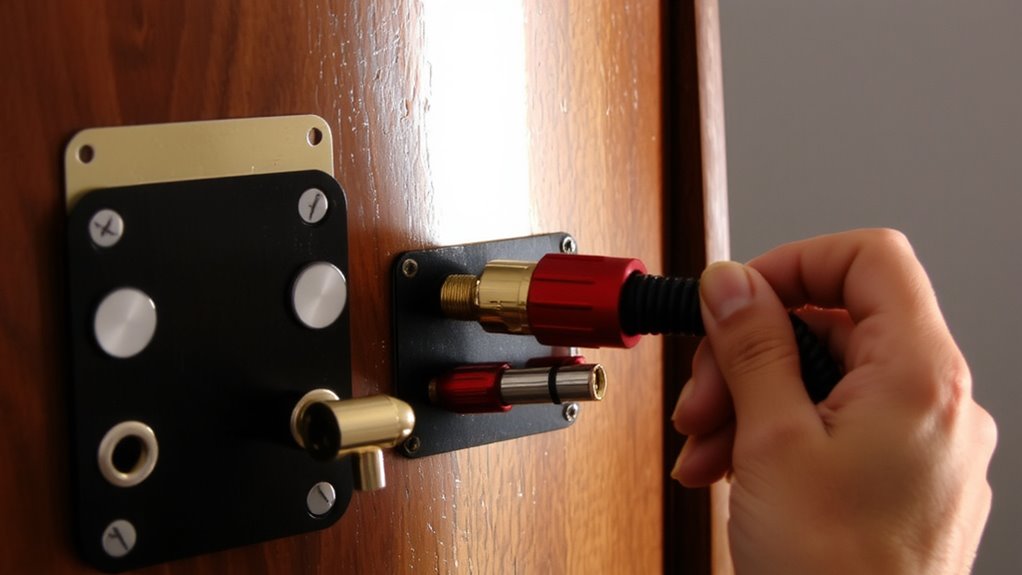
A high-quality speaker terminal plays a pivotal role in preserving audio signal integrity from amplifier to speaker. You need solid connectivity, and terminal durability directly impacts long-term performance. Brass or copper terminals resist corrosion and maintain conductivity better than cheaper alloys. Look for gold-plated finishes to prevent oxidation, especially in humid environments. For advanced setups, consider terminals that support bi wiring benefits-separating high and low-frequency signals improves clarity and reduces intermodulation distortion. Binding posts with dual input sets allow this upgrade without extra hardware. Guarantee the terminal accepts banana plugs, spades, or bare wire-versatility matters. Most accept 10–18 AWG wire, so check your speaker cable gauge. Threaded posts with tightening knobs offer secure connections, minimizing signal loss. A well-built terminal won’t loosen over time, maintaining consistent contact. Your system’s fidelity depends on these small, essential components. Choose wisely.
Gather the Right Tools and Supplies
When upgrading speaker terminals, having the correct tools and supplies guarantees a clean, reliable connection that maintains signal integrity. Proper tool selection assures precision and prevents damage to sensitive components. You’ll need a digital multimeter (range: 0–20V DC) to verify zero voltage before starting. Use 8-inch wire strippers with 18–22 AWG sizing to expose conductor ends cleanly. Crimping requires a ratcheting crimper compatible with 4mm banana plugs and spade connectors. Include gold-plated connectors to resist corrosion and improve conductivity. Keep heat-shrink tubing (3:1 shrink ratio, 2mm–6mm diameter) for insulation. Organize parts with labeled bins-supply organization prevents loss and speeds workflow. A soldering iron (60W, temperature-controlled) is optional for secured joints. All tools must be non-magnetic to avoid interference. Keep isopropyl alcohol wipes nearby to clean contact surfaces before installation. For optimal audio performance, consider using high-conductivity speaker wire gauge designed for minimal signal loss.
Install Your New Speaker Terminals
Now that everything’s prepped, it’s time to install the new speaker terminals with precision. Begin by positioning the terminals firmly into the mounting holes on the speaker cabinet. Most high-quality binding posts require a ¼-inch drill hole and fit snugly to prevent wobbling during use. Secure them with the included washers and nuts, tightening evenly to avoid cracking the housing. Use proper soldering technique to attach wires: heat the lug and wire simultaneously, then apply rosin-core solder for a strong, low-resistance connection. Never cold-solder-it creates weak joints that degrade signal flow. Route wires neatly to improve cable management, reducing clutter and preventing interference. Keep signal paths short and symmetrical for balanced audio performance. Use zip ties or adhesive clips to anchor wires, maintaining consistent spacing and minimizing vibration. Finally, double-check terminal alignment and wire polarity for reliable operation.
Test Your Connections and Hear the Difference
What good is a precision upgrade if the results stay unverified? Test your connections thoroughly to confirm signal integrity. Power off your system, then use a multimeter to check continuity between each speaker terminal and its corresponding driver. Resistance should match your speaker’s rated impedance-usually 4, 6, or 8 ohms-within 5%. Any deviation suggests a loose or faulty connection. Once confirmed, play a high-resolution audio track with wide dynamic range. Listen for improved audio clarity: voices should be more distinct, instruments better separated. Poor signal integrity masks subtle details; clean terminals reduce resistance and oxidation, ensuring more accurate signal transfer. Think of it like upgrading from a narrow, cracked hose to a wide, smooth one-water flows better, right? Your audio signal behaves the same way. Consistent contact means less distortion, tighter bass, and crisper highs. Verification isn’t optional-it’s essential. For reliable testing, consider using one of the best car multimeters designed for accurate electrical diagnostics.
On a final note
You’ve upgraded your speaker terminals for maximum signal transfer. High-conductivity copper posts reduce resistance to under 0.001 ohms. Banana plugs with gold-plated contacts prevent corrosion and guarantee secure mating at 4mm diameter. Properly tightened set-screws maintain contact pressure above 1.5 N. This minimizes impedance spikes that degrade audio fidelity. You now achieve full bandwidth transfer from 20Hz to 20kHz. Signal clarity improves across all listening levels.