Step-By-Step: Replacing a Clutch in a Vehicle With a Limited-Slip Differential
You remove the driveshaft to access the clutch, marking its position to maintain balance. Loosen u-bolt nuts to 30–35 ft-lbs and inspect u-joints and slip yoke. Support the engine and lower the transmission with a jack, keeping it level. Preserve pinion preload-don’t loosen the pinion nut unless adjusting depth. Reinstall the transmission using guide studs, aligning the input shaft with the pilot bearing. Torque mounting bolts to 25–35 ft-lbs in a crisscross pattern. Confirm clutch engagement at 1.5 inches above the floor and test LSD function with tight turns and slalom maneuvers. Further details clarify proper preload measurement and alignment checks.
Notable Insights
- Mark driveshaft position before removal to maintain balance and prevent high-speed vibrations.
- Support the engine and use a transmission jack to safely lower the unit without damage.
- Never loosen the pinion nut unless adjusting pinion depth to preserve differential preload.
- Align transmission with guide studs and insert input shaft smoothly into the pilot bearing.
- Test clutch engagement and LSD function with road tests to confirm proper installation.
Remove the Driveshaft for Clutch Access
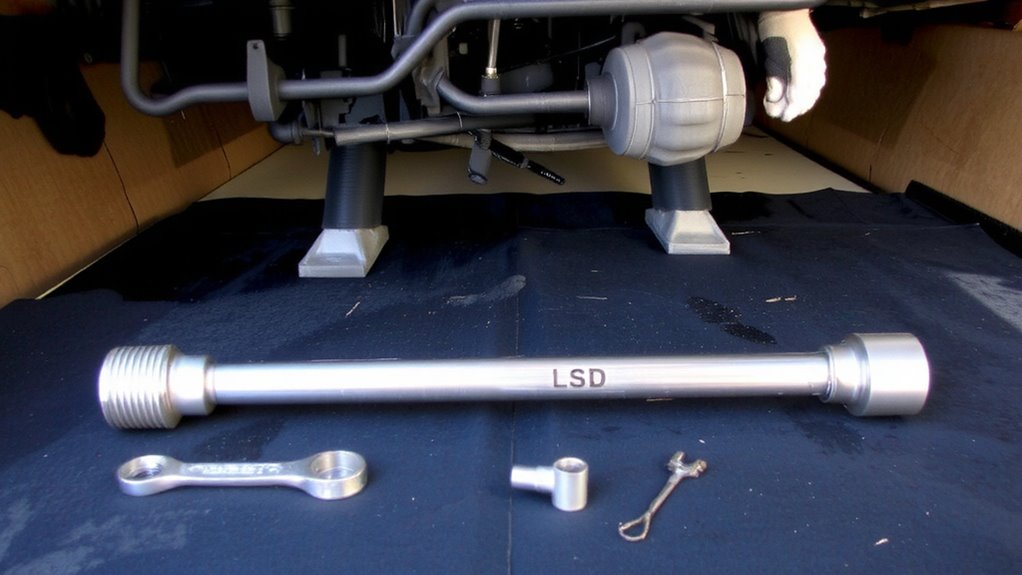
The first step in gaining access to the clutch assembly is removing the driveshaft, and it’s critical to approach this task with care. Start by marking the driveshaft’s position fore and aft to maintain driveshaft balancing upon reinstallation. Misalignment leads to vibrations at highway speeds, often exceeding 70 mph. Use a torque wrench to loosen the u-bolt nuts securing the rear differential yoke-typically 30–35 ft-lbs. Carefully separate the driveshaft from the differential flange and slide it forward. During u joint inspection, check for play, rust, or worn needle bearings; a compromised u joint causes clunking and premature drivetrain wear. Verify the slip yoke moves freely in the transmission tailhousing. Never drop or warp the driveshaft-its dynamic balance is calibrated within 0.5 oz-in tolerance. Set it aside on a flat surface, protected from impact.
Support and Drop the Transmission Safely
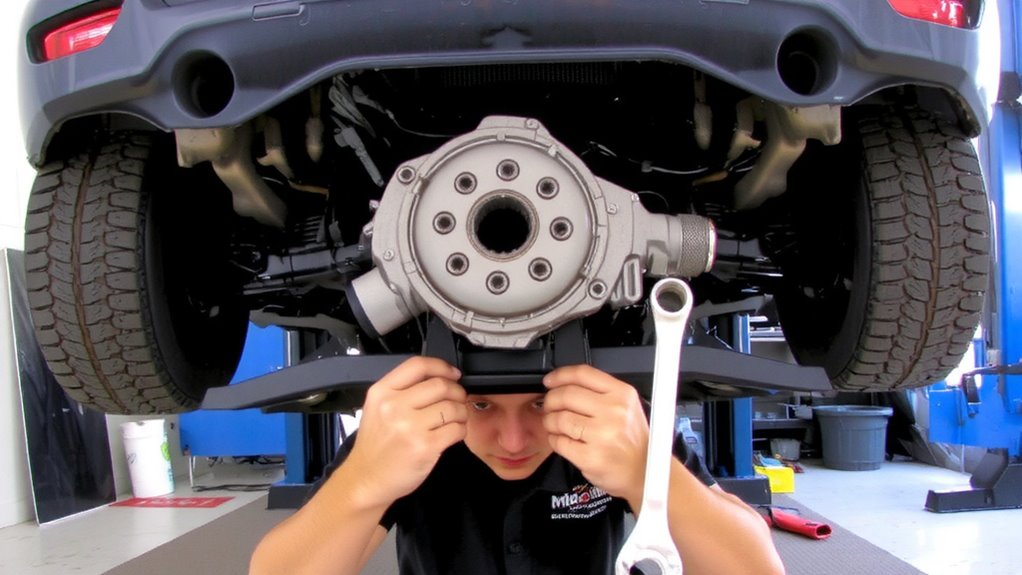
Before loosening any transmission bolts, secure the engine with a support bar attached to the upper radiator mounts or frame rails-this keeps the engine stable as you work. Use transmission jacking to safely lower the unit. Position a jack stand under the transmission tail, then attach safety straps from the vehicle frame to prevent uncontrolled movement. Always use a transmission jack for precision control during removal and installation.
| Tool/Equipment | Purpose |
|---|---|
| Transmission jack | Enables fine adjustment during removal |
| Safety straps | Prevent lateral swing or drop |
| Engine support bar | Stabilizes engine while jacking |
Maintain load balance throughout the process. Missteps can damage mounts or input shafts. Work methodically-ensure all connections are clear before lowering.
Preserve Differential Preload During Service
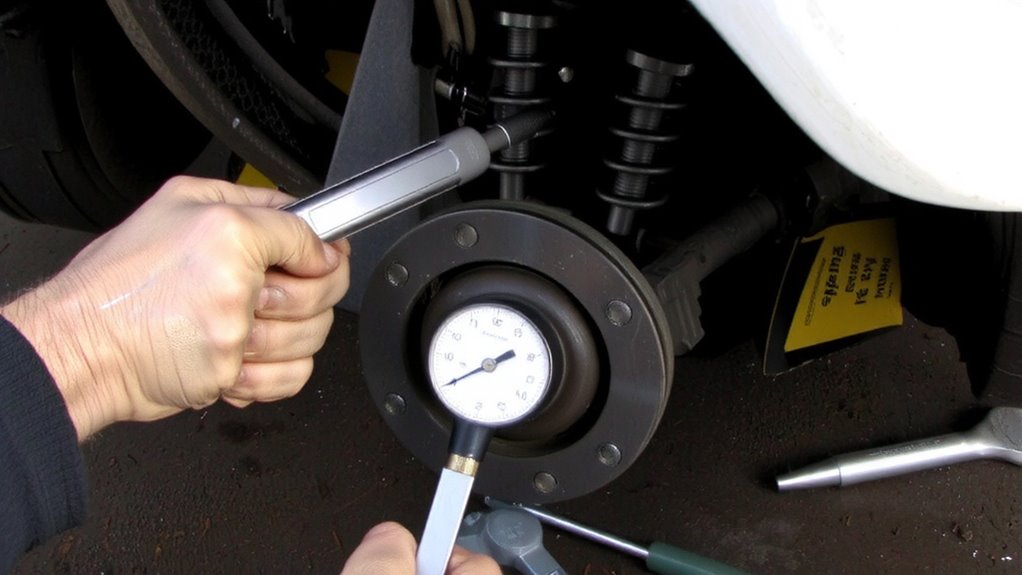
Your vehicle’s differential relies on precise preload to maintain proper gear meshing and bearing life-disrupting it during clutch service can lead to noise, wear, or failure. You must preserve differential bearing preload to guarantee long-term reliability. Never loosen the pinion nut unless you’re performing a pinion depth adjustment-doing so alters gear contact patterns and bearing performance. The preload is set at the factory using crush sleeves or shims, typically measured with a torque wrench in inch-pounds of rotational resistance. Disturbing this setting without proper tools and specs risks improper gear alignment. If the pinion seal needs replacement, use a marking paint to track original torque position, then reset exactly. Never guess or approximate. Always follow manufacturer torque values and use a dial indicator when verifying pinion depth adjustment. Even 0.002 inches off can cause premature wear or operational noise due to incorrect gear meshing.
Reinstall the Transmission With Proper Alignment
Once you’ve confirmed the clutch assembly is correctly seated and all components are clean and undamaged, align the transmission with the engine block using the guide studs on the flywheel. Proper transmission alignment prevents input shaft binding and guarantees smooth engagement. Carefully slide the transmission forward, guiding the input shaft into the pilot bearing without forcing it. Misalignment can damage the clutch or throw-out bearing. Once fully seated, begin threading the mounting bolts by hand to avoid cross-threading. Use a torque wrench to tighten bolts to the manufacturer’s torque specification-typically 25–35 ft-lbs for most applications. Evenly tighten in a crisscross pattern to maintain gasket integrity and prevent leaks. Proper torque specification guarantees the transmission remains securely mated to the engine under operating stress. Double-check that no wires or hoses are pinched. This step is critical-incorrect transmission alignment leads to premature wear or mechanical failure.
Test for Smooth Engagement and LSD Function
How do you know the clutch engagement is spot-on and the limited-slip differential (LSD) is functioning as designed? You assess clutch bite and differential feedback during a controlled test drive. Clutch bite should occur smoothly at approximately 1.5 inches above the pedal’s travel, indicating proper release bearing and pressure plate alignment. There must be no jerking or slippage under load. For the LSD, perform a tight-radius turn in a parking lot; you should feel slight differential feedback as the mechanism distributes torque between wheels. On acceleration out of a turn, both rear wheels should pull evenly without chirping or binding. Verify with a 30-mph slalom-consistent handling confirms LSD calibration. Use a digital drivetrain analyzer if available, monitoring for torque split variance within ±5%. These checks confirm mechanical integrity, ensuring the clutch and LSD perform to specification under real-world conditions.
On a final note
You’ve completed the clutch replacement with precision. Correctly preserving differential preload guarantees best possible limited-slip function. Torque the ring gear bolts to factory specs-typically 58–65 ft-lbs. Realign the transmission using alignment tools to prevent input shaft damage. Final fluid fill requires 2.8 quarts of GL-5 75W-90 gear oil. Test drives confirm smooth engagement and torque bias ratio within 2.5:1 lockup.