How to Upgrade Speaker Baffles for Better Acoustic Sealing
You should upgrade your speaker baffle seals to prevent air leaks that degrade sound. Use 6mm closed-cell neoprene gasket material with 20% compression for airtight sealing. Remove old material with a heat gun at 65°C, then clean the channel with 90% isopropyl alcohol. Apply high-bond, low-outgassing acrylic adhesive and mount the baffle evenly. Tighten screws in a star pattern to 0.55 Nm torque to avoid warping. A proper seal can reduce low-frequency loss by up to 6 dB. Further refinements improve long-term performance and sonic accuracy.
Notable Insights
- Remove old baffle sealing material carefully using heat and plastic tools to avoid damage.
- Clean the baffle surface thoroughly with isopropyl alcohol to ensure strong adhesion.
- Select closed-cell foam or neoprene gasket material 3–6mm thick for optimal sealing.
- Apply high-bond, low-outgassing adhesive to secure the gasket uniformly around the driver mount.
- Reinstall drivers with even screw tension in a star pattern to maintain airtight contact.
Why Speaker Baffle Sealing Boosts Sound Quality
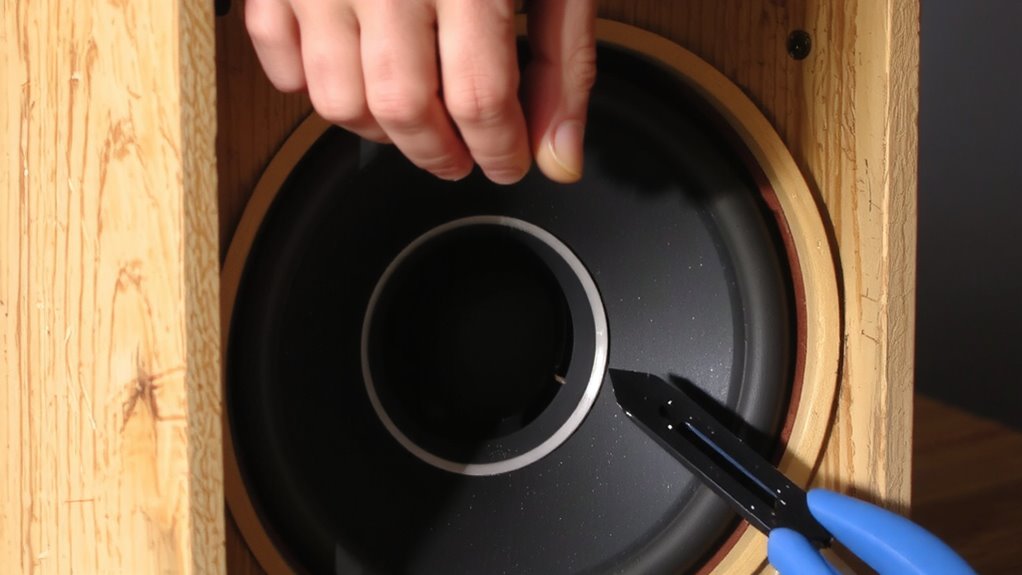
While sound waves travel in all directions from a speaker’s driver, the front waves are the only ones meant to reach your ears directly-any rear waves that leak into the front baffle cavity cause interference. This leakage disrupts phase coherence, muddying transients and reducing imaging accuracy. Sealing the baffle prevents unwanted sound paths, ensuring front and rear waves stay isolated. Without proper sealing, cabinet resonance increases, especially near panel resonant frequencies-typically between 200–500 Hz in untreated MDF enclosures. Resonant energy bleeds into the baffle, smearing midrange detail and boosting distortion. A tightly sealed baffle reduces panel vibration by up to 6 dB, improving clarity. You maintain waveform integrity by minimizing time-domain errors. Think of it like sealing a flashlight reflector: light scatters without it, just as sound degrades with unchecked resonance. Effective sealing preserves output consistency, delivering tighter bass, cleaner mids, and precise stereo imaging-all critical for high-fidelity performance.
Gather the Right Tools and Materials
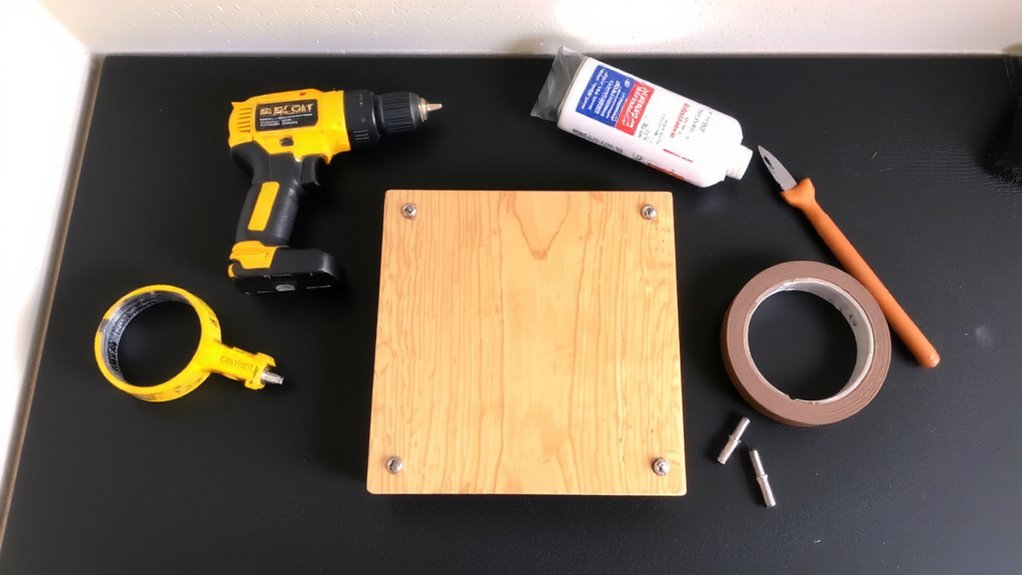
You’ll need a few essential tools and materials to achieve airtight baffle seals that maintain acoustic integrity. Proper tool selection is critical-use a precision utility knife, heat gun, flat pry bar, and clean microfiber cloths. A digital caliper helps measure sealant thickness accurately. Choose high-density closed-cell foam or neoprene gasket material, typically 3–6mm thick, with compression ratings of 15–25% for best recovery. For adhesives, pick a high-bond, low-outgassing polyurethane or acrylic-based glue. Material preparation includes cleaning baffles with isopropyl alcohol (90% or higher) and guaranteeing surfaces are dry and oil-free. Cut sealing materials with sharp, straight-edge guides to avoid gaps. Always verify compatibility with your speaker cabinet’s finish and driver frame composition. Pre-fit all components before final installation. Proper prep guarantees long-term seal performance and prevents air leakage that degrades bass response and imaging accuracy.
Remove Old Baffle Sealing Safely
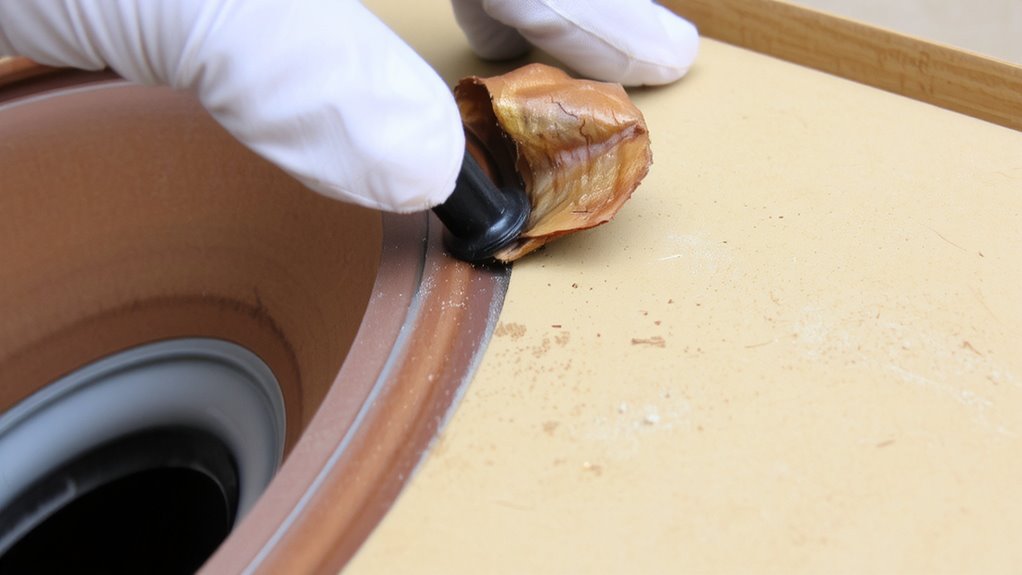
Start by carefully removing the speaker drivers from the baffle to access the old seal. Use a plastic pry tool to loosen the adhesive without risking surface scratches. Peel the old sealing material slowly to minimize adhesive residue. If the seal is stubborn, apply gentle heat with a hairdryer at 60–70°C to soften the glue. Avoid metal tools-they increase the chance of surface scratches and damage to the baffle edge. Clean remaining adhesive residue with isopropyl alcohol and a lint-free cloth. Inspect the groove where the seal sits; any debris or leftover glue affects the new seal’s contact.
| Risk | Prevention |
|---|---|
| Surface scratches | Use plastic tools |
| Adhesive residue | Apply heat before removal |
| Uneven seating | Clean the channel thoroughly |
| Driver misalignment | Reinstall drivers after cleaning |
Choose the Best Baffle Sealing Material
A high-quality baffle seal guarantees airtight coupling between the speaker driver and the cabinet, maintaining acoustic integrity. You need to choose sealing materials that prevent air leakage without compressing unevenly. Foam padding is a popular choice due to its uniform density and resilience; use closed-cell foam between 6mm and 10mm thick for ideal compression and long-term stability. It conforms well to surface irregularities while maintaining structural support. For rigid mounting surfaces, edge caulking provides superior sealing performance. Apply silicone-based caulk in a continuous 2mm bead along the driver’s outer rim to eliminate micro-gaps. Avoid rubbery or porous foams-they degrade over time and lose sealing efficiency. Both foam padding and edge caulking must bond securely to non-porous surfaces like MDF or sealed wood. Select materials with low outgassing properties to prevent driver corrosion.
Install the Baffle With a Tight Acoustic Seal
Every successful installation hinges on precision and attention to detail when mounting the baffle with a tight acoustic seal. You must align the baffle perfectly with the cabinet opening to prevent air leaks. Use a high-quality sealant or closed-cell foam gasket rated for audio applications-these materials guarantee consistent contact and long-term durability. Apply acoustic insulation inside the enclosure to absorb internal reflections and reduce standing waves. This improves clarity by minimizing sound coloration. Your baffle mount must also provide effective vibration dampening to decouple the driver from the cabinet. Secure each speaker screw gradually in a star pattern, tightening evenly to avoid warping. Torque screws to 0.5–0.6 Nm to maintain mechanical stability without damaging threads. A snug, airtight fit guarantees peak driver performance and maximizes bass response. Proper sealing stops rear wave interference from corrupting your output.
Test Your Speakers and Fix Common Problems
Now that you’ve secured the baffle with an airtight seal and guaranteed mechanical stability, it’s time to verify performance through systematic testing. Play a calibrated test tone sweep from 20 Hz to 20 kHz while using a sound pressure level (SPL) meter placed at the primary listening position. Listen for peaks or dips exceeding ±3 dB, which indicate issues with speaker placement or room acoustics. Poor speaker placement-such as positioning too close to walls-can exaggerate bass via boundary reinforcement. Reflections from hard surfaces degrade imaging. Use bass traps and diffusers to manage room acoustics effectively. Re-test after adjustments. If distortion persists, inspect the baffle seal and speaker mounting. Guarantee drivers are flush and tightly fastened. A 1/8-inch gap can reduce low-frequency output by up to 6 dB. Repeat until response is smooth and balanced across the frequency spectrum.
On a final note
You’ve sealed the baffle correctly when vibrations and air leaks stop. Use butyl rubber gaskets or closed-cell foam-0.25 in (6.35 mm) thick-for best acoustic isolation. A tight seal prevents frequency cancellation, improving bass response by up to 3 dB. Check speaker impedance with a multimeter; deviations over ±10% suggest air leaks. Re-test sound output with a calibrated microphone and audio analyzer. Proper sealing guarantees accurate, distortion-free sound.