Step-by-Step: Replacing a Clutch in a Front-Wheel-Drive Economy Car
You’ll need a torque wrench, socket set, clutch alignment tool, and jack stands rated for your vehicle’s weight. Lift the car securely using a floor jack and 6-ton stands. Drain the transmission fluid, then remove the driveshaft and transmission to access the clutch. Inspect the flywheel for runout-must be under 0.002 inches-and resurface if needed. Install the new clutch disc, pressure plate, and release bearing, torquing the plate bolts to 18–25 ft-lbs in a star pattern. Use an alignment tool to center the disc. Reattach the transmission, refill with SAE 75W-90 GL-4 fluid, and verify proper engagement. Proper bolt patterns and torque specs maintain drivetrain longevity under 150–200 ft-lbs of engine load. Further details expand on precision steps for maximum alignment and performance.
Notable Insights
- Gather essential tools like a torque wrench, socket set, clutch alignment tool, and ensure a jack stand–rated lift for safe access.
- Lift the front-wheel-drive car using a floor jack and secure it on jack stands before beginning transmission removal.
- Drain transmission fluid, disconnect shift linkage and electrical connectors, then use a transmission jack to remove the unit.
- Inspect and resurface the flywheel if needed, then install the new clutch disc, pressure plate, and release bearing with proper alignment.
- Reinstall the transmission, torque bellhousing bolts securely, reconnect all components, and refill with manufacturer-specified fluid.
Gather Tools and Materials for Clutch Replacement
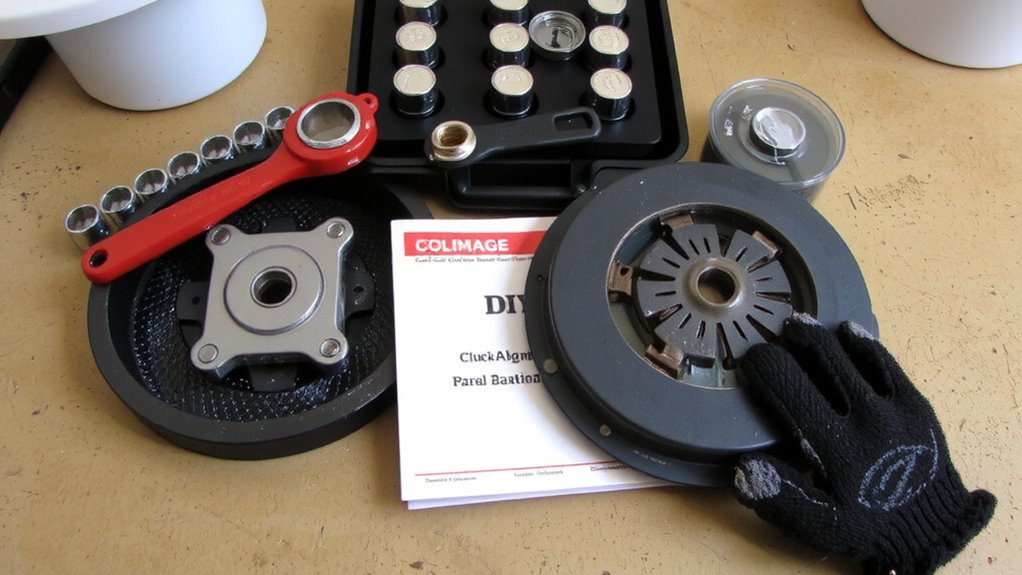
Before you begin, make sure you have all the necessary tools and materials on hand to avoid delays or mistakes during the clutch replacement. You’ll need a torque wrench, jack stands, socket set, clutch alignment tool, and flywheel resurfacing service kit. A new clutch kit should include a pressure plate, clutch disc, and release bearing rated for your vehicle’s engine torque-typically 150–200 ft-lbs. Always inspect the flywheel; if it’s worn or glazed, schedule flywheel resurfacing to guarantee smooth engagement. Use a dial indicator to check flywheel runout-should be under 0.002 inches. The clutch alignment tool centers the disc during installation, preventing binding. Misalignment causes premature failure. Include high-temperature grease for the input shaft and pilot bearing. Omitting these steps risks improper clutch alignment and transmission damage. Stock replacement parts meet OEM specs, but performance upgrades offer higher clamp loads.
Lift and Secure the Vehicle Safely
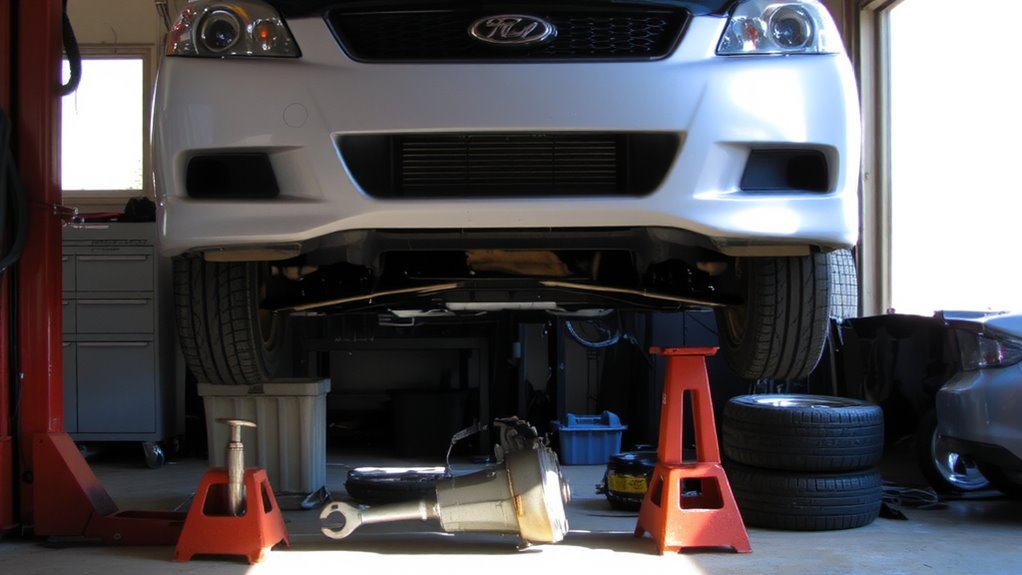
You’ve assembled all the necessary tools and inspected the clutch components, so now it’s time to get the vehicle off the ground. Vehicle stability is critical-always work on a flat, level surface. Engage the parking brake and chock the rear wheels to prevent accidental movement. Refer to your car’s service manual for exact jack placement points, typically reinforced frame rails or pinched seam rails near the front control arms. Use a floor jack with at least 3-ton capacity to lift the front end evenly. Never rely on the jack alone. Once raised, support the vehicle with jack stands rated for your car’s weight-position one under each designated lift point. Make sure stands are seated securely and the vehicle is stable before sliding underneath. Improper jack placement risks collapse, so double-check alignment. This setup maintains stability throughout the job. For heavy-duty reliability, consider using 6-ton jack stands that meet ANSI/ASME safety standards.
Remove the Transmission to Access the Clutch
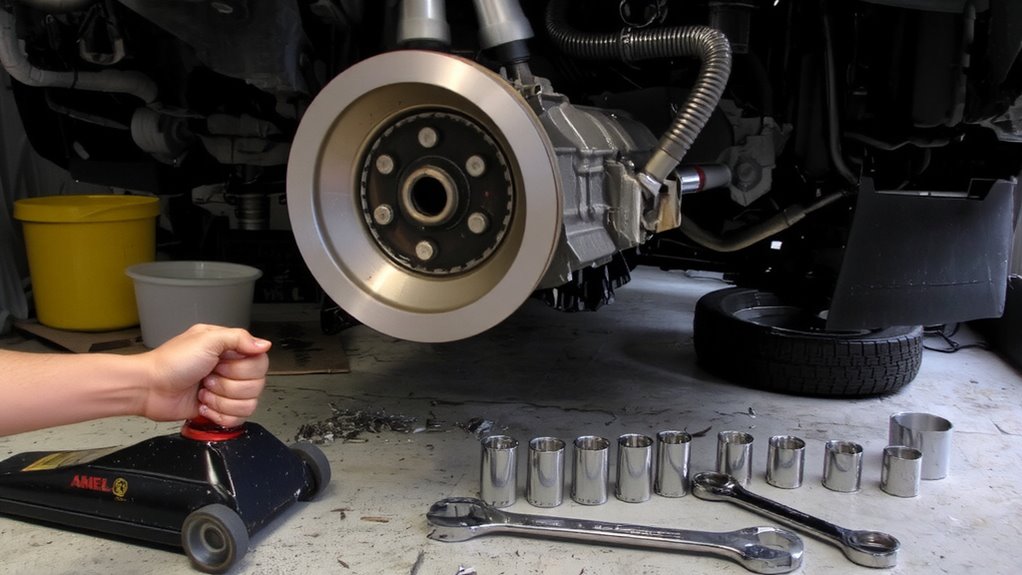
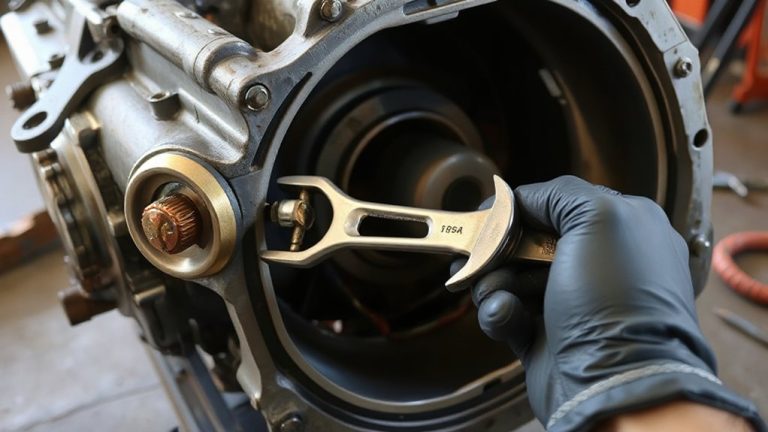
Once the vehicle is securely lifted and supported, you can begin disconnecting the transmission to reach the clutch assembly. Drain the transmission fluid first to prevent spills. Remove the driveshaft, electrical connectors, and shift linkage. Unbolt the bellhousing and carefully separate the transmission from the engine. Use alignment tools to avoid transmission alignment issues during removal. Inspect for clutch wear patterns on the flywheel and pressure plate-glazing or scoring indicates improper engagement. Maintain transmission stability with a jack to prevent damage.
| Component | Purpose |
|---|---|
| Bellhousing bolts | Secure transmission to engine |
| Shift linkage | Enables gear selection |
| Clutch inspection | Reveals wear patterns |
| Transmission jack | Prevents alignment issues |
Handle components with care to avoid bending or warping critical surfaces.
Install the New Clutch, Pressure Plate, and Bearing
When installing the new clutch assembly, start by inspecting the flywheel for flatness-any warping beyond 0.002 inches (0.05 mm) means it must be resurfaced or replaced. Clean the flywheel surface thoroughly to guarantee proper contact. Position the new clutch disc against the flywheel, then install the pressure plate using the manufacturer-recommended bolts. Tighten them gradually in a star pattern to meet exact torque specifications-usually 18–25 ft-lbs, depending on the model. Proper clutch alignment is critical; use a alignment tool or pilot bearing to center the disc before securing the pressure plate. This prevents binding and uneven wear. Install the new release bearing onto the transmission input shaft, guaranteeing smooth movement along the guide sleeve. Double-check that all components are seated fully and move freely. Do not force parts-the assembly should fit without resistance.
Reinstall the Transmission and Refill Fluids
Reinstalling the transmission requires careful alignment and steady effort. Proper transmission alignment is critical-misalignment can damage the input shaft or pilot bearing. Start by guiding the transmission onto the dowel pins and engine block, ensuring the bellhousing mates flush. Hand-start the bolts to avoid cross-threading, then torque them to 18–22 ft-lbs in a crisscross pattern. Once secured, reinstall the driveshaft, shift linkage, and electrical connectors. Refill the transmission with the manufacturer-specified fluid type-usually SAE 75W-90 GL-4 for most FWD manual gearboxes. Use a funnel to avoid spills, and fill until fluid reaches the base of the fill plug. Overfilling causes pressure; underfilling risks overheating. Always consult your service manual for correct fluid types and capacities. Verify no leaks exist before test-driving.
On a final note
You’ve completed the clutch replacement. The new clutch kit-including the disc, pressure plate, and throw-out bearing-is rated for 100,000 miles under normal driving. Torque the pressure plate bolts to 19 ft-lbs in a star pattern. Reconnect all linkages and refill the transmission with 2.1 quarts of SAE 75W-85 GL-4 gear oil. Test for smooth engagement and no abnormal noises.