The Correct Way to Clean Exhaust Outlets on Coated Performance Vehicles
Identify your exhaust coating-chrome, ceramic, stainless steel, or acrylic polymer-before cleaning. Use only pH-neutral cleaners (6.5–7.5) to prevent micro-etching and coating failure. Clean with soft nylon brushes (0.004–0.008” bristles) and 300+ GSM microfiber towels to avoid scratches. Remove carbon with steam (180–210°F, 60–80 PSI) or a non-acidic soak, then rinse with deionized water. Dry completely and apply a silica-based protectant rated to 1,200°F every six months. Proper technique preserves reflectivity, thermal efficiency, and coating integrity over time-details on avoiding common mistakes follow.
Notable Insights
- Identify the exhaust coating type (chrome, ceramic, stainless steel, or acrylic polymer) to select compatible cleaning methods and products.
- Use only pH-neutral cleaners (6.5–7.5 pH) to prevent micro-etching, degradation, and warranty voidance on sensitive coated surfaces.
- Clean with soft-bristled nylon or boar hair brushes and 300+ GSM microfiber towels to avoid scratching delicate coatings.
- Remove carbon buildup using steam blasting (180–210°F, 60–80 PSI) or non-acidic solvent soaks, avoiding abrasive tools.
- Dry with low-lint microfiber cloths and apply high-temperature protective coatings every 3–6 months to maintain performance and appearance.
Clean Exhaust Tips Without Damaging the Coating
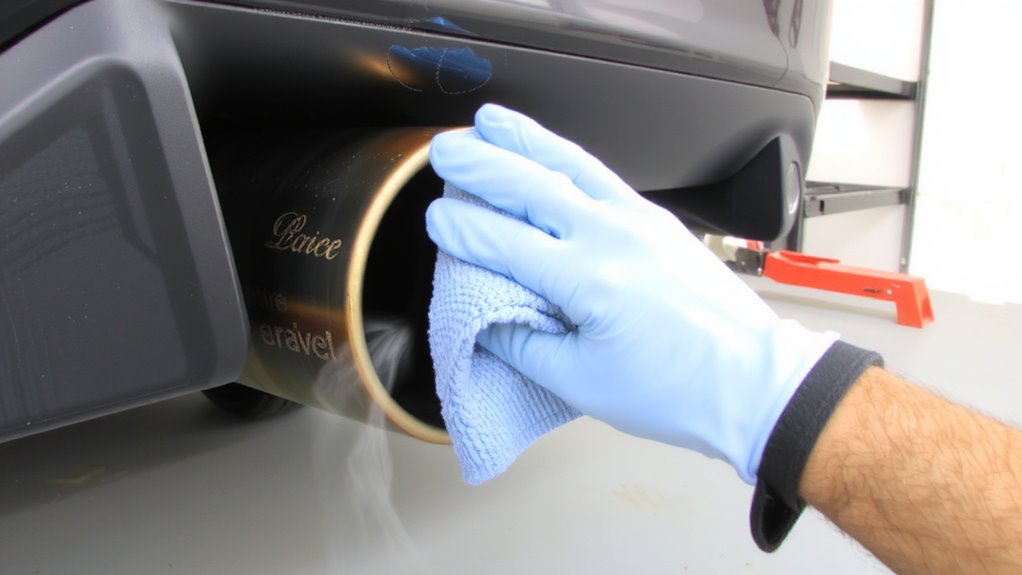
Even a single misstep can compromise the protective coating on your exhaust tips, so proceed with care. Use steam cleaning only when necessary, as high-pressure vapor can erode thin film layers if held too close-maintain a minimum 6-inch distance and limit exposure to 30 seconds per section. Never use chemical dipping for coated tips; immersion in solvent tanks degrades ceramic and chrome overlays. Instead, wipe with a microfiber cloth dampened with pH-neutral solution. Coatings typically measure 15–25 microns thick; abrasives or harsh chemicals can reduce this by half after just one use. Inspect edges and seams first, as these areas delaminate fastest. Stick to low-moisture methods to preserve coating integrity. Damage from improper cleaning is irreversible and voids most manufacturer protections. Your maintenance routine directly impacts long-term finish durability. For tough buildup, consider using a specially formulated exhaust tip cleaner that’s safe for coated surfaces.
Figure Out Your Exhaust Coating Type
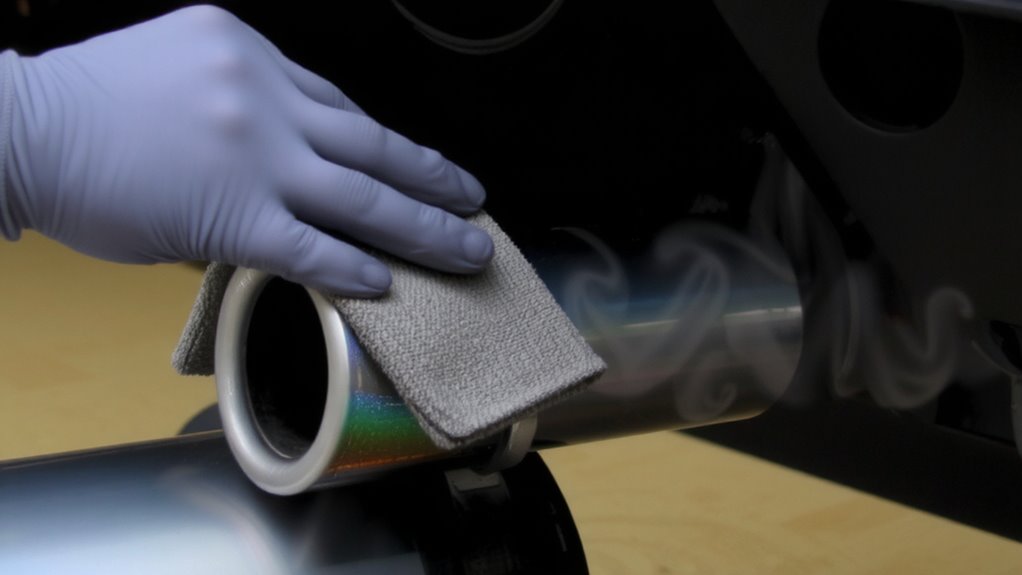
Identification starts with knowing what’s protecting your exhaust tips. Your exhaust material and coating age determine how you should clean it. Common coatings include chrome, ceramic, and stainless steel finishes-each with different durability and chemical resistance. Misidentifying your coating can lead to irreversible damage.
| Coating Type | Typical Lifespan | Recommended ID Method |
|---|---|---|
| Chrome Plated | 2–5 years | Shiny reflectivity, prone to flaking |
| Ceramic Coated | 5–8 years | Matte finish, heat-resistant |
| Stainless Steel | 8+ years | Silver tone, minimal fading |
| Acrylic Polymer | 1–3 years | Glossy look, scratches easily |
Check manufacturer specs or consult your installer. Coating age affects adhesion and sensitivity to cleaners. Older coatings may degrade faster. Always verify before proceeding. You can’t assume coating type by appearance alone-test discreetly if needed.
Use Only pH-Neutral Cleaners for Coated Surfaces
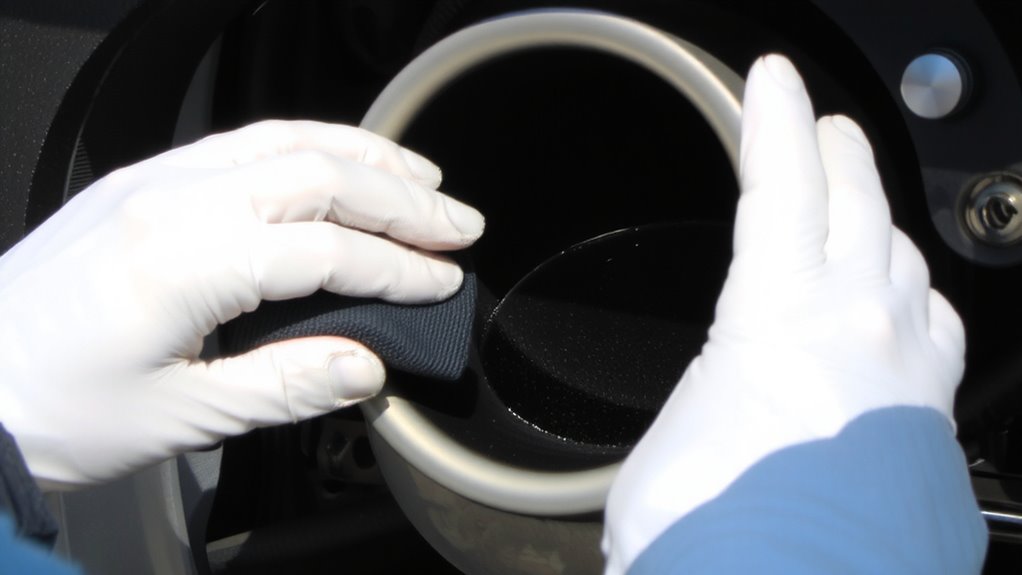
When cleaning coated exhaust outlets, choosing the right cleaner isn’t just smart-it’s essential for preserving the coating’s integrity. You must use only pH-neutral cleaners, ideally with a pH between 6.5 and 7.5. Anything outside this range risks degrading protective layers over time. Always perform pH testing before applying any confiscate, even if labeled “safe for coatings.” Acidic or alkaline cleaners can cause micro-etching, compromising coating compatibility and leading to premature failure. Most high high-temperature ceramic and PVD coatings react poorly to solvents and ionic compounds. A pH-neutral formula guarantees no ionic imbalance disrupts the molecular bond between coating and substrate. Look for cleaners specifically engineered for coated exhausts-these undergo rigorous compatibility testing. Using the wrong solution may void warranties and reduce thermal efficiency. Protect your investment by verifying coating compatibility first.
Grab the Right Tools: Soft Brushes and Microfiber
You’ve selected a pH-neutral cleaner that won’t compromise your vehicle’s protective coating-now focus on the tools that deliver it safely. Proper tool selection is critical to maintaining surface safety on coated performance vehicles. Use soft-bristled brushes with nylon or boar hair bristles-typically 0.004- to 0.008-inch diameter-to avoid micro-scratching. These brushes effectively agitate debris without damaging thin-film coatings. Pair them with dense, plush microfiber towels weighing at least 300 GSM to guarantee absorbency and scratch resistance. The microfiber’s split fibers-usually 1 denier or less-lift contaminants instead of grinding them into the surface. Always wash tools before use to eliminate embedded grit. Never substitute with household sponges or synthetic brushes; their abrasive nature risks coating degradation. Consistent use of appropriate tools preserves both finish integrity and long-term corrosion resistance.
Remove Carbon Buildup Without Scratching
While carbon deposits can dull your vehicle’s finish and mask its protective coating, removing them safely requires a methodical approach. Begin with steam blasting at 180–210°F and 60–80 PSI to loosen stubborn soot without abrasion. The high-temperature vapor penetrates microscopic pores, breaking down hydrocarbon residues while preserving the integrity of the coating. For heavier buildup, follow with chemical soaking using a pH-balanced, non-acidic solvent specifically designed for coated substrates. Soak the outlet for 10–15 minutes to allow the solution to dissolve carbon without etching the surface. Avoid wire brushes or abrasive tools that compromise coating thickness. Use only nylon or polypropylene bristles during agitation. Rinse thoroughly with deionized water to prevent mineral spotting. This dual-phase process guarantees maximum carbon removal with minimal surface interaction, maintaining both aesthetic and protective performance.
Dry Thoroughly and Apply Protective Coating
java11111111114111
After cleaning, drying the exhaust outlet completely is critical to prevent oxidation and maintain shine. Residual moisture promotes corrosion, especially on coated surfaces. Use a microfiber towel with low-lint properties to wick away water efficiently. Apply gentle pressure in straight-line motions to avoid micro-scratches. Once dry, apply a silica-based protective coating rated for high-temperature exhaust components, typically enduring up to 1,200°F.
| Product Type | Recommended Reapplication Interval |
|---|---|
| Ceramic Spray | Every 3 months |
| Silica-Based Coating | Every 6 months |
| Hybrid Polymer | Every 4 months |
This coating creates a hydrophobic barrier that resists contaminants. It also reduces surface adhesion of carbon deposits, making future cleanings easier. Fully cured, the coating bonds at a molecular level, enhancing reflectivity and protecting the factory finish.
Avoid These Common Exhaust Cleaning Mistakes
Though proper technique is essential, avoiding common errors during exhaust cleaning proves just as critical to preserving coated surfaces. You should never use harsh chemicals, such as chlorinated solvents or acid-based cleaners, because they degrade ceramic and polymer coatings by breaking down molecular bonds. These coatings typically measure 25–50 microns thick; once compromised, underlying metal becomes vulnerable. Excessive scrubbing accelerates the problem-abrasive pads or stiff brushes create micro-scratches, especially on matte or satin finishes. Instead of removing carbon buildup effectively, you risk altering surface tension and hydrophobic properties. Use soft microfiber cloths and non-abrasive, pH-neutral cleaners formulated for coated substrates. Apply with light pressure, no more than 3–5 psi when using compressed air for drying. Prevent galvanic corrosion by isolating stainless steel tips from carbon deposits, which retain moisture. Mistakes seem minor but cause irreversible damage over time. For tough carbon deposits, a purpose-built exhaust tip cleaner can safely dissolve residue without harming protective coatings.
On a final note
Always identify your exhaust coating type before cleaning-stainless steel, chrome, or ceramic each require specific care. Use only pH-neutral cleaners to prevent degradation. Soft-bristled brushes and microfiber cloths prevent micro-scratches. Remove carbon with non-abrasive tools; never use steel wool. Dry completely to inhibit corrosion. Apply a silica-based protectant to resist heat and contaminants. Avoid silicone-heavy polishes-they degrade at high temperatures.