How to Achieve Mirror Finish on Polished Aluminum Wheels
You’ll need a dual-action polisher at 1,200–1,800 RPM to safely refine aluminum without overheating. Start with 800-grit wet sanding for deep scratches, progressing through 1,500, 2,000, and 3,000 grits to smooth the surface. Use aluminum-specific polish and a foam pad to remove haze, then apply cerium oxide for final clarity. Seal with three thin coats of two-part polyurethane at 8–10 psi. Proper curing guarantees lasting, high-gloss protection that resists UV degradation-there’s more to mastering the process.
Notable Insights
- Use a dual-action polisher at 1,200–1,800 RPM with progressive microfiber pads for consistent, heat-free refinement.
- Progress through wet-sanding grits from 800 to 3,000, never skipping steps, to eliminate scratches and prepare for mirror finish.
- Apply aluminum-specific compounds in sequence-cut paste, tripoli rouge, white diamond, cerium oxide-for maximum reflectivity.
- Buff with a fine foam pad and cerium oxide polish to remove haze and achieve a flawless, mirror-like surface.
- Seal with three thin coats of UV-resistant polyurethane clear coat, 15 minutes apart, for long-lasting gloss and protection.
Prep Your Tools for Polishing Aluminum Wheels
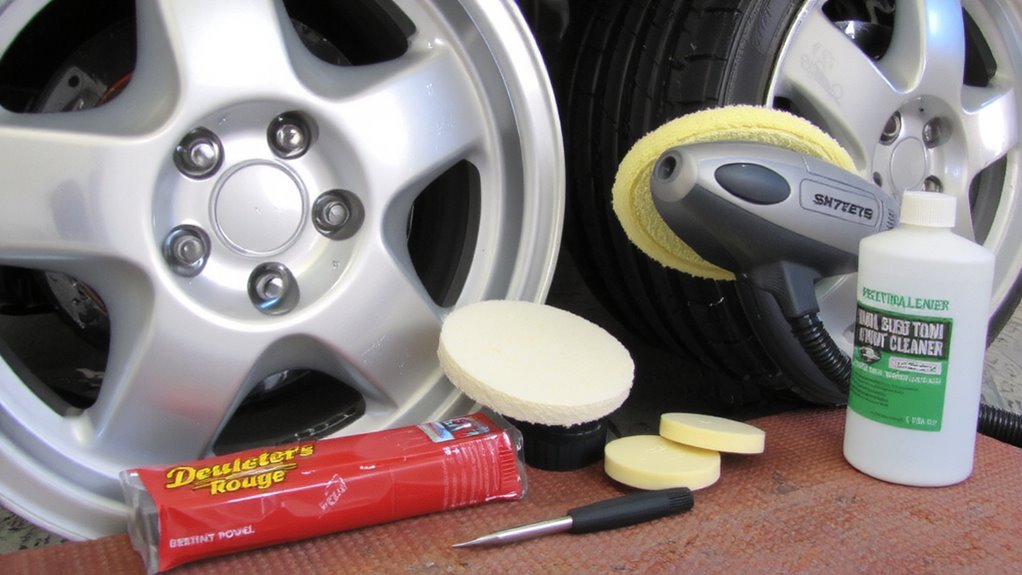
You’ll need the right tools to achieve a flawless mirror finish on aluminum wheels, and starting with proper preparation makes all the difference. Begin with a dual-action polisher set to 1,200–1,800 orbital RPM to prevent heat buildup and surface damage. Use progressive grit sandpapers-start at 800, then 1,200, and finish with 2,000 grit-for smoothing imperfections before polishing. High-quality microfiber pads and aluminum-specific polish restore reflectivity without etching. Guarantee wheel alignment and tire balancing are checked post-polish to maintain driving stability and prevent uneven wear. Misaligned wheels can distort finish appearance under load. Tire balancing prevents vibration, which degrades polish quality over time. Secure wheels on a stand for even access. Always wear PPE, including gloves and eye protection. Proper tool selection and prep guarantee durable, mirror-like results. For the final polishing stage, apply a high-cut aluminum compound to enhance clarity and depth in the finish.
Deep Clean Aluminum Wheels to Remove Brake Dust
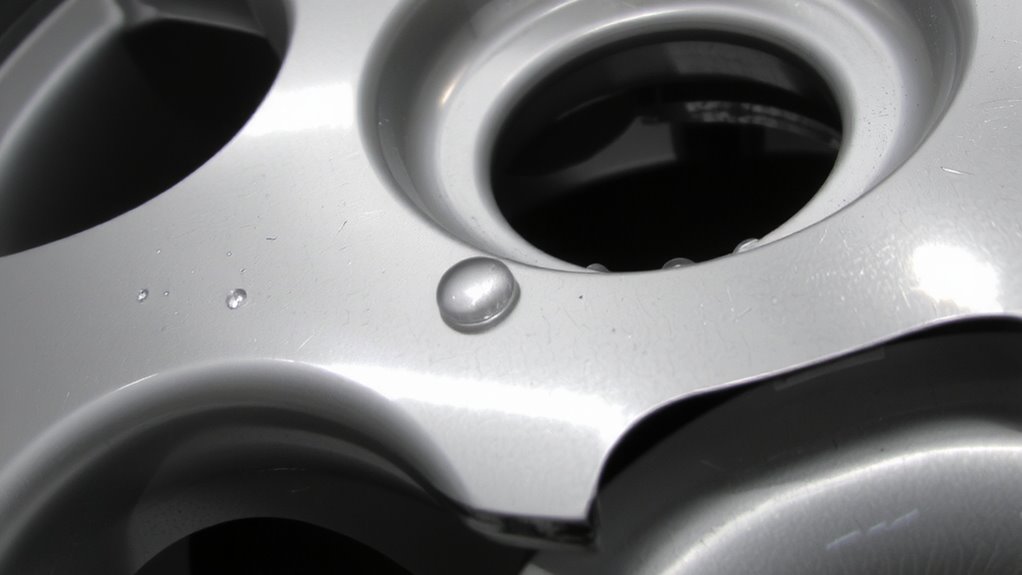
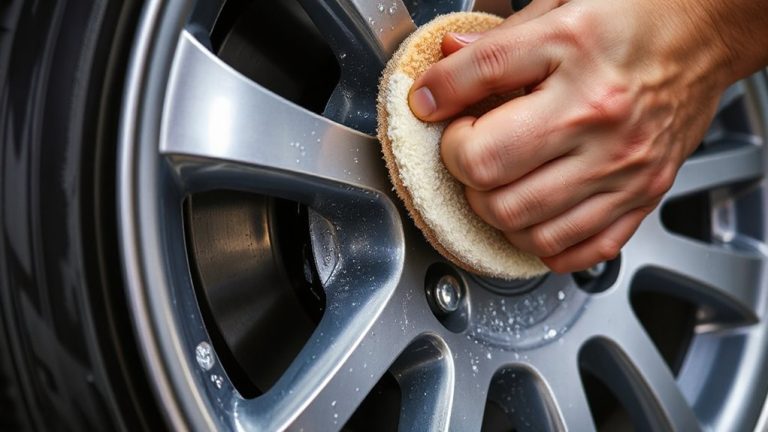
A thorough deep clean is essential before polishing aluminum游戏副本 as accumulated brake dust, grime, and bonded contaminants can interfere with the polishing process and compromise the final finish. You’ll need a pH-balanced wheel cleaner to dissolve brake dust without causing chemical abrasion to the aluminum surface. Spray the cleaner evenly and let it dwell for 2–3 minutes-don’t let it dry, as dried residue can induce thermal oxidation, especially on hot wheels. Use a soft-bristle brush to agitate顽固 deposits, focusing on spoke curves and barrel crevices. Rinse thoroughly with low-pressure water to avoid forcing contaminants into pores. Dry completely with a microfiber towel to prevent water spotting. This step removes embedded particles that polishing can otherwise smear, ensuring a smooth, contaminant-free starting surface for maximum reflectivity. Always clean wheels before any refinement process. Choosing the right wheels from the start makes a significant difference in long-term maintenance and shine retention, especially when selecting from the best Mustang wheels for both performance and aesthetics.
Assess and Sand Scratches With Increasing Grits
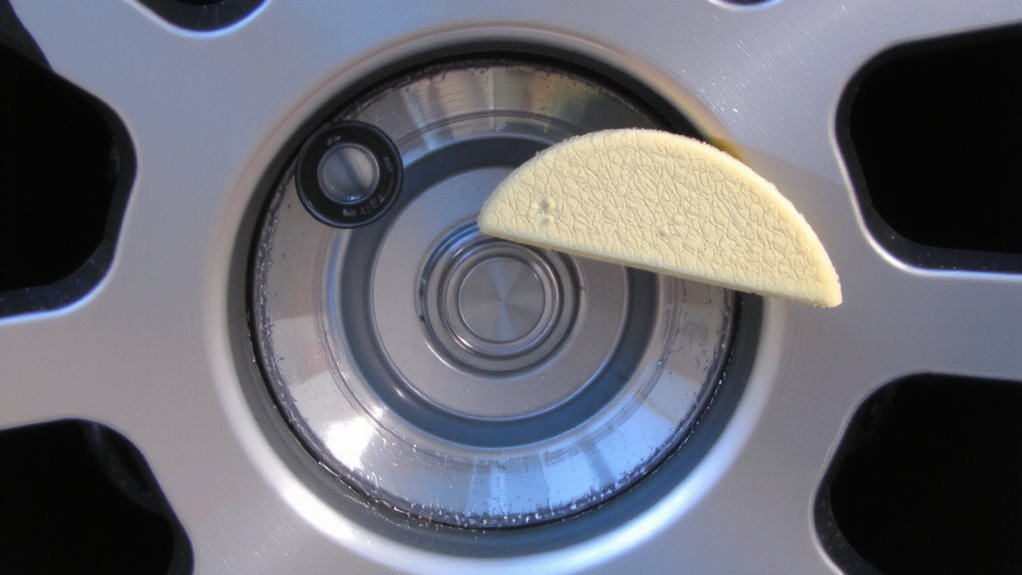
Start by inspecting the aluminum surface under bright, angled light to reveal scratch depth and distribution-fine hairline marks reflect light differently than deeper gouges. This scratch inspection determines your starting grit. Begin sanding with 800-grit paper if deep scratches are present; otherwise, start at 1200-grit. Always wet-sand using water with a few drops of dish soap to reduce clogging and heat. Sand in straight, overlapping passes-don’t swirl. Follow a strict grit progression: move to 1500, then 2000, and finish at 3000 grit. Each step removes the scratches left by the prior grit. Allow 2–3 minutes per section per grit, depending on damage. Rinse frequently to monitor progress. Never skip grits-doing so leaves behind unrefined imperfections. Consistent grit progression guarantees a uniform surface, prepping the wheel for flawless optical clarity in later stages. Using a high-quality aluminum wheel cleaner ensures contaminants are fully removed before polishing, enhancing the final mirror finish.
Buff Aluminum Wheels to Eliminate Surface Haze
Nearly all aluminum wheels develop a fine surface haze after wet-sanding, a dull layer that scatters light and obscures the underlying clarity. You must address this haze to advance in surface restoration. Use a dual-action polisher set to 1,200–1,800 RPM with a foam buffing pad. Apply a fine aluminum-specific compound in circular motions, maintaining even pressure. This buffing technique removes microscopic imperfections left by sanding. Work in 2-foot sections, overlapping each pass by 50%. Check progress every 30 seconds. The haze should disappear within 3–5 minutes per wheel, revealing a satin-smooth base. Avoid excessive heat; pause if the surface feels warm. Proper buffing prepares the metal for final enhancement. Do not over-buff, as this can thin protective layers. Precision here guarantees maximum clarity in subsequent steps.
Polish for a Mirror-Like Shine
The key to a mirror-like shine lies in precision polishing with the right tools and compounds. Start with a fine-grade buffing wheel and apply a cerium oxide-based polish for peak reflectivity. Chemical polishing smooths microscopic imperfections, enhancing luster through selective material removal. Avoid excessive pressure to prevent heat treatment effects that alter aluminum’s temper. Work in consistent, overlapping motions across the surface. Below is a guide to polishing stages:
| Step | Compound Type | Purpose |
|---|---|---|
| 1 | Cut paste | Removes light oxidation |
| 2 | Tripoli rouge | Evens out surface texture |
| 3 | White diamond | Refines scratch patterns |
| 4 | Cerium oxide | Achieves optical clarity |
| 5 | Chemical polishing agent | Final micro-smoothing |
Each stage reduces scratch visibility. Allow the compound and wheel speed (1,200–1,800 RPM) to do the work. You’ll achieve a true mirror finish with depth and clarity when shifts between stages are seamless.
Seal With Clear Coat to Protect the Finish
You’ve invested time and precision to achieve a flawless mirror finish, and now it’s time to lock in that reflect centrality with a protective clear coat. Clear coating forms a durable barrier against corrosion, brake dust, and environmental contaminants. Use a two-part polyurethane clear coat for maximum longevity-it cures harder than single-component formulas and resists chipping. Apply three thin, even coats at 8–10 psi in a dust-free environment, allowing 15 minutes of flash time between layers. Each coat should be approximately 1.5–2.0 mils thick to avoid sagging. Full cure takes 48–72 hours. The clear coat must include UV protection to prevent oxidation and hazing caused by prolonged sun exposure. Without UV inhibitors, polished aluminum reflectivity degrades up to 40% within six months. A quality clear coat retains gloss above 85% after 1,000 hours of accelerated UV testing. Proper application guarantees lasting clarity and depth, preserving your finish like glass over chrome.
Maintain the Shine With Regular Wheel Care
Keeping that mirror finish looking flawless isn’t a one-time win-it demands consistent maintenance. You must clean your polished aluminum wheels weekly using a pH-balanced, non-abrasive cleaner to prevent buildup. Environmental exposure-like road salt, UV rays, and brake dust-accelerates oxidation and dulls luster. Always rinse wheels before cleaning to remove corrosive particles. After washing, dry thoroughly with a microfiber towel to avoid water spots. For long-term wheel storage, place them in a climate-controlled, low-humidity environment to prevent moisture-related tarnishing. Store vertically with protective covers to limit surface contact and scratches. Inspect clear coat integrity every three months; micro-cracks compromise protection. Reapply a UV-resistant sealant every six months to maintain reflectivity. Regular care preserves both appearance and structural integrity. Preventative routines reduce the need for future polishing.
On a final note
You’ve achieved a mirror finish by following precise steps. Sanding with 600 to 2000-grit abrasives removes defects progressively. Buffing with a wool pad at 1200–1800 RPM eliminates haze. Polishing with a foam pad and aluminum-specific compound enhances reflectivity. Clear coat adds 2–3 mils of UV and chemical protection. Regular cleaning with pH-neutral soap preserves the finish. The result is a durable, optically flat surface reflecting 95%+ of incident light.