How to Remove Road Grime From Front Grilles Without Damaging Sensors
Use a foam brush with 18–25 pores per inch and pH-neutral wash (6.5–7.5) to safely remove grime. Avoid steel wool or abrasive towels that can scratch lenses or strip protective coatings. Mask sensor areas with low-residue painter’s tape, overlapping borders by 3 mm. Use the two-bucket method with grit guards to prevent contamination. Never use pressure washers near sensors-stay below 1,000 psi within 12 inches. Dry with microfiber and 20–30 psi compressed air at 45°. There’s more to optimizing sensor longevity and cleanliness.
Notable Insights
- Use foam brushes with 18–25 pores per inch and pH-neutral washes to safely lift grime without damaging sensor housings.
- Avoid steel wool, wire brushes, and abrasive towels that can scratch lenses or strip protective coatings on sensors.
- Mask sensor areas with low-residue painter’s tape, overlapping by 3 mm, before applying any cleaner or water.
- Employ the two-bucket method with grit guards to prevent redepositing contaminants onto the grille and sensor zones.
- Never use pressure washers near sensors; dry thoroughly with microfiber and compressed air to prevent moisture-related electrical faults.
Protect Sensors From Abrasive Cleaners and Tools
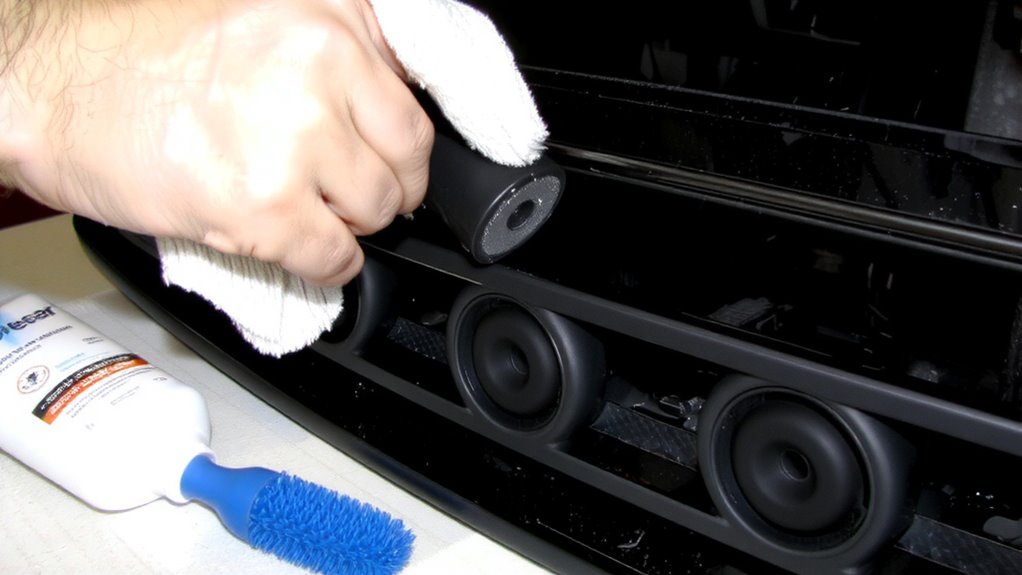
You’ll want to keep those sensors intact when cleaning road grime, so avoid harsh scrubbing tools and abrasive cleaners. Sensors are housed in plastic pods with delicate wiring, often within 2 mm of the grille surface. Steel wool or wire brushes can gouge housings, exposing circuitry. Even microfiber towels with embedded grit may scratch lenses. Abrasives also strip protective coatings, increasing risk of chemical reactions with road salts and moisture. These reactions corrode contacts, leading to electrical shorts. Sensor circuits typically operate at 5V DC; moisture intrusion can drop resistance below 100 ohms, disrupting signal output. Thermal imaging shows hotspots at 75°C during shorts, damaging ECU inputs. Damage isn’t always visible. A single short can trigger false collision warnings or disable adaptive cruise. Use only clean, soft tools and non-reactive solutions to preserve sensor integrity and avoid costly repairs.
Choose Foam Brushes and pH-Neutral Washes for Sensor Safety
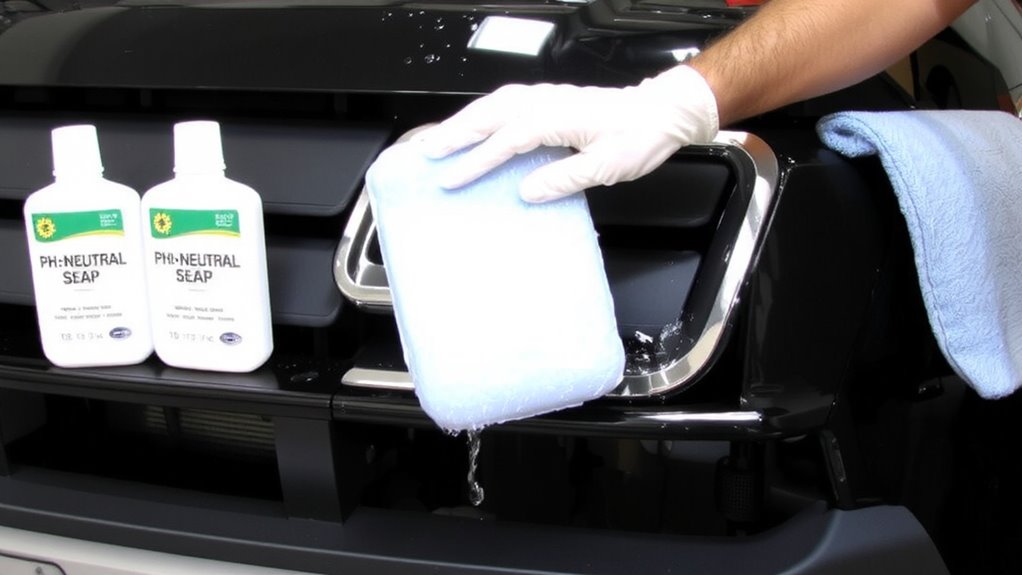
Foam brushes and pH-neutral washes are the safest choices for cleaning around sensitive front grille sensors. You should use a foam brush with medium foam density-typically 18–25 pores per linear inch-to trap debris without scratching surfaces. This density offers effective cleaning while minimizing direct sensor contact. Always select a wash formula with a balanced pH between 6.5 and 7.5, matching the pH balance of pure water, to prevent chemical degradation of sensor housings and wiring. Alkaline or acidic cleaners can corrode plastic lenses and attract dust over time. Foam brushes also hold more solution than bristle types, allowing you to apply cleaner evenly without overspray. Their soft structure reduces mechanical stress on delicate radar and camera modules. Use gentle, linear wiping motions with light pressure-no more than 1.5 pounds per square inch-to avoid dislodging or misaligning components.
Mask Off Sensor Areas Before Wetting the Grille
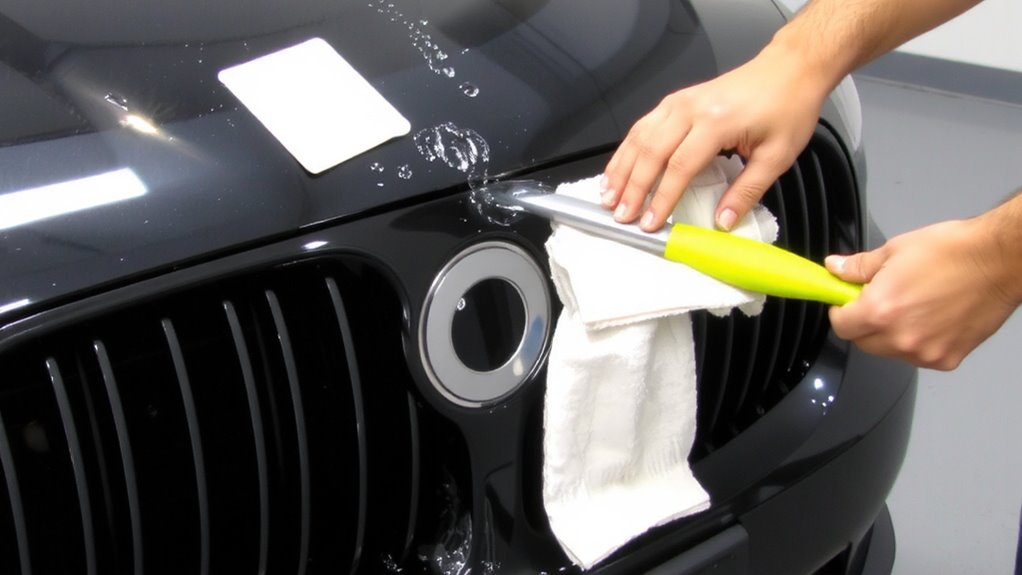
Before spraying any water on the grille, protect sensitive sensor zones by masking them with painter’s tape rated for automotive use-specifically, tapes with a 48-hour outdoor ad tightening guarantee and low residue removal. This step guarantees electronic shielding against accidental moisture intrusion during cleaning. Most modern vehicles embed radar and camera systems behind the grille, where water seepage can compromise sensor calibration. Tape forms a temporary moisture barrier, preventing grime-laden runoff from entering critical apertures. Use only tapes labeled for paint-safe removal to avoid adhesive transfer. Apply tape smoothly along sensor housing edges, sealing gaps without stretching. Maintain a 3 mm overlap beyond sensor borders for full coverage. Remove the tape promptly after washing to prevent edge lifting and residual bonding. Proper masking supports long-term sensor accuracy and avoids costly recalibration. Effective electronic shielding starts with simple, precise physical barriers-don’t skip it.
Use the Two-Bucket Method for Safe Washing
With sensor areas securely masked, it’s time to prepare your washing system using the two-bucket method-a proven technique that minimizes swirl marks and scratches during grille cleaning. You’ll need one wash bucket with pH-balanced car shampoo and another dedicated rinse bucket. Fill both buckets to about three-quarters capacity. Use grit guards in each to trap contaminants and prevent them from reattaching to your wash tools. Work with a high-quality microfiber wash mitt, plunging it into the rinse bucket after each pass across the grille. This lifts away road grime without redepositing grit. After rinsing the mitt, return it to the wash bucket for soaping before the next wipe. Never wipe dirty grilles with microfiber towels unless they’re designed for heavy grime. Use only clean, rinse buckets-tested mitts to avoid marring sensors or plastic. This method guarantees controlled, safe cleaning. For tougher buildup, consider using a dedicated automotive degreaser that safely removes grease without harming sensitive components.
Skip the Pressure Washer Near Sensors
While a pressure washer can quickly blast away heavy buildup, you should never aim it directly at or near the front grille’s sensor zones. High pressure exposure can dislodge delicate components or force water past seals, risking internal damage. Sensors for adaptive cruise control, collision avoidance, and lane assist are often housed behind plastic covers rated for minimal water intrusion. Most manufacturers specify a maximum cleaning pressure of 1,000 psi at a distance of no less than 12 inches-exceeding this causes high pressure exposure that compromises seals. Chemical erosion may occur if detergents linger, especially if they contain chlorides or strong solvents. Use a soft brush and pH-neutral cleaner instead. The grille’s honeycomb mesh, typically 1.5 to 3 mm in cell size, traps debris but also channels water toward sensors if sprayed improperly. Stick to low-pressure rinsing in these areas.
Dry Thoroughly to Prevent Sensor Moisture
After rinsing, moisture left in or around the grille can seep into sensor housings and cause electrical faults or signal interference. You must dry thoroughly to prevent sensor moisture accumulation. Use a microfiber towel to wipe all visible surfaces, then direct compressed air (20–30 psi) into tight gaps where water hides. Moisture trapped near sensor mounts promotes sensor corrosion over time, especially on electrical contacts exposed to road salts. Even small amounts of standing water can lead to electrical shorts, disrupting adaptive cruise or collision avoidance systems. Most modern sensors operate within sealed enclosures, but degraded gaskets increase vulnerability. Drying within 10 minutes post-wash reduces risk markedly. For best results, angle airflow at 45 degrees to dislodge water films without forcing moisture deeper. Complete drying guarantees sensor reliability and avoids costly malfunctions tied to prolonged dampness near sensitive electronics.
When to Skip DIY and See a Pro Mechanic
If you notice error messages like “Adaptive Cruise Unavailable” or “Forward Collision Warning Off” after cleaning, don’t keep guessing-those are hard indicators that moisture has reached sensitive circuitry or that a sensor has been jarred out of alignment during DIY washing. Faults in radar or camera systems often require professional electrical diagnostics to pinpoint communication errors within the CAN bus network. You can’t fix a misaligned millimeter-wave radar with a towel. These systems rely on precise calibration, measured in fractions of a degree. Even minor physical shifts disrupt operation. A pro mechanic performs a full structural inspection to verify sensor positioning and housing integrity. They use OEM-guided software to recalibrate and test system outputs. Improper DIY repairs risk long-term performance issues or safety faults. When electrical diagnostics reveal signal loss or the structural inspection shows mounting deviations beyond 0.5 mm, professional service isn’t optional-it’s necessary. Skip guesswork. Protect your investment.
On a final note
You protect sensitive sensors by avoiding abrasive tools and harsh chemicals. Use a soft foam brush with bristles no stiffer than 50 Shore A hardness and pH-neutral cleaners between 6.5 and 7.5. Mask sensor zones with microfiber-compatible tape before washing. Apply the two-bucket method with grit guards to reduce contamination. Never use pressure washers within 12 inches of sensor areas. Dry completely with a silicone-edged squeegee and moisture-absorbent microfiber cloth rated at 300 g/m².