Fix Clutch Chatter: Clean & Resurface the Flywheel (Step-by-Step)
You can prevent clutch chatter by cleaning the flywheel surface to bare, oil-free metal. Inspect for glazing, rust, or contamination first. Use a wire brush or Scotch-Brite pad to scrub the surface, then apply brake cleaner to remove oils. Lightly sand with 80–120 grit paper to restore texture. Wipe clean again-no residue should remain. Remember, only 40% of the surface is accessible without removal, so deeper issues may need full disassembly and resurfacing. Proper prep now guarantees smoother engagement and longer clutch life-there’s more to get right.
Notable Insights
- Inspect the flywheel for warping, scoring, or oil contamination before cleaning to address root causes of clutch chatter.
- Remove the transmission to fully access and clean the entire flywheel surface, as in-situ cleaning leaves 60% untreated.
- Scrub the surface with a wire brush or Scotch-Brite pad to remove rust and glazing that cause uneven clutch engagement.
- Use brake cleaner and 80–120 grit sandpaper to eliminate oil residue and restore proper surface texture for consistent grip.
- Verify flywheel flatness is within 0.001 inches; resurface or replace if warped or damaged to prevent future chatter.
What Causes Clutch Chatter? (Hint: Check the Flywheel)
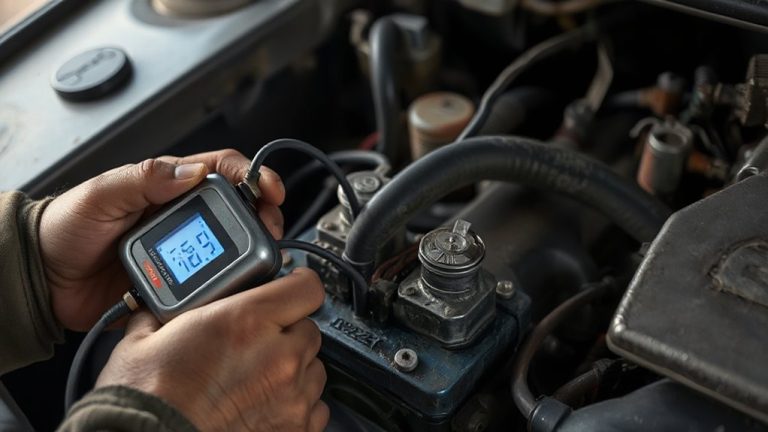
One common cause of clutch chatter is a worn or warped fly inflammable surface. Flywheel warping creates uneven contact with the clutch disc, leading to vibration under acceleration. Warping typically occurs when excessive heat builds up, often from aggressive driving or prolonged slipping. You might notice this as a shuddering sensation below 20 mph. Most manufacturers specify a flatness tolerance of 0.001 inches across the flywheel face-any deviation beyond that demands resurfacing. Oil contamination is another culprit. Even a small leak from the rear main seal can coat the surface, reducing friction. This film causes inconsistent grip, resulting in chatter during engagement. Contaminated surfaces often show dark, greasy spots. The combination of flywheel warping and oil contamination drastically reduces clutch life and drivability. Diagnose both issues early-measure flatness with a dial indicator and inspect for oil residue. Address them before installing a new clutch to guarantee smooth performance and longevity.
Can You Clean the Flywheel Without Removing It?
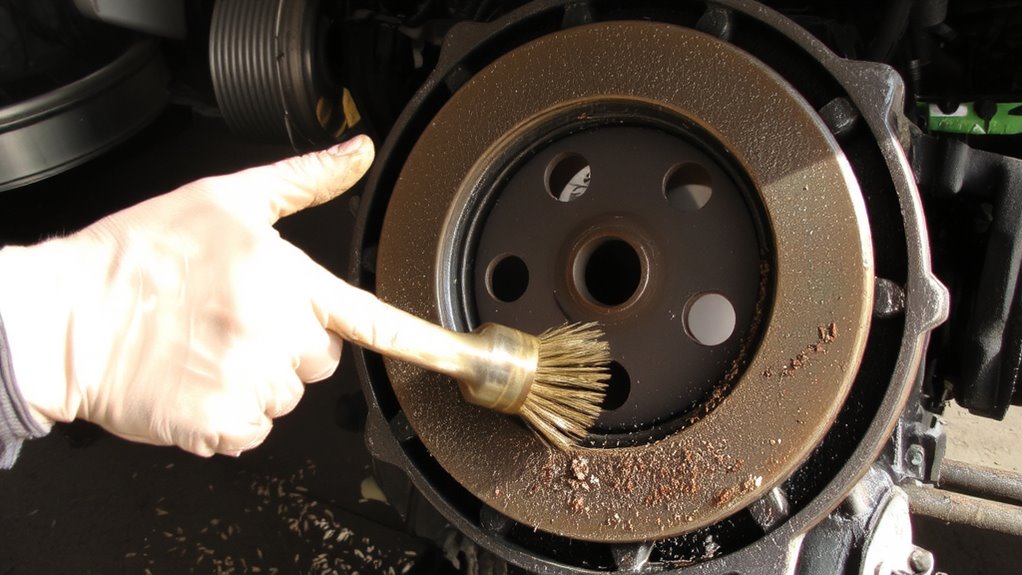
Cleaning the flywheel without removing it is technically possible, but not recommended for reliable results. Limited access prevents thorough flywheel cleaning, compromising surface maintenance. Debris and oil residue often cling to recessed areas unreachable with the transmission installed. For consistent clutch performance, complete removal is best. Below are key factors affecting in-situ cleaning effectiveness:
| Factor | Assessment |
|---|---|
| Access | Poor – only 40% of surface visible |
| Contaminant removal | Incomplete – oils remain in grooves |
| Tool effectiveness | Low – brushes can’t reach edges |
| Surface scoring visibility | Impossible – requires full inspection |
| Long-term reliability | Reduced – chatter likely to return |
Surface maintenance demands full exposure. You risk recurring clutch chatter without proper flywheel cleaning. Trust only complete removal for durable, vibration-free operation.
How to Clean the Flywheel Surface in 5 Steps
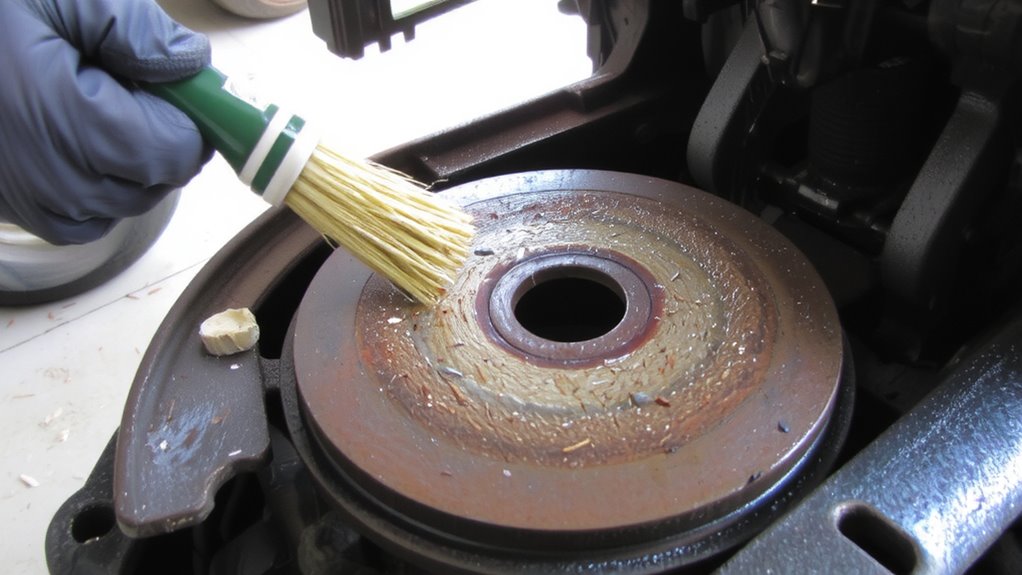
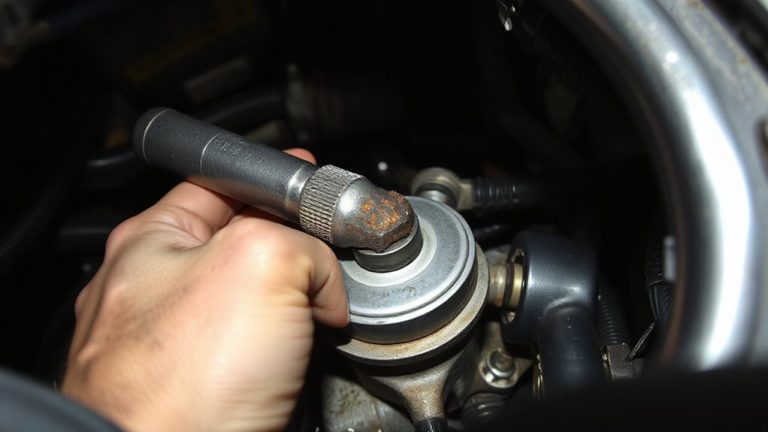
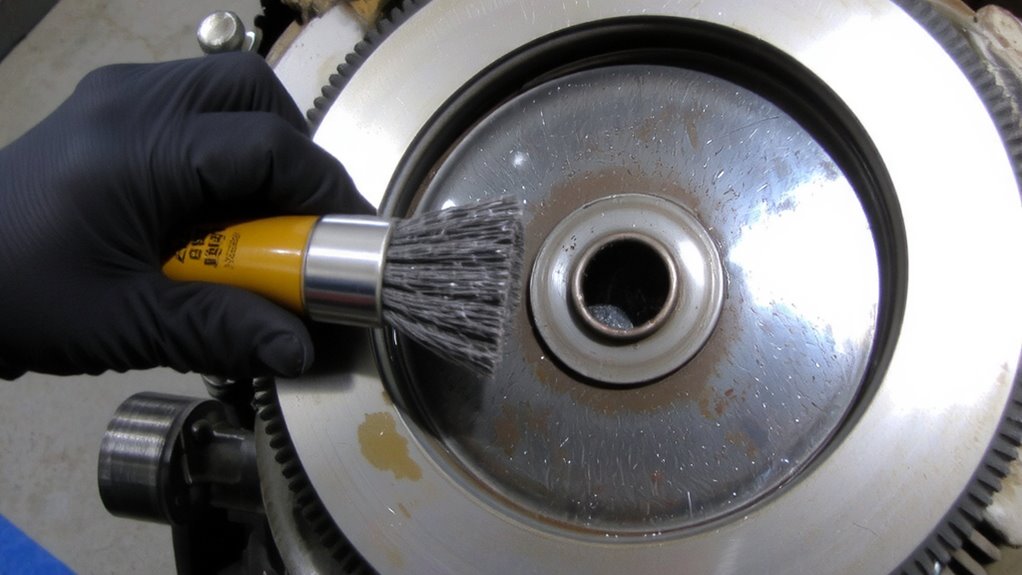
While the transmission is safely out of the way, you’ve got full access to the flywheel-making it the perfect time to guarantee a completely clean, flat engagement surface. First, inspect for flywheel rust and surface glazing, which can cause clutch chatter. Use a wire brush or Scotch-Brite pad to scrub the surface, removing light rust and contaminants. Next, clean with brake cleaner to eliminate oil residue and debris. Then, lightly sand the surface with 80–120 grit sandpaper to remove surface glazing and restore texture. Wipe again with brake cleaner-no residue should remain. Finally, check flatness with a feeler gauge; any warp over 0.002 inches requires resurfacing. A properly cleaned flywheel guarantees even clutch engagement and prevents slippage. You don’t need coatings or lubricants-just a bare, metallic surface ready for the clutch disc.
When You Must Remove the Flywheel: A Quick Guide
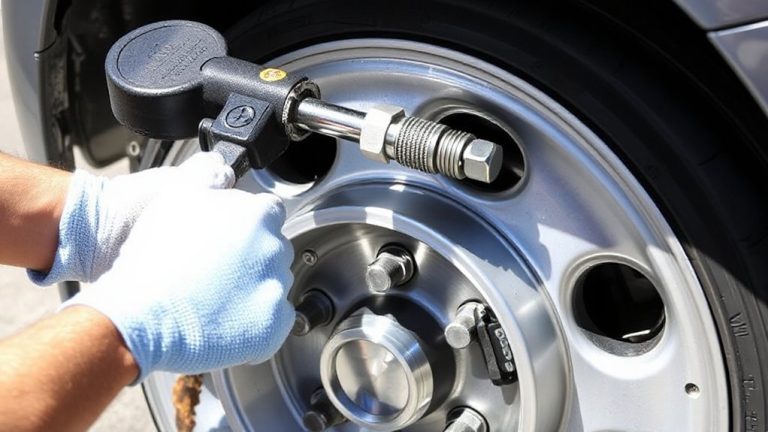
If the flywheel shows signs of deep scoring, cracking, or excessive warpage beyond 0.002 inches, you’ll need to remove it for proper servicing. Severe damage compromises clutch engagement and can cause persistent chatter. Before removal, mark the flywheel’s position to maintain flywheel alignment with the crankshaft. This guarantees balanced rotation and prevents vibration. Once removed, inspect the mating surface and verify the starter ring gear is intact. When reinstalling, always follow factory torque specifications-typically 70–95 ft-lbs in a crisscross pattern. Use a calibrated torque wrench for accuracy. Proper torque prevents warping and maintains consistent clamping force. Misalignment or incorrect torque can lead to premature clutch wear or transmission misalignment. Reinstalling the flywheel correctly guarantees smooth power delivery and protects drivetrain components. Never reuse damaged bolts; always install new ones lubricated to spec.
Stop Clutch Chatter: Pro Tips for Long-Term Prevention
Since clutch chatter often stems from improper contact between the clutch disc and flywheel, guaranteeing precise alignment and surface integrity is critical. You must inspect the flywheel for warpage-any deviation beyond 0.002 inches flatness causes uneven engagement. Resurface or replace it if needed. Fluid contamination, especially from engine oil or transmission fluid, degrades the friction surface; always check rear main seal and input shaft seal for leaks. Even trace amounts reduce grip and trigger chatter. Heat cycling from aggressive driving or towing can distort the flywheel and glaze the clutch disc. Allow proper cooldown periods during heavy use. Install a high-quality, SFI-certified flywheel with accurate ring gear runout-less than 0.005 inches guarantees smooth meshing. Pair it with an organic or ceramic clutch disc rated for your torque output. Proper break-in-gradual engagement across 500 miles-optimizes longevity and prevents premature chatter.
On a final note
You prevent clutch chatter by guaranteeing a clean, flat flywheel surface. Contaminants like oil or debris disrupt friction, causing vibration. Clean the flywheel during clutch replacement using a non-residue solvent like brake cleaner. Light scoring (under 0.002″ depth) is acceptable; deeper grooves require resurfacing. Always follow manufacturer flatness specs-typically within 0.001″ tolerance across the surface. A precise finish guarantees even pressure plate contact, eliminating slip and chatter.