Replacing a Starter in a Vehicle With Limited Underhood Access
You’ll need at least 12.4 volts at the battery to rule out power issues-test with a multimeter before touching the starter. Confirm the solenoid clicks; if not, check the relay or ignition signal. Use a 3/8″ drive swivel socket and universal joint to reach recessed 14mm mounting bolts. Remove the negative battery cable first, then any heat shields blocking access. Tighten new starter bolts to 35 lb-ft in a crisscross pattern. Make sure the flywheel teeth are intact and ground cables secure-then verify cranking speed hits 200 rpm. Proper torque and clean connections prevent future no-starts.
Notable Insights
- Use slim-head ratchets, swivel sockets, and universal joints to reach tight spaces around the starter.
- Apply penetrating oil and allow soak time to prevent rounding bolts in confined areas.
- Disconnect the negative battery terminal first to avoid short circuits during starter removal.
- Remove obstructions like heat shields and air ducts to improve access to the starter.
- Verify proper alignment and secure connections before testing cranking speed and voltage.
Diagnose a Failing Starter Fast
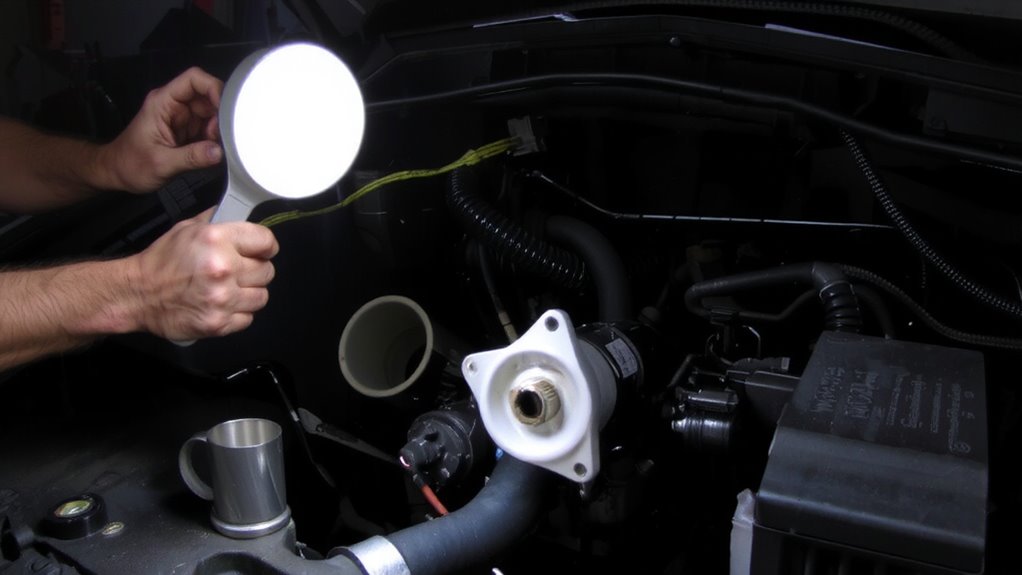
What if the engine doesn’t turn over when you turn the key? First, check the battery voltage-it should read at least 12.4 volts with the engine off. Low voltage can mimic starter failure. Use a multimeter for an accurate measurement. If voltage is sufficient, inspect the electrical connections at the starter and battery. Corrosion or looseness disrupts current flow, starving the starter of needed power. Clean all terminals and tighten securely. Listen for a clicking noise when turning the key; it often means the solenoid engages but the starter motor can’t rotate. That usually points to internal starter failure. No sound at all? Check the ignition signal and relay. Diagnose each component systematically-you’ll save time and avoid replacing good parts. Accurate voltage and solid electrical connections are critical.
Choose Tools for Starter Replacement in Tight Spaces
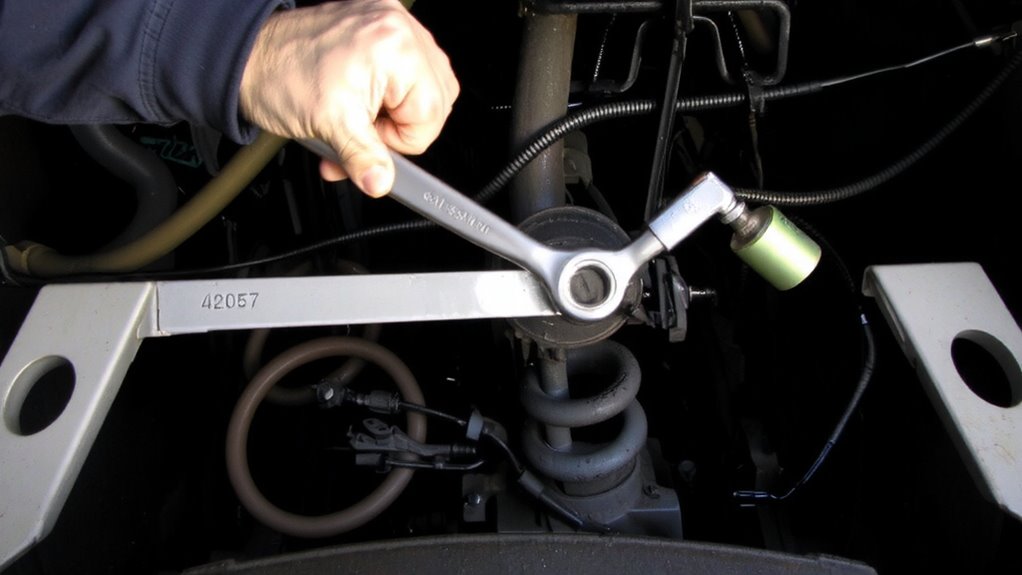
You’ve confirmed the starter is faulty after ruling out battery and circuit issues. Now, selecting the right tools is critical for success in tight engine bays. Use long socket extensions to reach recessed bolts without removing surrounding components. Pair them with universal joints to angle around obstructions, maintaining torque without slipping. These tools save time and reduce risk of fastener damage. A high-quality swivel socket can provide additional flexibility when access angles are extremely limited.
| Tool | Length/Size | Use Case |
|---|---|---|
| Universal joint | 3/8″ drive | Angling in confined spaces |
| Flexible socket extension | 6″–12″ | Reaching rear-mounted starters |
| Swivel spark plug socket | 5/8″ or 13/16″ | Clearance in tight fits |
| Ratchet w/ slim head | 3/8″ drive | Low overhead access |
| Magnetic extension | 6″ | Retrieving dropped hardware |
Choose hardened steel tools rated for high torque.
Remove Components Blocking Starter Access
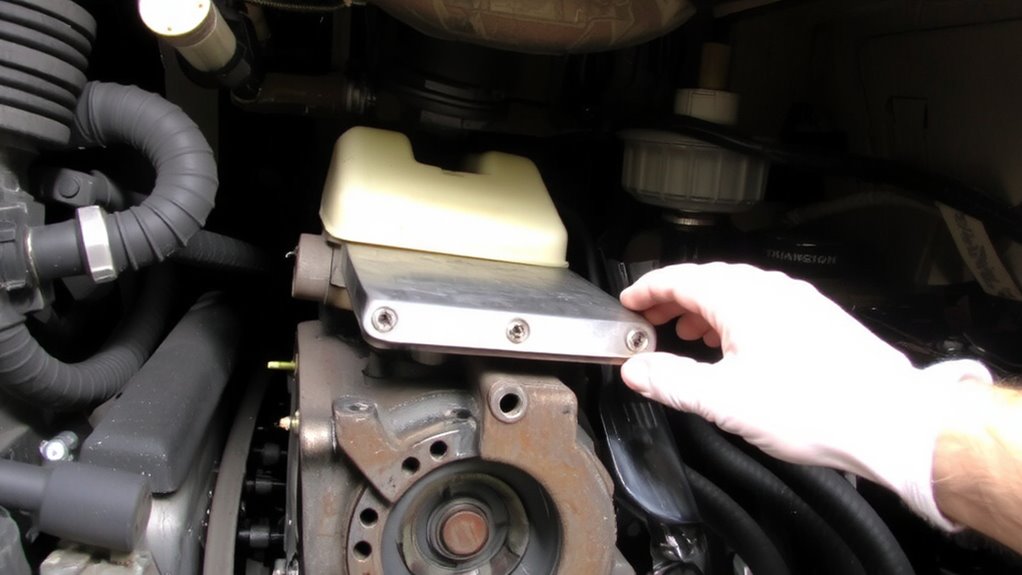
Start by identifying the components obstructing access to the starter, as removal of some parts may be necessary depending on the vehicle’s engine layout. Always begin with battery disconnection to prevent electrical shorts-disconnect the negative terminal first using a 10mm wrench. On many front-wheel-drive vehicles, a heat shield removal is required; these thin metal covers are secured with 8mm or T20 Torx screws. Remove fasteners carefully to avoid stripping. Some models require intake manifold shields, air ducts, or exhaust heat shields to be unbolted. Use a ratcheting wrench or swivel socket to access confined spaces. On transverse V6 engines, you may need to remove the serpentine belt and mount bracket. Each removed component should be labeled and stored securely. Maintain a clean workspace-debris can interfere with reassembly. Every vehicle differs, so consult service manuals for torque specs and exact clearance requirements.
Replace the Starter Without Damaging Bolts
When removing the old starter, it’s critical to avoid stripping the mounting bolts, especially since they’re often exposed to heat and corrosion. Use a six-point socket instead of a twelve-point to reduce rounding risks. Apply penetrating oil and let it soak before loosening-this preserves bolt threading. Always turn bolts counterclockwise with steady, even pressure. If resistance occurs, don’t force it; reapply lubricant and tap gently with a hammer. When installing the new starter, guarantee precise starter alignment to prevent binding or stress on the mounting points. Misalignment can shear bolt threading or damage the bell housing. Tighten bolts gradually in a crisscross pattern to maintain even pressure. Typical torque specs range from 30–45 lb-ft, depending on vehicle make. Match original bolt length and grade to avoid interference with internal components. Proper bolt threading engagement guarantees long-term reliability and prevents vibration-induced loosening.
Test the Engine and Avoid Common Mistakes
With the new starter securely fastened and all connections tightened to spec, the next step is verifying proper operation by testing the engine. Engine testing guarantees the starter engages correctly and cranks the engine within normal RPM range-typically 150–250 rpm for most gasoline engines. Turn the ignition and listen for smooth engagement without grinding or delayed crank. If the engine fails to start, check battery voltage; you need at least 12.6V at rest and no less than 10V during cranking. Common mistakes include loose ground cables or reversed solenoid wiring. Mistake prevention means double-checking all connections, confirming proper starter alignment, and guaranteeing the flywheel teeth aren’t damaged. Never bypass safety interlocks except for diagnostics. Each step verifies reliability. A successful start confirms correct installation and electrical integrity.
On a final note
You’ve successfully replaced the starter in tight underhood conditions. Use a swivel-head ratchet (3/8-inch drive, 6-inch extension) to reach confined bolts. Torque mounting bolts to 30–35 lb-ft to prevent loosening. Reconnect the battery ground only after verifying all tools are clear. Test cranking; engine should start within 1.5 seconds. Voltage drop across the starter circuit must not exceed 0.5V.