Step-by-Step Guide to Installing Rear Deck Speakers in a Coupe
Choose rear deck speakers rated for 15–50 watts RMS with a sensitivity of at least 88 dB and a frequency response of 50 Hz–20 kHz. Use 5.25-inch coaxial or component speakers with polypropylene cones and neodymium magnets for durability and clear sound. Turn off your battery, then remove trim with a plastic tool to avoid damage. Secure speakers with 3–4 screws, wire with ¼-inch stripped ends using crimp terminals, and match 4-ohm impedance. Test with stereo imaging tracks, set rear output 3–6 dB below fronts using an SPL meter, and fine-tune crossovers. Reinstall panels, route wires with loom and zip ties every 8 inches. There’s more to optimizing placement and sound integration based on your coupe’s acoustics.
Notable Insights
- Choose rear deck speakers with 4-ohm impedance and 15–50 watts RMS handling to match most head units.
- Disconnect the car battery and use a trim tool to safely remove rear deck panels without damage.
- Inspect speaker openings and replace degraded sound insulation with 45–60 mil butyl mat for better acoustics.
- Secure new speakers with screws or provided hardware, ensuring a snug fit before wiring connections.
- Test audio output, adjust balance/fade settings, and route wires with loom and zip ties for a clean finish.
Pick the Right Rear Deck Speakers for Your Coupe
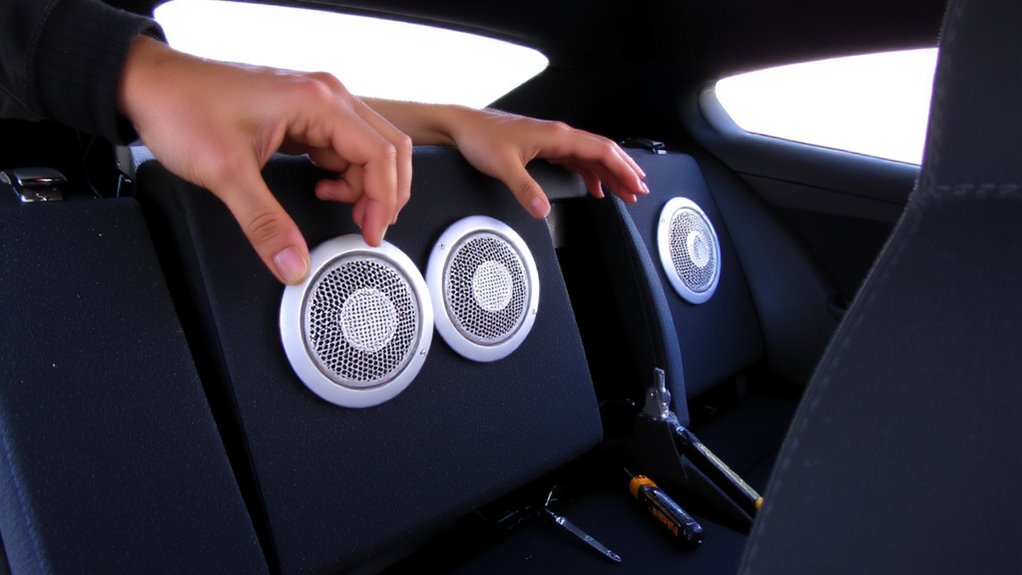
A good set of rear deck speakers can make a noticeable difference in your coupe’s audio quality. You need speakers that match your factory or aftermarket head unit’s power output, typically 15–50 watts RMS per channel. Component speakers offer superior sound quality over coaxial models due to separate tweeters and woofers. Look for neodymium magnets and polypropylene cones-they resist heat and distortion. Speaker placement affects stereo imaging; ideal positioning creates a balanced soundstage reaching the driver’s ear at the same time as front speakers. Most coupes use 5.25″ or 6.5″ rear speakers, so measure your deck’s cutout diameter before buying. Frequency response between 50 Hz–20 kHz guarantees full-range audio. Sensitivity ratings of 88 dB or higher deliver louder output with less power. Choose impedance (usually 4 ohms) compatible with your amplifier or receiver. Proper selection sets the foundation for maximum performance.
Gather Tools and Prep Your Coupe’s Interior
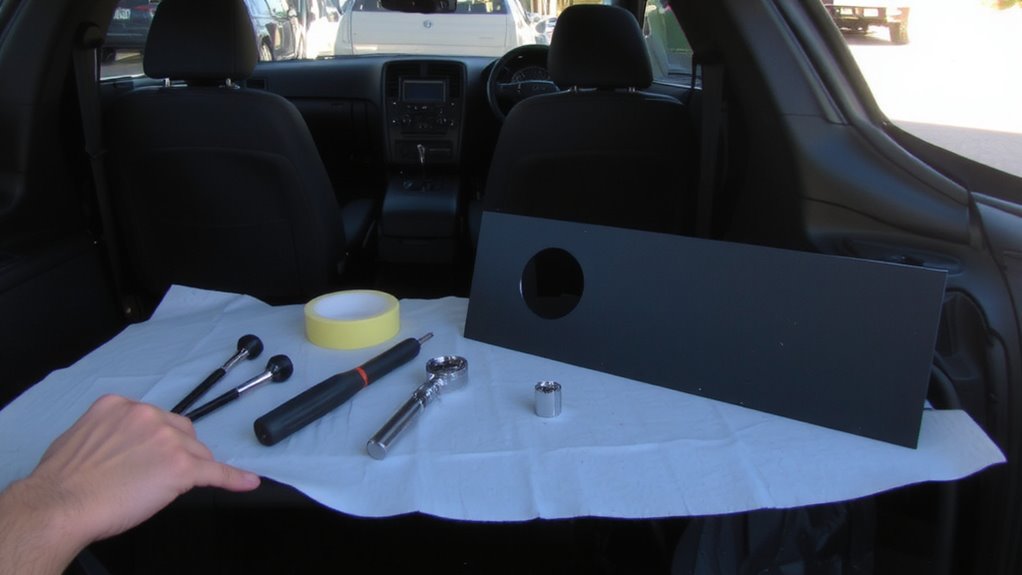
Now that you’ve chosen the right rear deck speakers for your coupe, it’s time to prepare for installation. Gather basic tools: a trim removal tool, screwdrivers, wire cutters, and a multimeter. Park in a clean, well-lit area to guarantee visibility. Turn off the vehicle’s battery to prevent electrical shorts. Remove any loose items from the cabin. Lower interior lighting or disable dome lights to avoid glare during work. Protect surfaces with microfiber cloths. Inspect existing sound insulation on the rear deck. If damaged or missing, plan to replace it with butyl-based matting-typically 45–60 mil thick-to reduce road noise and vibration. Proper sound insulation boosts audio clarity by minimizing cabin resonance. Guarantee all tools are within reach. A well-prepped interior improves access, reduces risk of damage, and supports efficient wiring. Preparation directly impacts system performance and installation safety.
Remove Trim to Access Rear Speaker Openings
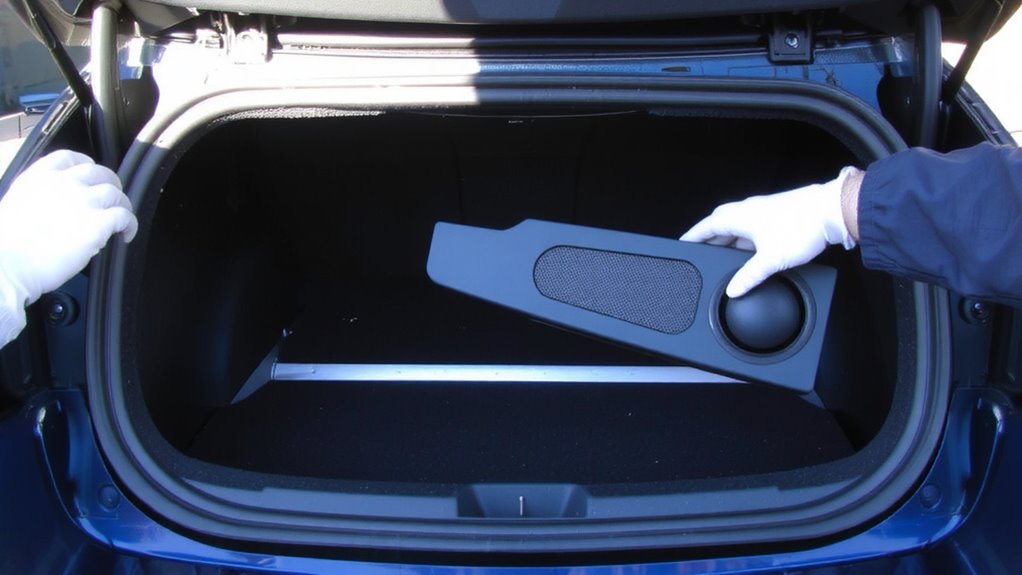
Start by locating the trim panels covering the rear speaker openings on your coupe’s deck. Use a plastic trim tool to gently pry them loose, working from one edge and moving around to avoid cracking. Proper panel alignment guarantees a clean fit post-installation and protects surrounding surfaces. Misalignment can compromise speaker placement and acoustics. Most coups use 6–8 clips per panel; apply even pressure to release them.
| Factor | Importance |
|---|---|
| Correct speaker placement | Optimizes sound staging and imaging |
| Precise panel alignment | Prevents rattles and gaps |
| Trim material type | Affects removal technique and risk of damage |
| Clip spacing | Determines pry point locations |
| Panel contour | Influences tool angle and insertion depth |
Label each panel and store screws systematically. This guarantees accurate reassembly and maintains factory-like finish. When reattaching trim panels, consider using a high-strength auto trim adhesive to secure any loose clips or degraded mounting points.
Install and Wire the New Rear Deck Speakers
Once the trim panels are removed and the speaker openings are fully accessible, you can begin installing the new rear deck speakers. Position each speaker into the opening, guaranteeing a snug fit. Secure them with the included screws or mounting hardware, typically 3–4 small Phillips-head fasteners. Match the speaker’s impedance-usually 4 ohms-to your amplifier or head unit to maintain proper impedance matching, preventing overload. Verify the power handling capacity, often rated between 30–100 watts RMS, aligns with your system’s output. Exceeding this range risks distortion or damage. Strip ¼ inch of insulation from the wire ends using a wire stripper. Connect positive (+) and negative (–) terminals using crimp connectors or twist-on spade terminals. Double-check all connections. Proper wiring guarantees signal integrity and maximizes sound quality across the audio spectrum. For optimal performance, consider pairing your speakers with a high-quality car stereo amplifier.
Test and Balance Your Rear Speaker Sound
With the rear deck speakers securely mounted and all wiring connections confirmed, it’s time to power up the system and assess audio performance. Play a well-mastered test track with clear stereo imaging to evaluate sound staging. Ideal sound staging positions instruments as if they’re in front of you, not inside the rear deck. Adjust your receiver’s balance and fade settings to shift audio focus forward while maintaining rear presence. Check frequency response using tracks with deep bass, midrange vocals, and crisp highs. The rear speakers should complement-not overpower-the fronts across all frequencies. Use an SPL meter if possible, aiming for 70–75 dB from the rear, about 3–6 dB lower than front output. This creates a cohesive soundstage. Fine-tune crossover settings to match speaker size and avoid muddy bass. Proper calibration guarantees seamless integration, enhancing clarity and depth without drawing attention to the rear location.
Reinstall Panels and Secure All Components
After verifying all speaker connections are tight and the wiring is free of kinks or pinches, begin reinstalling the rear deck panels. Proper speaker alignment guarantees maximum sound dispersion toward the cabin’s listening position. Align each speaker flush with the mounting surface, then secure with the provided screws-typically 6mm x 16mm self-tapping screws for plastic decks. Apply firm, even pressure to avoid cracking. Correct cable management prevents interference and damage. Route wires away from moving parts and sharp edges, using plastic loom and zip ties spaced no more than 8 inches apart. Secure excess wire with hook-and-loop straps to minimize vibration. Reattach panels using original fasteners, guaranteeing clips engage fully. Double-check for gaps or misalignment. A snug fit reduces panel resonance. Test operation again after reassembly to confirm no issues arose during installation.
On a final note
You’ve successfully upgraded your coupe’s audio system. Rear deck speakers now deliver balanced, high-fidelity sound. Make sure speaker impedance matches your amplifier-typically 4 ohms. Confirm wiring connections are secure and polarity is correct. Test at various volume levels. Use a sound meter to balance output with front speakers, ideally within ±3 dB. Reattach panels firmly. Clear debris. Your system is optimized for clear, immersive audio. Enjoy improved sonic performance.