How to Prepare a Classic Car for Six-Month Garage Storage Without Damage
Fill your gas tank completely to reduce condensation, then add 1 ounce of fuel stabilizer per gallon to prevent ethanol separation and gum formation within 30 days. Run the engine for 10 minutes so treated fuel reaches the entire system. Use a 1–2 amp battery tender to maintain charge without overcharging; check voltage-12.6V means full. Inflate tires to max sidewall pressure, ideally 44 psi, and support the car on jack stands. Place tires on plywood and cover them to block UV and moisture. Apply a ceramic-based paint sealant up to 1 micron thick for long-term protection. Use a breathable, non-absorbent car cover and store in a climate-controlled garage with humidity under 50%. Deploy silica gel packs-10–20 oz per 100 ft³-to control interior moisture. Install snap traps every 10 feet and seal gaps larger than ¼ inch with steel wool. Use ultrasonic repellents (32–62 kHz) near the engine bay. Consider a LiFePO4 battery for longer storage stability. Cover the cabin air intake and place peppermint oil-soaked cotton balls as temporary deterrents. Parking in a locked, enclosed space adds critical protection. More essential steps follow to keep your classic in peak condition.
Notable Insights
- Fill the fuel tank and add stabilizer, then run the engine to protect the fuel system from degradation.
- Connect a battery tender to maintain charge and use a voltage monitor to track battery health.
- Inflate tires to maximum pressure and elevate the vehicle on jack stands to prevent flat spots.
- Seal and protect the paint with a ceramic coating, and use a breathable car cover in a dry garage.
- Deploy traps and seal gaps to deter rodents, and use repellents to keep critters from nesting.
Fill the Tank and Stabilize the Fuel
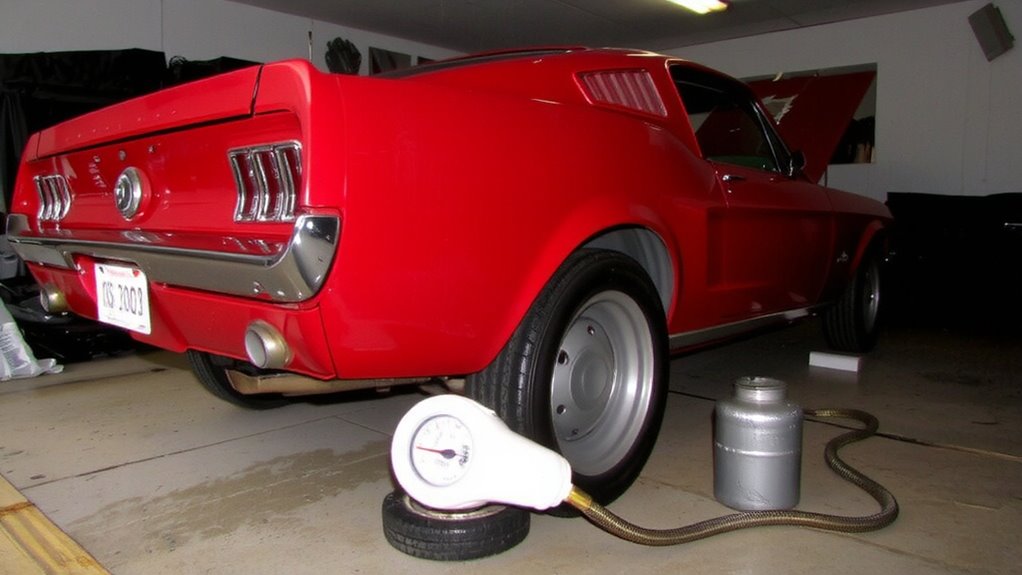
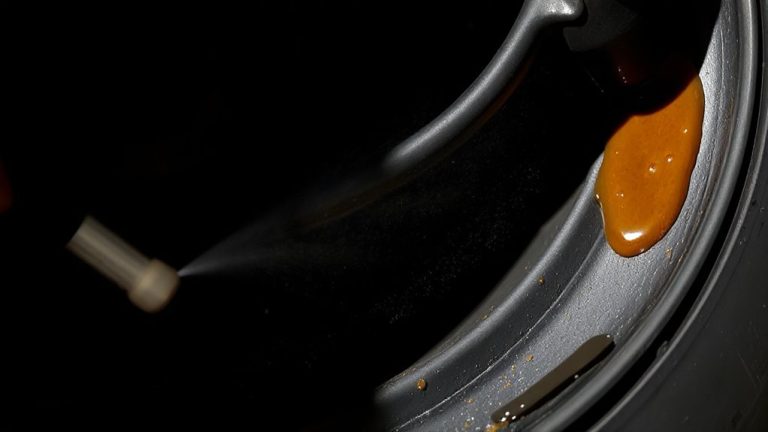
While it might seem counterintuitive, filling the fuel tank before storage helps prevent moisture buildup that can lead to corrosion. A full tank reduces air space, minimizing condensation inside the tank. You should add a fuel stabilizer designed to combat both fuel degradation and ethanol absorption. Without stabilizer, gasoline begins breaking down in as few as 30 days, forming gums and varnishes that clog fuel lines and injectors. Ethanol, common in modern gasoline, absorbs water from the air-up to 0.5% by volume-promoting phase separation and engine damage. Use 1 ounce of stabilizer per gallon of fuel for best results. Run the engine for 10 minutes after adding it, guaranteeing treated fuel circulates through the entire system. This prevents old fuel from leaving deposits. The engine must be off only when stabilizer-treated fuel fills the lines. Proper treatment guarantees fresh performance after storage.
Save Your Battery During Storage
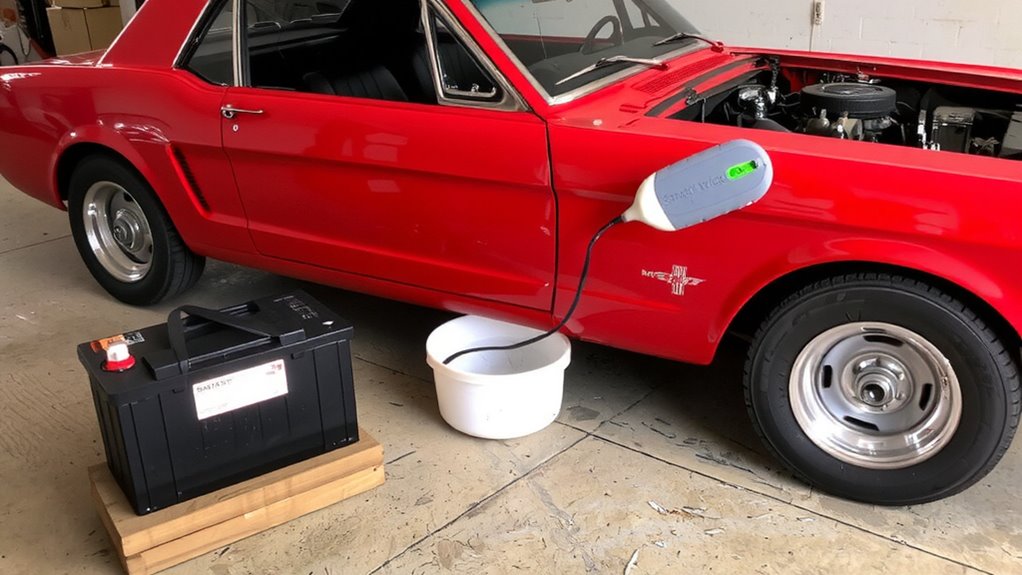
If you leave your classic car sitting for months, the battery will likely be dead when you return. To prevent this, use a battery tender designed for long-term storage. These devices deliver a low, steady charge-typically 1 to 2 amps-and automatically switch to maintenance mode when the battery reaches full voltage. This prevents overcharging and sulfation, which can permanently damage cells. Connect the tender directly to the battery terminals, guaranteeing a secure connection. For added security, install a voltage monitor. It continuously tracks battery health, displaying real-time voltage readings-12.6V indicates full charge; below 12.2V suggests discharge. Most monitors connect permanently and draw minimal current, less than 1 milliamp. Choose a digital display unit with LED indicators for quick status checks. Using both a battery tender and voltage monitor guarantees your battery remains in ideal condition throughout six-month storage. For those upgrading their system, consider a LiFePO4 battery as it offers superior cycle life and stability during storage.
Prevent Tire Flat Spots and Dry Rot
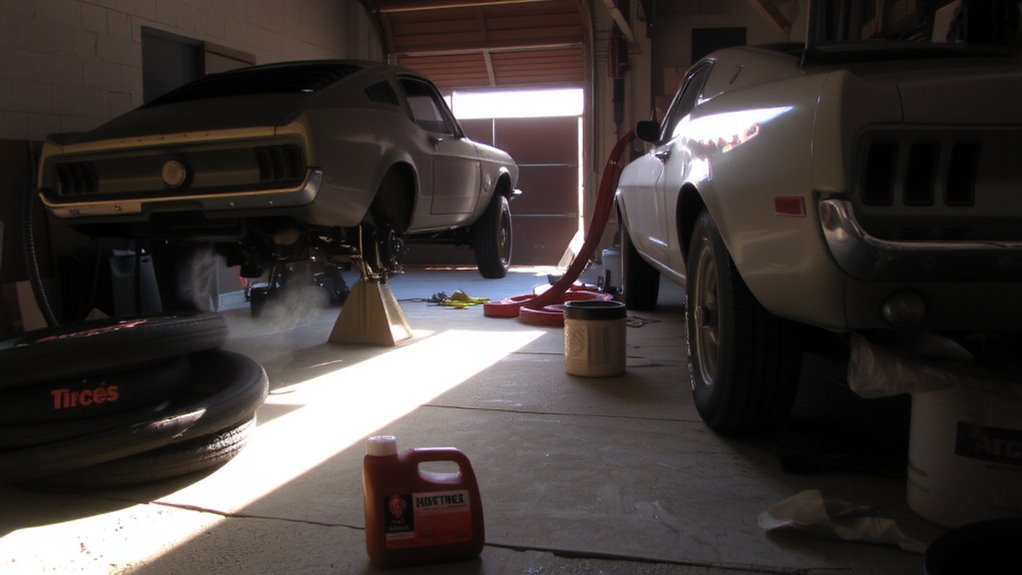
You’ve protected your battery, but your classic car’s tires face their own threats during long-term storage. Flat spots form when tires remain under load for months, distorting the tread and causing vibrations at startup. Prevent this by inflating tires to the manufacturer’s maximum pressure-usually 44 psi-found on the tire sidewall. Elevated pressure reduces deformation. If the car will sit unevenly, check wheel alignment; misalignment increases uneven wear. For storage over six months, lift the vehicle on jack stands to fully remove tire load. Place tires on plywood if concrete floors wick moisture. UV exposure and ozone accelerate dry rot, so cover tires with cotton covers. Inspect sidewalls monthly for cracking. Tires older than six years degrade mechanically, even with proper inflation. Replace preemptively. Maintain tire pressure and wheel alignment to preserve structural integrity and guarantee safe operation post-storage. A thorough exterior clean using a best foam cannon helps remove contaminants that could degrade tire rubber over time.
Stop Moisture Ruining Interior and Paint
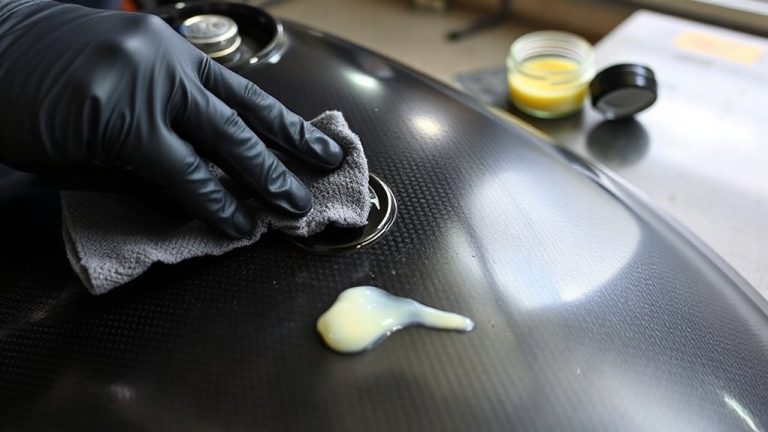
Since moisture is a primary enemy during long-term vehicle storage, taking proactive steps to control humidity protects both interior materials and paint finishes. Use silica gel desiccants-10 to 20 ounces per 100 cubic feet of interior space-to absorb ambient moisture. Guarantee interior ventilation by cracking windows slightly if weather permits, or install a battery-powered cabin vent that activates at 70% relative humidity. This prevents condensation buildup that can lead to mold and upholstery damage. Apply a professional-grade paint sealing product containing ceramic or synthetic polymers; these form a hydrophobic barrier up to 1 micron thick, resisting water intrusion and oxidation. Avoid wax-only solutions, as they degrade faster. Store the car in a climate-controlled garage with relative humidity below 50%. Use a breathable, non-absorbent car cover to allow vapor transfer while blocking dust. For enhanced protection, place a best moisture absorber for cars in the cabin to actively reduce humidity levels over extended periods.
Keep Mice and Critters Out of Your Classic
A sealed, dry garage protects against moisture but can become an inviting shelter for mice and other small animals seeking warmth and cover. To prevent infestation, deploy a combination of mouse traps and rodent repellent at key entry points. Use snap traps or electronic traps every 10 feet along interior walls. Seal gaps larger than ¼ inch around doors, wiring, and plumbing with steel wool or metal mesh. Place ultrasonic rodent repellent devices near the engine bay and undercarriage-these emit frequencies between 32–62 kHz. Natural repellents like peppermint oil-soaked cotton balls work short-term but require weekly replacement.
| Method | Effectiveness Duration |
|---|---|
| Snap traps | Immediate, single-use |
| Electronic traps | Immediate, reusable |
| Ultrasonic repellent | 3–6 months |
| Peppermint oil | 1–2 weeks |
Store Your Classic in a Safe, Stable Space
While temperature and humidity control aren’t always feasible, maintaining stable environmental conditions is critical when storing a classic car long-term. Fluctuations cause condensation, promoting rust and mold. Aim for a relative humidity between 45% and 55%; above 60% risks corrosion. Use a digital hygrometer for accurate climate monitoring-place it near the car, not on an outside wall. Ventilation control prevents stale air buildup but avoid drafts that carry moisture. A dehumidifier rated at 20–30 pints per day works well in a standard 2-car garage. Concrete floors wick ground moisture; elevate tires with boards or use silicone-based tire savers. Park indoors, preferably in a locked, enclosed space to deter theft and debris. UV exposure degrades trim and upholstery-block sunlight with opaque covers. Stable temperatures reduce fluid expansion and seal stress. Avoid attics or unconditioned sheds. A conditioned or insulated garage with consistent air quality preserves finishes, joints, and electronics.
Start Your Classic Easily After Storage
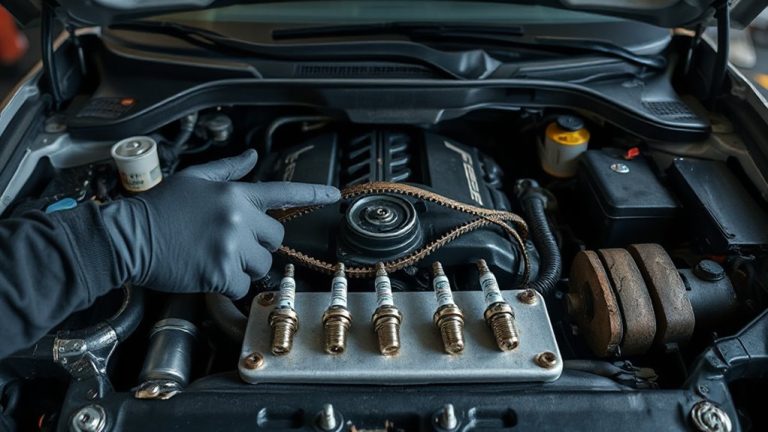
You’ve kept your classic protected in a stable, dry environment, but that same storage can lead to starting issues if not managed properly. Begin with an ignition check to confirm battery voltage is at least 12.4 volts. Weak spark can prevent combustion. Replace spark plugs if fouled or corroded. Inspect ignition wires for cracks or resistance exceeding 10,000 ohms per foot. Fuel stabilizer prevents varnish, but condensation may still clog injectors or jets. Prime the fuel system before cranking. Turn the key to “run” without starting, pausing five seconds, then repeat twice. Crank no longer than 10 seconds at a time. Let the starter cool between attempts. Once running, allow a gradual engine warm up-idle for five minutes to circulate oil and stabilize fuel pressure. Monitor oil pressure and coolant temperature gauges. Avoid revving cold. This process guarantees lubrication reaches camshafts and lifters, preventing dry-start damage.
On a final note
Your classic car will stay protected through six-month storage with proper preparation. Fill the fuel tank to prevent condensation and add 1.2 ounces of fuel stabilizer per gallon of gas. Disconnect the battery or use a maintenance charger set to 12.6 volts. Inflate tires to 35 psi and place the car on jack stands or tire savers. Use a breathable car cover to block moisture and deter rodents.