Step-by-Step: Replacing a Clutch in a Manual Transmission Crossover
Secure your crossover on level ground, engine off, parking brake on, and wheels chocked. Lift with a 3-ton jack and support with stands at specified points. Disconnect the driveshaft, shift linkage, and unbolt the transmission from the engine. Use a transmission jack for safe removal. Always label connectors and protect the input shaft. Proper setup guarantees safe access to the clutch assembly. Next steps involve inspecting critical components and precise reassembly.
Notable Insights
- Secure the vehicle on level ground, engage the parking brake, and use jack stands for safe access.
- Disconnect the driveshaft and shift linkage, then carefully remove the transmission with a transmission jack.
- Inspect the flywheel for damage and resurface or replace it if it’s out of specification.
- Install the new clutch disc and pressure plate using an alignment tool and torque bolts in a star pattern.
- Reinstall the transmission, reconnect all components, and bleed the clutch hydraulic system thoroughly.
Prepare Your Crossover for Clutch Replacement
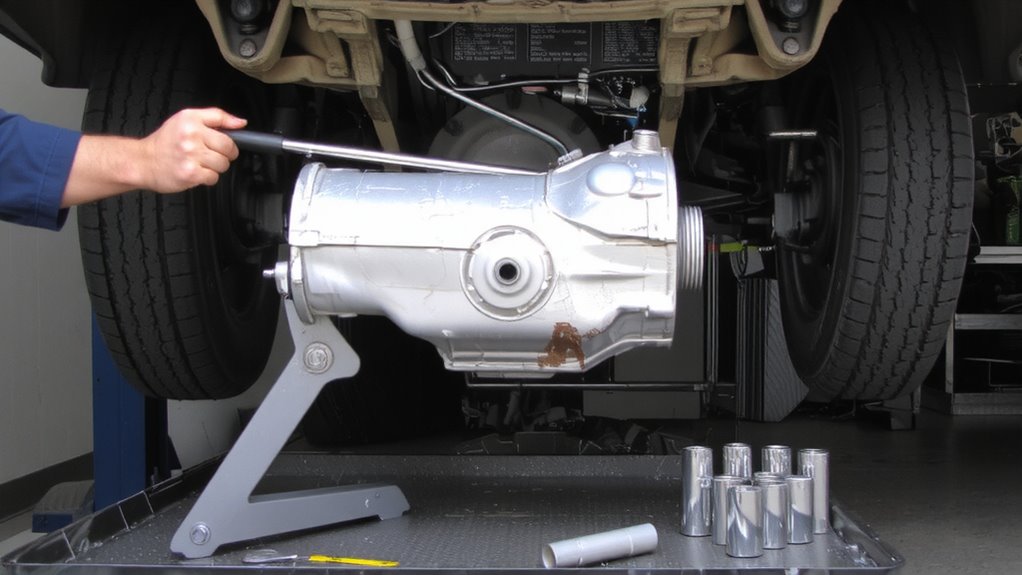
Before you begin the clutch replacement, make certain your crossover is securely positioned on a level surface and the engine is completely off. Vehicle stability is critical-engage the parking brake and chock the rear wheels to prevent accidental movement. Lift the vehicle using a hydraulic jack rated for at least 3 tons, then support it with jack stands placed at the manufacturer-specified lift points. Never work under a vehicle supported only by a jack. Position a drip pan beneath the transmission to catch residual fluid. Gather all necessary tools: a torque wrench (10–150 ft-lbs range), socket set, and clutch alignment tool. Practice tool organization by laying tools on a labeled mat to reduce search time and maintain workflow efficiency. Proper setup guarantees safety and precision during disassembly.
Remove the Transmission to Reach the Clutch
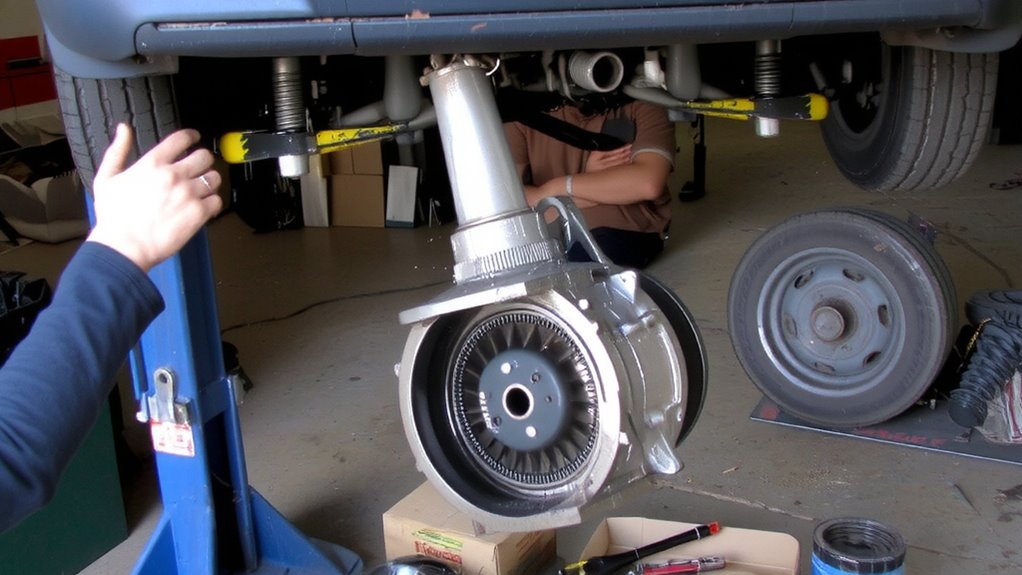
You’ve secured the vehicle and gathered your tools-now it’s time to disconnect the driv游戏副本 so you can access the clutch assembly. Begin by removing the driveshaft and disconnecting the linkage or cables from the shift lever. Unbolt the torque converter housing cover and separate the transmission from the engine block. Use a transmission jack for precise transmission jacking-this guarantees safe, stable removal and protects the input shaft. Support the engine with a hoist if needed to prevent misalignment. Once the transmission is free, carefully slide it rearward and lower it. With the transmission out, you’ll expose the clutch and pressure plate. Proper clutch alignment during reinstallation will be critical, so keep components organized. Label all sensors and wiring. Avoid tilting the transmission excessively to prevent fluid leaks and internal damage. Handle the bellhousing with care to maintain rigidity.
Inspect and Replace the Flywheel if Needed
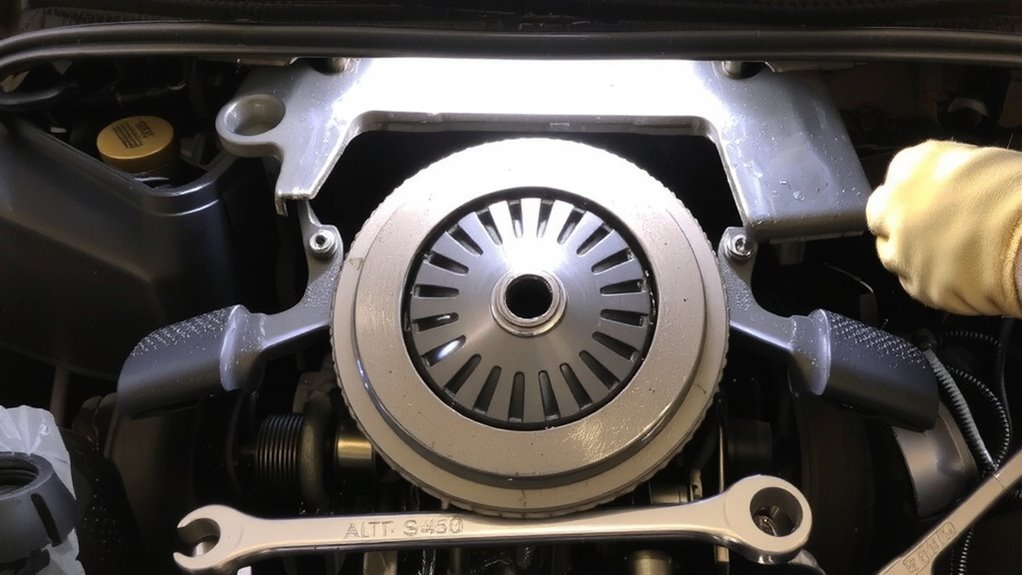
A smooth, flat flywheel is critical for proper clutch engagement and long-term drivetrain performance. You must inspect it for scoring, warping, or hot spots before installing a new clutch. If the surface shows minor wear, you can consider flywheel resurfacing at a machine shop. Severe damage or thickness below the manufacturer’s minimum requires replacement. Always follow factory torque specifications when reinstalling the flywheel to prevent distortion or failure.
| Condition | Action Required | Torque Specification Reference |
|---|---|---|
| Light scoring | Resurface | Check service manual |
| Cracks or deep grooves | Replace | Per manufacturer spec |
| Thickness < minimum | Replace | Use torque wrench |
| Surface flatness > 0.002″ | Resurface or replace | Tighten in star pattern |
Install the New Clutch Disc and Pressure Plate
Once you’ve confirmed the flywheel is in spec and properly torqued, it’s time to install the new clutch disc and pressure plate. Position the clutch disc onto the flywheel, guaranteeing the correct side faces the transmission-most discs have a marked side for orientation. Use a clutch alignment tool to center the disc between the flywheel and pressure plate. Misalignment can cause binding or premature wear. Once aligned, place the pressure plate over the disc, guaranteeing bolt holes line up. Secure it with the manufacturer-specified fasteners. Tighten the bolts gradually in a star pattern to meet the exact torque specifications-typically 18–22 ft-lbs, but always consult your service manual. Even torque prevents warping and guarantees flat contact. The alignment tool must remain in place until the transmission mounts. Proper clutch alignment and adherence to torque specifications are critical for smooth engagement and long-term reliability.
Reinstall the Transmission and Drivetrain Parts
While the engine and transmission are still separated, now’s the time to verify alignment and clean mating surfaces to guarantee a proper seal. Proper transmission alignment is critical-misalignment causes vibration and premature wear. Use a pilot bearing tool to confirm centering before joining components. Once aligned, carefully reconnect the transmission to the bell housing, guiding the input shaft straight in. Tighten bell housing bolts gradually in a crisscross pattern. Reattach drivetrain parts like the exhaust, axles, and shift linkage securely. Final drivetrain torque specifications must be followed precisely-typically 25–30 ft-lbs for axle nuts and 70–85 ft-lbs for crossmember bolts.
| Component | Torque Spec (ft-lbs) | Tool Needed |
|---|---|---|
| Bell Housing | 18–22 | Torque Wrench |
| Axle Nuts | 25–30 | Impact Wrench |
| Crossmember | 70–85 | Socket Set |
| Exhaust Hangers | 10–15 | Plier/Wrench |
Bleed the Clutch and Check Fluid Levels
Start by locating the clutch slave cylinder bleed valve, usually found near the transmission bell housing on the side facing the engine. The bleed valve location is critical for proper air removal from the hydraulic system. Attach a clear hose to the valve and submerge the other end in a fluid-filled container. Have an assistant slowly press the clutch pedal while you open the valve to release air. Close it before the pedal reaches the floor. Repeat until no bubbles appear. Use only the recommended clutch fluid type-typically DOT 3 or DOT 4-to prevent seal damage and guarantee peak performance. Check the reservoir frequently, maintaining the fill level between MIN and MAX marks. Proper bleeding eliminates spongy pedal feel and guarantees full disengagement. Always confirm fluid clarity and top off as needed. A correctly bled system delivers precise clutch engagement and long-term reliability.
Test Drive and Fix Shifting or Pedal Issues
What happens if the clutch feels stiff or shifting remains notchy after installation? You may have alignment, adjustment, or air-related issues. Test drive at low speed first, checking for clutch engagement point and pedal vibration. Clutch slippage indicates improper disc seating or hydraulics failure. If problems persist, inspect the master/slave cylinder function.
| Issue | Likely Cause |
|---|---|
| Stiff pedal | Air in line or failing slave cylinder |
| Notchy shifts | Misaligned transmission or bent shift rail |
| Clutch slippage | Worn friction material or incorrect cable tension |
| High engagement point | Improper clutch adjustment |
| Pedal vibration | Damaged flywheel or warped pressure plate |
Verify all bolts are torqued to 25 Nm. Bleed the system again if needed. Replace components showing wear. Make certain the throw-out bearing moves freely.
On a final note
You’ve completed the clutch replacement with precision. Torque the pressure plate bolts to 25 lb-ft in a star pattern to guarantee even clamping. The new organic clutch disc handles 280 ft-lbs of torque, matching OEM specs. Reinstall drivetrain components using thread locker on fasteners. Bleed the hydraulic system until the pedal feels firm-no sponginess. Test drive to confirm smooth engagement at 1.5 inches above the stop.