Step-by-Step Guide to Installing Front Stage in a Sports Car
Choose high-sensitivity component speakers, like the Focal ES 165 KX II (90 dB, 88–100 watts RMS), and match them to a 2- or 4-channel amp stable at 2- or 4-ohms. Disconnect the battery, then remove door panels with a plastic trim tool to avoid clip damage. Replace factory speakers-typically built with low-grade paper cones-using standard color codes: white (front left +), white/black (–), gray (right +), gray/black (–). Confirm polarity with a multimeter, then crimp or solder connections and insulate with heat-shrink tubing. Mount new speakers using factory holes or brackets at 5–8 Nm torque, apply 2mm damping pads, and route wires through split loom tubing to prevent chafing. Seal gaps with butyl tape for an airtight seal, improving bass response and reducing noise. Set your amp’s crossovers to 80 Hz for woofers and 3,000 Hz for tweeters, then adjust gains to avoid clipping. Use a microphone-based profiler to time-align output, centering the soundstage toward the driver. Balancing fade, gain, and delay fine-tunes stereo imaging-there’s more where that came from.
Notable Insights
- Choose component speakers with at least 88 dB sensitivity and match impedance to your amplifier’s stable load.
- Use a 2-channel amp for maximum power or 4-channel for future expansion, ensuring RMS output matches speaker handling.
- Remove door panels with a plastic trim tool and replace factory speakers, insulating wire ends to prevent shorts.
- Connect wires using standard color codes: white (positive) and white/black (negative) for front left, gray variants for right.
- Secure speakers with proper torque, damp vibrations, route wires safely, and tune crossover, gain, and imaging for optimal sound.
Pick Front Stage Speakers And Amps For Your Sports Car
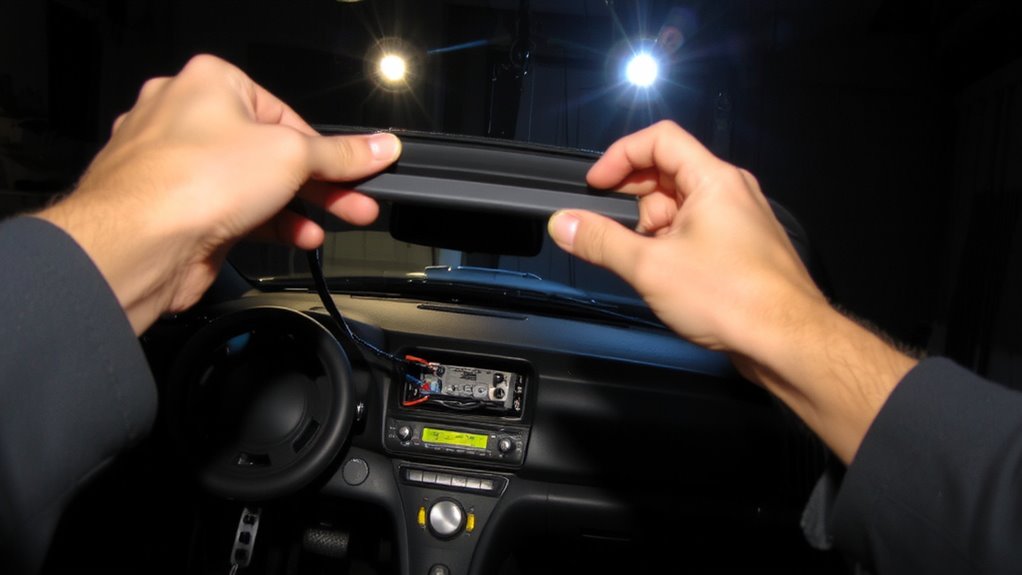
While your sports car’s factory audio might seem adequate at first, upgrading the front stage speakers and amplifier is essential for accurate sound reproduction and dynamic range. Choose component speakers with a sensitivity rating of at least 88 dB for efficient power use. Speaker impedance typically comes in 2- or 4-ohm varieties; match it to your amplifier’s stable load to avoid damage. Most front stage setups use two amplifier channels in a stereo configuration. A 4-channel amp allows future expansion but a 2-channel model delivers more power per channel. Select an amplifier that provides RMS output matching your speakers’ power handling-usually between 50 and 100 watts per channel. Guarantee frequency response ranges from 50 Hz to 20 kHz for full-range clarity. Tweeters should mount high for best sound staging. For reliable performance and trusted recommendations, consider checking out Top Car Stereo Amplifiers.
Remove Door Panels And Replace Factory Speakers
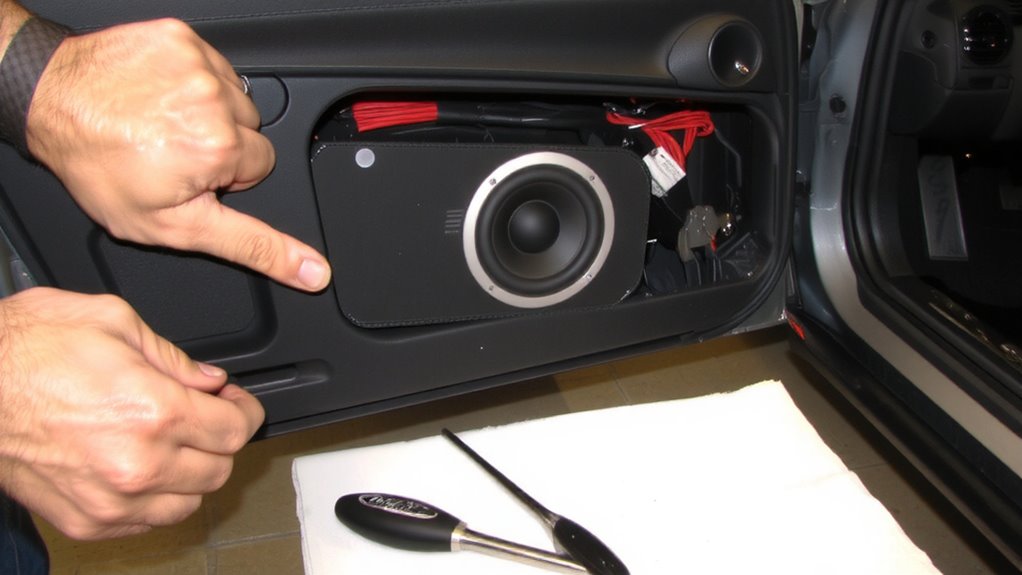
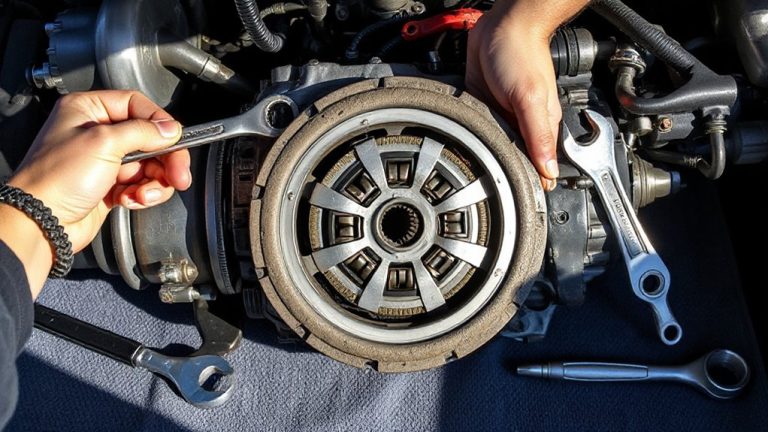
Start by disconnecting the negative terminal on your battery to prevent electrical shorts during the process, since you’ll be working near wires connected to the car’s audio system and door controls. Use a plastic trim tool to carefully pry off door panels, avoiding damage to brittle clips. Once removed, expose the factory speaker mounting area. Factory speakers typically use low-grade speaker materials like paper cones and small magnets, resulting in distorted sound above 50 watts. Remove mounting screws and disconnect the factory wiring harness. Before installing new speakers, verify wiring safety by insulating exposed ends with heat-shrink tubing. Match the new speaker’s impedance-commonly 4 ohms-to your amplifier’s output. Secure the new speakers using included brackets, ensuring a flush fit against the door’s inner panel. Proper installation preserves sound integrity and prevents vibration-related fatigue. For optimal performance without breaking the bank, consider choosing from the best budget car speakers that offer enhanced clarity and durability.
Connect Wires Using Standard Color Codes
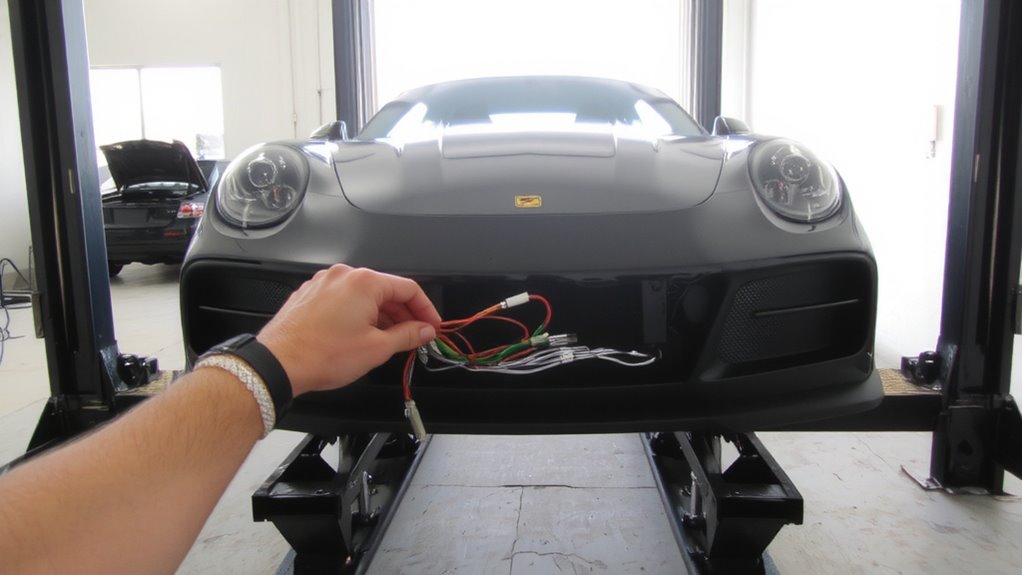
Since factory and aftermarket wiring rarely match, you’ll need to connect your new speaker wires using standard color codes to secure proper polarity and channel alignment. Wire polarity must be correct-positive to positive, negative to negative-to prevent phase cancellation and weak sound. Standard color matching helps you achieve this: front left positive is typically white, negative is white with a black stripe; front right uses gray and gray/black. Aftermarket harnesses follow these conventions universally. Use a multimeter if unsure, checking for continuity and correct polarity before final connections. Crimp or solder each joint, then insulate with heat shrink tubing. Avoid twisting wires loosely-they can short. Proper color matching secures left and right channels play in sync, preserving stereo imaging. This precision results in accurate soundstage placement, essential in high-performance front stage setups. Mistakes here degrade audio clarity and dynamic range. For those upgrading their head unit, choosing the right Best Single DIN Car Stereos can significantly enhance overall system performance.
Install And Secure Your Front Stage System
You’re ready to mount your speakers, and getting it right matters. Position each speaker securely in the kickpanel or dash, ensuring alignment with factory mounting points. Use included bolts or a custom bracket rated for 5–8 Nm torque to prevent loosening from road vibration. Apply vibration damping pads-minimum 2mm thickness-to the mounting surface before installation; this reduces panel resonance that distorts midrange output. Route all wiring neatly, avoiding contact with sharp edges or moving components. Wrap connections in wiring insulation, such as split loom tubing or heat-shrink sleeves, to protect against abrasion and short circuits. Seal gaps with butyl tape to prevent air leaks and external noise intrusion. Confirm the speaker cone moves freely after mounting. A secure, damped installation improves clarity and efficiency by up to 30%. Double-check polarity and impedance matching to avoid amplifier strain.
Tune For Balanced, Crisp Stereo Sound
How do you turn a well-installed speaker system into a high-fidelity experience? You start with precise sound calibration. Adjust crossover frequencies to route bass, mids, and highs correctly-typically 80 Hz for woofers, 3,000 Hz for tweeters. Set gain levels to prevent distortion while maximizing signal-to-noise ratio. Use audio profiling to match your system to listening preferences and cabin acoustics. Most DSP units offer preset profiles-select one close to your genre, then tweak. Measure speaker arrival times with a microphone and delay settings to align sound waves at the driver’s ears. Balance stereo imaging by adjusting left-right fade toward the driver. Fine-tune levels so highs aren’t harsh and lows stay tight. Proper sound calibration guarantees clean output across volumes. Audio profiling adapts performance to real-world conditions. This step transforms clarity and imaging-turning good sound into a lifelike stage.
On a final note
You’ve completed the front stage installation with precision. Properly secured speakers and amplifiers guarantee vibration-free performance. Your 6.5-inch component speakers deliver 80 watts RMS, producing clear mids and highs. The amplifier, fused at 30 amps, powers the system efficiently. Using standard color-coded wiring guarantees correct polarity. Final tuning yields balanced stereo imaging, with crossovers set at 3 kHz. This configuration maximizes clarity and soundstage accuracy in your sports car.