Cleaning Residue From Failed Seals Inside CV Joint Cavities Without Abrasive Damage
You must clean residue from a failed CV seal carefully to avoid surface damage. Use a non-chlorinated solvent like d-limonene or isopropyl alcohol to dissolve grease without harming metal or rubber. Apply with short bursts, let it penetrate for 30 seconds, then gently agitate with nylon brushes (under 0.1 MPa stiffness) or plastic picks. Wipe with lint-free polypropylene cloths and dry thoroughly using compressed air at 80–100 psi. Inspect for pitting or scoring-replace the joint if damage is visible. Proper cleaning sets the stage for what comes next.
Notable Insights
- Use non-abrasive nylon brushes with bristle stiffness under 0.1 MPa to safely remove residue without micro-gouging metal surfaces.
- Apply compatible solvents like d-limonene or isopropyl alcohol blends to dissolve petroleum-based residues without damaging rubber boots or coatings.
- Avoid chlorinated hydrocarbons such as trichloroethylene due to health risks and potential damage to metal substrates and joint components.
- Clean with tapered, soft-bristled brushes (6–12 mm) and plastic picks to reach cavity contours while preventing surface marring.
- Dry thoroughly with lint-free polypropylene cloths and compressed air (80–100 psi) to ensure no moisture or residue remains pre-reassembly.
What Happens When CV Seals Fail?
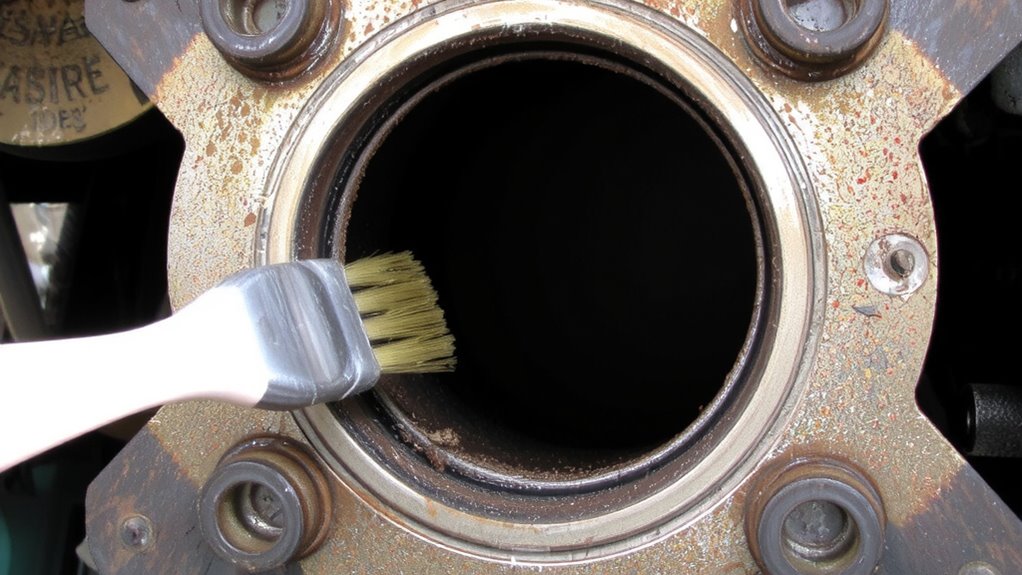
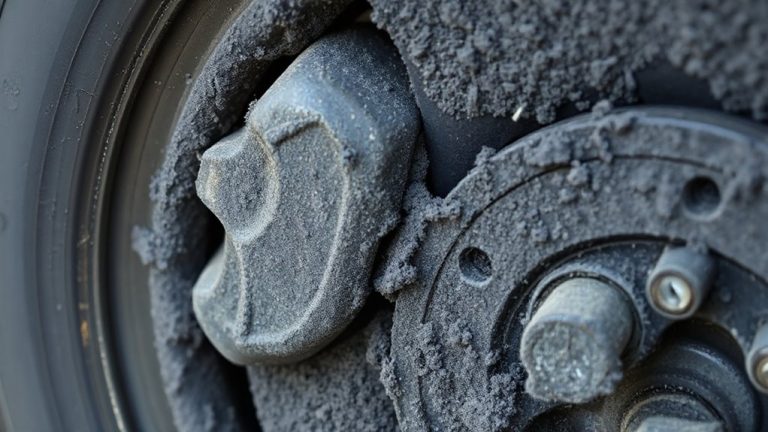
When a CV joint seal fails, grease starts to leak out and contaminants get in. Seal degradation occurs due to age, heat cycles, and exposure to road chemicals, compromising the rubber boot’s elasticity and structural integrity. Once the seal weakens, you’ll notice visible grease streaks along the inside of the wheel or on the rear of the hub assembly. This leakage reduces lubrication efficiency within the joint cavity. Simultaneously, contamination buildup introduces dirt, moisture, and road grit into the joint, accelerating internal wear. Debris mixes with remaining grease, forming an abrasive slurry that damages precision-machined grooves on the inner and outer raceways. Left untreated, this leads to increased vibration, clicking noises during turns, and eventual joint failure. The boot’s typical operating range is –30°C to 120°C; breaching these limits hastens deterioration. Preventive inspection every 15,000 miles helps detect early failure signs.
Best Solvents for CV Joint Residue
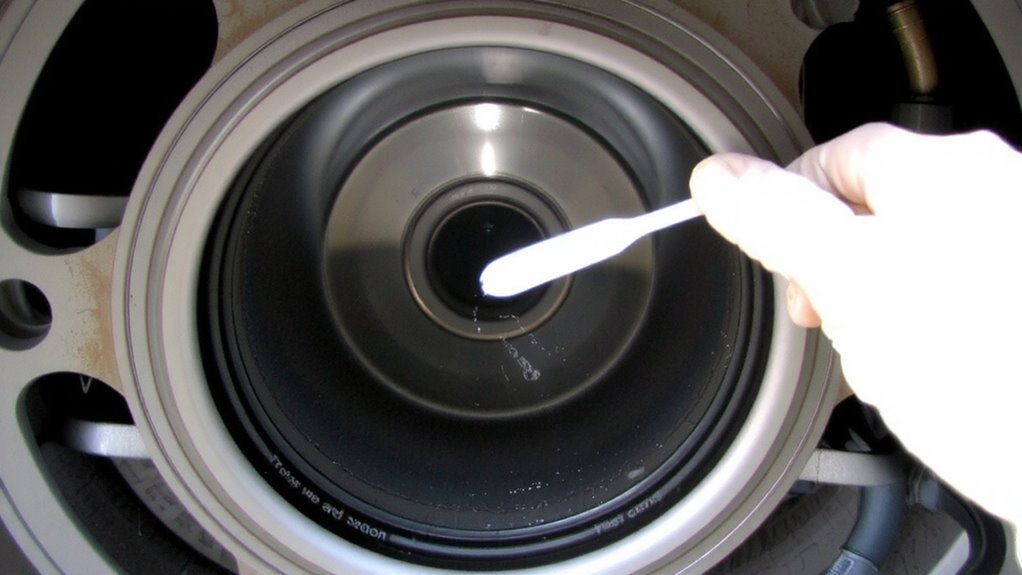
Effective cleaning of CV joint cavities starts with selecting the right solvent-your first line of defense against stubborn, degraded grease and abrasive contamination. You need a solvent that dissolves heavy petroleum-based residues without damaging metallized surfaces or elastomeric components. Chlorinated hydrocarbons like trichloroethylene offer strong degreasing power but pose health and environmental risks. Safer alternatives include d-limonene and isopropyl alcohol blends, which provide effective breakdown of oxidized lubricants. Always verify solvent compatibility with CV joint materials-especially rubber boots and corrosion-resistant coatings-to prevent swelling or cracking. Use residue testing post-cleaning: swab the cavity and inspect for film or particulates under UV light or with a magnifier. A properly cleaned joint shows no visible residue. Flash point, evaporation rate, and surface tension determine application safety and efficiency. Choose fast-evaporating, low-surface-tension solvents for penetrating tight geometries.
Safe Tools for Cleaning the Cavity
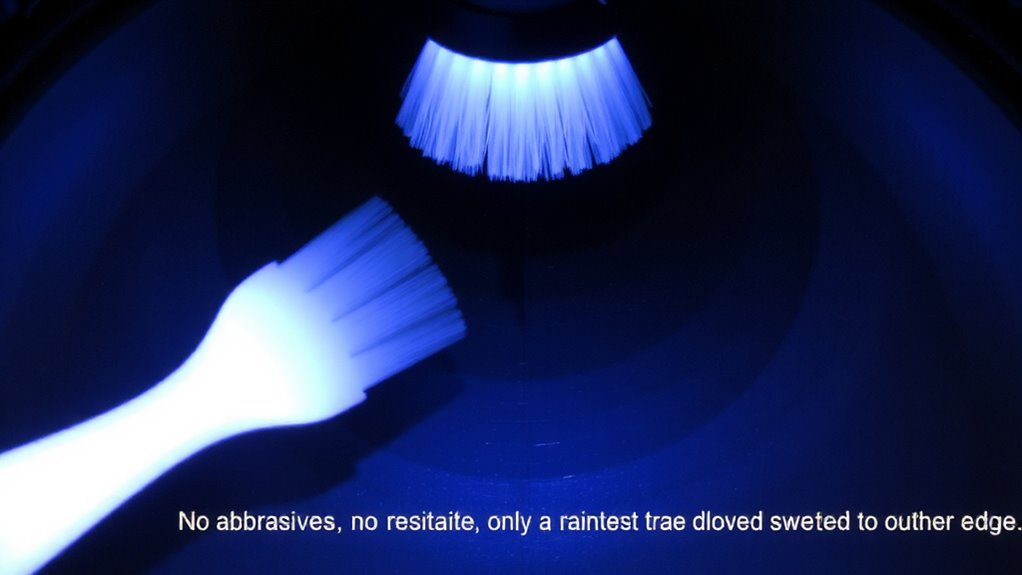
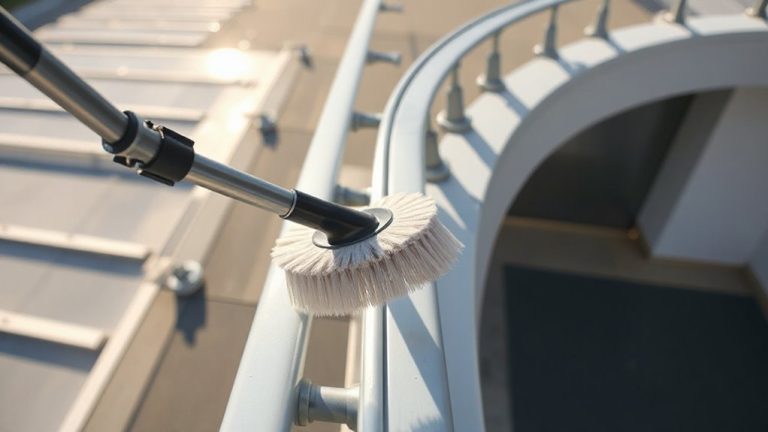
A well-maintained set of tools makes all the difference in cleaning CV joint cavities without causing damage. Use non abrasive brushes with nylon or soft polymer bristles to avoid scratching machined surfaces. These brushes typically feature tapered heads, 6–12 mm in diameter, allowing access to tight contours inside the cavity. The bristle stiffness should measure under 0.1 MPa to prevent micro-gouging on aluminum or steel components. Pair them with lint free cloths made of 100% polypropylene, which have a low particle shedding rate (less than 30 particles per cubic foot under IEST-STD-CC1246D). These cloths wick solvents evenly and leave no residue. Never use shop rags or wire brushes-they introduce abrasives or snag on edges. Proper tools maintain surface integrity and guarantee full contaminant removal, which is critical for seal performance and joint longevity. Regular maintenance with the right tools can prevent issues similar to those caused by clogged Best Fuel Filters for Duramax.
Step-by-Step: Clean CV Joint Seal Residue
Start by inspecting the CV joint cavity for visible seal residue, especially around the inner diameter where the boot seals against the spline. This residue inspection guarantees you identify all degraded material before cleaning. Use a bright LED flashlight and a magnifying mirror to spot stubborn deposits. Select appropriate solvent types based on the seal material-brake cleaner works well for synthetic rubber residue, while mineral spirits are safer for aged nitrile compounds. Never use chlorinated solvents; they can damage metal substrates. Soak a lint-free cloth with solvent and gently wipe the cavity. For tight areas, use a plastic pick as directed in the prior section. Apply solvent in short bursts, allowing 30 seconds for penetration. Agitate lightly with non-metallic tools to lift residue without marring surfaces. Repeat until the cloth shows no contamination.
Dry and Prep the Joint for Reassembly
Once cleaning is complete, you’ll need to make certain the CV joint cavity is completely dry before reassembly-any lingering moisture can compromise grease adhesion and lead to premature failure. Use clean, lint-free rags followed by compressed air at 80–100 psi to evaporate residual traces. Confirm dryness visually and with a moisture-sensitive indicator if available. Then perform a thorough surface inspection. Check for pitting, scoring, or corrosion on the inner casing and joint components. Even minor imperfections can disrupt lubrication distribution. All surfaces must be smooth and free of debris. If damage is found, replacement is recommended over repair. Follow the manufacturer’s reassembly protocol precisely. This includes proper alignment of joint components and using specified torque values for retaining hardware. Avoid skin contact with internal surfaces to prevent contamination. Prepping correctly ensures long-term reliability and performance under operational stress.
Prevent Future CV Seal Failures
Though seal failure often stems from improper installation or contamination, you can prevent most issues by selecting the right boot and maintaining proper joint alignment. Guaranteeing seal material compatibility with your CV joint lubrication prevents swelling, cracking, or premature wear. Always use OEM-specified grease-synthetic EP moly grease is standard for most modern joints. Misalignment stresses seals and accelerates leakage. Maintain boot clamps at exactly 1.8–2.2 N·m torque to avoid crushing or slipping.
| Factor | Specification |
|---|---|
| Lubrication Type | Synthetic EP moly, NLGI #2 |
| Seal Material | Nitrile rubber or HNBR |
| Operating Temp | -40°C to +150°C |
| Boot Clamp Torque | 1.8–2.2 N·m |
| Recheck Interval | Every 15,000 miles |
Proper CV joint lubrication and correct seal material compatibility guarantee long-term reliability and prevent repeat failures.
On a final note
You’ve removed residue safely using non-abrasive tools and approved solvents like mineral spirits or brake cleaner. Inspect the cavity for scoring or pitting-damage deeper than 0.1 mm compromises seal integrity. Dry the joint with lint-free cloth; residual moisture causes grease emulsification. Reassemble with OEM-specified boot and clamp torque (typically 1.5–2.5 N·m). Proper sealing prevents contamination, extending CV joint life beyond 80,000 km. Prevention beats replacement.