Replace a Failing 12V Car Battery in 15 Minutes: DIY Steps
You can replace a failing 12-volt car battery in under 15 minutes if you act quickly and have the right tools. Slow cranking below 200 RPM or a voltage reading under 11.9V means your battery won’t start the engine. Turn off the car, remove the keys, and wear safety goggles. Disconnect the negative terminal first, then the positive. Remove the hold-down bracket and lift out the old battery. Place the new one in the tray, ensuring correct terminal alignment. Reconnect the positive cable first, then the negative, tightening to 5–7 ft-lbs. Check voltage at idle-it should read 13.8–14.4V for proper charging. Match the replacement battery to your vehicle’s group size, CCA (minimum 300 for cold climates), and reserve capacity. Clean terminals monthly and avoid short trips to extend life. There’s more to optimizing performance that’ll keep your system reliable long-term.
Notable Insights
- Check for slow cranking, dim lights, or voltage below 12.2V to confirm battery failure quickly.
- Gather insulated wrench, gloves, goggles, and a compatible replacement battery before starting.
- Locate battery under hood or in trunk, and ensure 6 inches of clearance for safe access.
- Disconnect negative terminal first, then positive, and remove hold-down bracket to extract old battery.
- Install new battery, secure with bracket, connect positive then negative cables, and verify 13.8–14.4V charging at idle.
Spot the Signs of a Dying Battery
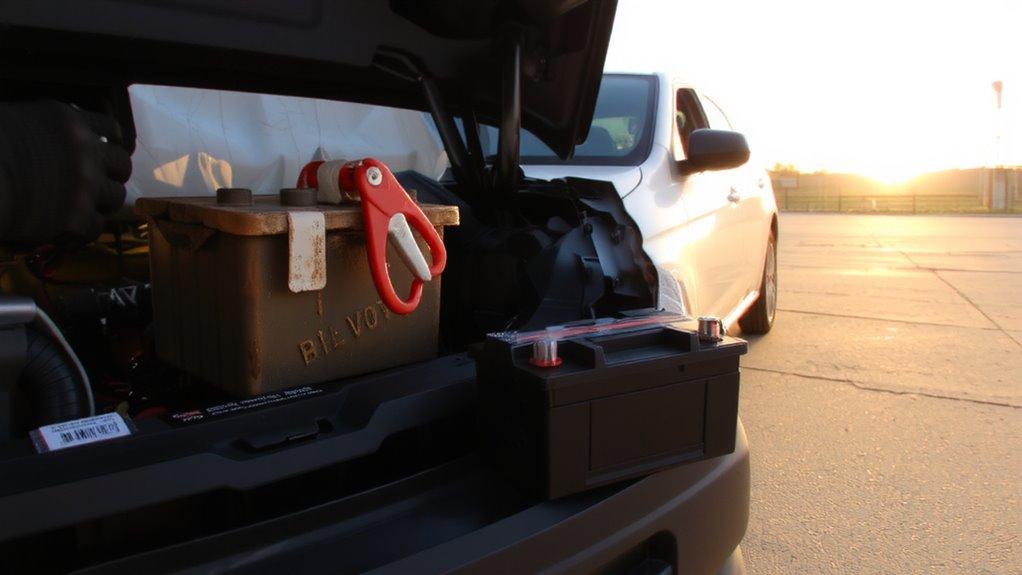
Why does your car hesitate when you turn the key? Slow cranking is a primary indicator of a weakening 12-volt battery. When the engine turns over sluggishly-below 200 RPM-your battery likely can’t deliver the required cold cranking amps (CCA). Most standard batteries supply 400–600 CCA; if output drops below 300, performance fails in cold conditions. Dim lights, especially when idling, signal low voltage. A healthy battery maintains 12.6 volts at rest; anything under 12.2 volts indicates discharge. Voltage below 11.9 volts prevents reliable starts. You may notice accessories like the radio or power windows responding slower. These symptoms reflect insufficient amperage delivery. Battery lifespan averages 3–5 years. Corrosion on terminals, a bloated case, or a check engine light can further confirm failure. Recognizing these signs early prevents roadside breakdowns. Upgrading to one of the best 12-volt batteries can significantly improve reliability and performance.
Grab Your Tools and Safety Gear
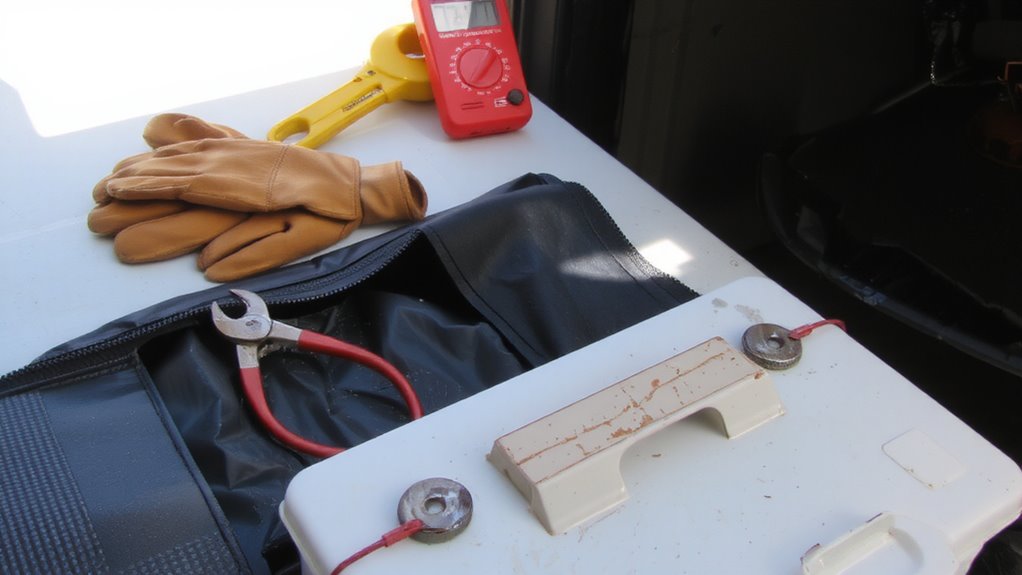
Start by gathering the right tools and protective equipment before touching the battery. You’ll need insulated wrench or a socket set (usually 8mm or 10mm), rubber gloves, and safety goggles. These guarantee a proper grip and prevent slips when disconnecting corroded terminals. The gloves protect against acid residue, while goggles shield your eyes from accidental sparks or splashes. Always work with steady hands-sudden movements can short the terminals or damage surrounding components. Use a battery terminal puller if the connectors are stuck; never twist them with pliers, as that risks cracking the case. Confirm your replacement battery matches the original specifications: group size, cold cranking amps (CCA), and reserve capacity (RC). Keep a flame-resistant work mat nearby. Proper preparation reduces risks and streamlines the swap, saving vital minutes. Choosing the right replacement ensures long-term reliability and performance, so consider checking out the best 12-volt batteries for top-rated options based on durability and power.
Find and Reach Your Battery
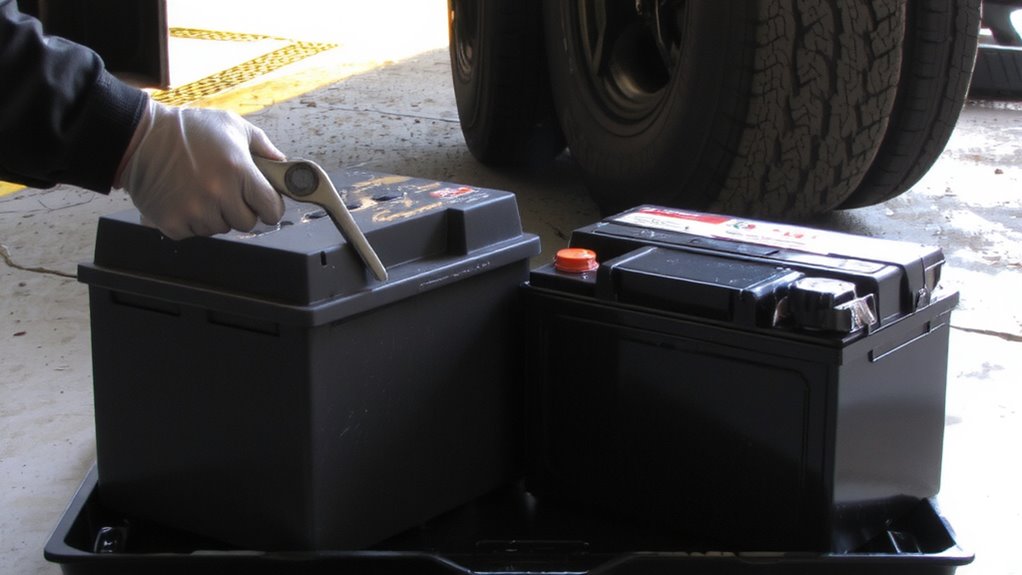
Where’s your battery located-under the hood, in the trunk, or beneath the rear seat? Most cars have the battery under the hood, near the front. Check your owner’s manual if unsure-battery location varies by make and model. Some German vehicles hide it in the trunk; many SUVs place it under the rear seat. Identifying the correct access methods matters-it affects how you proceed. Open the hood using the interior lever, then release the safety latch. If the battery’s in the trunk, remove a cover panel-often secured by plastic clips. For rear-seat locations, lift the seat base or remove a trim piece. Clear any obstructions-air filters, fuse boxes-that block access. You’ll need at least 6 inches of clearance to work safely. Wear gloves and eye protection. Confirm terminal visibility and mounting hardware before moving to disconnect steps. For optimal performance in a Chevy Silverado 1500, consider replacing with a top Silverado battery pick.
Unhook the Old Battery Safely
Before you touch any terminals, make sure the engine is off and the keys are out of the ignition to prevent accidental short circuits. Always disconnect the negative terminal first to reduce the risk of sparks. Use a wrench to loosen the nut, then gently wiggle the cable off. Next, remove the positive terminal using the same method. Inspect for battery corrosion and terminal oxidation-both can hinder conductivity and damage components. Clean buildup with a wire brush or baking soda solution if needed. Securely remove any hold-down brackets before lifting the battery out.
| Hazard Type | Prevention Method |
|---|---|
| Short circuit | Disconnect negative first |
| Battery corrosion | Clean terminals with wire brush |
| Terminal oxidation | Apply anti-oxidation grease |
Pop in the New Battery
One new 12-volt battery at a time should be installed correctly to guarantee reliable operation and safety. Align the battery in the tray, making sure the positive and negative terminals match the cable positions. Most batteries use a standard 12V Group Size, such as 24F or 35, so verify fit before seating fully. Secure it with the hold-down bar to prevent vibration damage. Clean the battery terminals if corroded, then attach the positive cable first, tightening the bolt to 5–7 ft-lbs. Connect the negative next. This reestablishes the circuit safely. A proper connection ensures uninterrupted communication with the vehicle’s charging cycle. The alternator relies on stable terminal contact to regulate voltage, typically 13.2–14.8V, during normal charging cycle operation. Avoid reversing polarity-it can fry electronics. Double-check alignment and tightness.
Test the System, Prevent Repeat Issues
Once the new battery is securely installed, it’s critical to verify the entire electrical system is functioning as designed. Start your engine and use a digital multimeter to check voltage across the terminals: at idle, it should read 13.8 to 14.4 volts, confirming the alternator is charging properly. If voltage is outside this range, a hidden charging system fault may exist. Proper battery maintenance includes inspecting terminals every three months for corrosion and ensuring clamps are tight. Avoid short-trip driving, which prevents full recharging-this harms long-term performance. Your charging habits directly impact battery lifespan. Leaving lights or electronics on overnight repeatedly drains the battery, causing premature failure. Modern AGM batteries tolerate deeper discharges than flooded lead-acid, but they still depend on consistent charging. Replacing the battery won’t fix chronic undercharging. Monitor voltage monthly to catch issues early and extend service life.
Know When to Call a Pro
If the problem persists despite a fresh battery and clean connections, it’s time to suspect deeper electrical issues beyond DIY fixes. Faulty voltage regulators or damaged alternators can overcharge the system, creating risks like battery explosion from excessive hydrogen gas buildup. You’re not equipped to handle pressurized cells or diagnose amperage spikes over 15 volts. Improper grounding or reversing cables may cause electrical shock, especially in older models lacking modern circuit protection. High-current systems demand precision-errors can fry sensitive ECM modules costing over $1,000. Corroded wiring harnesses or shorted relays require multimeter diagnostics and wiring diagrams not found in owner’s manuals. Manufacturers specify voltage tolerances within ±0.5V under load-exceeding this risks component failure. When smoke, burning insulation smell, or recurring drain occurs, stop. Professional shops use load testers, scan tools, and insulated gear to isolate faults safely. Your safety and vehicle longevity depend on knowing when to call a pro.
On a final note
You’ve replaced your battery quickly and safely. Always use a 12-volt AGM or flooded lead-acid battery matching your vehicle’s specs-typically 400–700 cold cranking amps (CCA). Guarantee terminal clamps are tight and corrosion-free. A multimeter should read 12.6 volts on a fully charged battery. Regular voltage checks prevent unexpected failure. This maintenance extends starting system life and guarantees reliable operation.