How to Achieve Studio Monitor Accuracy in a Moving Vehicle
You can achieve studio monitor accuracy in a moving vehicle by reducing cabin noise below 58 dBA at 65 mph using damping materials and low-noise tires. Position speakers in an equilateral triangle, with tweeters at ear level and precise toe-in for accurate imaging. Use lossless audio like 24-bit FLAC to preserve detail. Apply real-time parametric EQ with 1/3-octave adjustments to correct acoustic flaws. Calibrate with a measurement mic and DSP, targeting phase coherence and frequency balance. Studio-grade fidelity in motion is possible when every variable is controlled-further refinements await.
Notable Insights
- Reduce road noise with constrained-layer damping and low-rolling-resistance tires to maintain a cabin noise floor below 58 dBA at 65 mph.
- Position speakers in an equilateral triangle, toe-in toward the listener, and mount tweeters at ear level for accurate stereo imaging.
- Use rigid, low-resonance speaker mounts and ensure symmetrical placement within 0.5 inches for consistent acoustic arrival times.
- Play lossless audio formats like FLAC or ALAC to preserve full bit depth and reveal true sound quality without compression artifacts.
- Calibrate the system with a measurement microphone and DSP, adjusting EQ and time alignment based on real-time in-cabin frequency and phase response.
Reduce Road Noise for Cleaner Monitoring
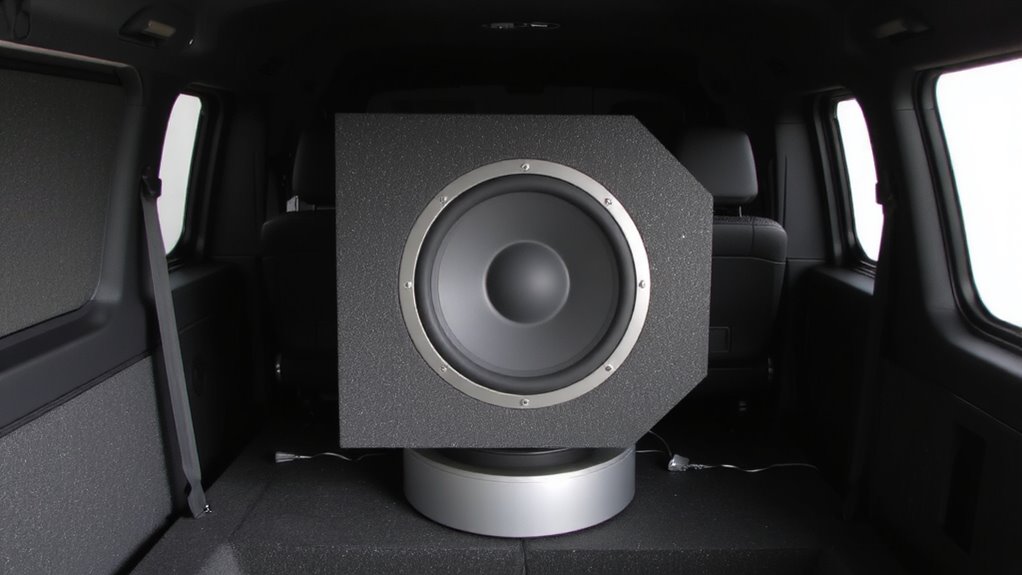
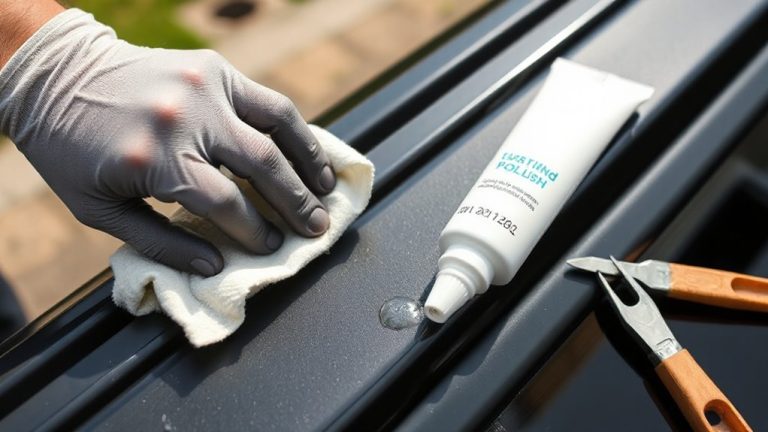
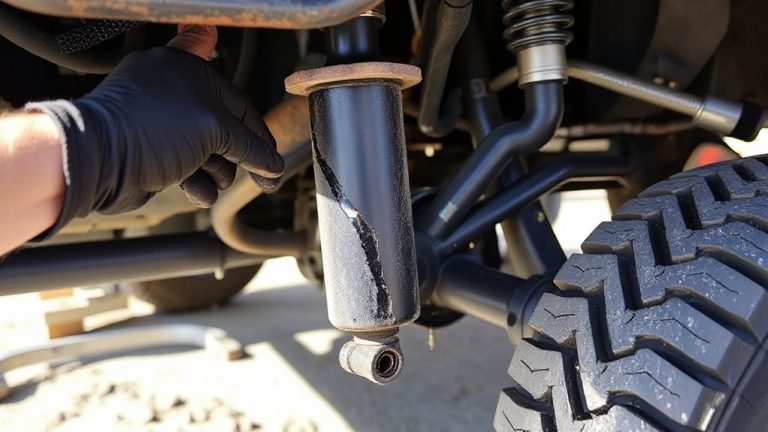
A quiet cabin is essential for accurate audio monitoring, and reducing road noise starts with understanding its sources-tire roar, wind turbulence, and drivetrain vibrations all contribute to an elevated noise floor that masks critical audio details. Tire selection directly impacts high-frequency noise; choose low-rolling-resistance models with optimized tread patterns, like Michelin Primacy 4, which reduce harmonic resonance above 1,000 Hz. Softer rubber compounds absorb road impact, cutting midrange distortion. Suspension tuning affects noise transfer; stiffer bushings and performance dampers reduce body roll but may increase high-frequency vibration transmission. Use hydraulic engine mounts and mass-loaded vinyl damping in floor panels to isolate structure-borne noise. Ideal cabin noise levels should stay below 58 dBA at 65 mph. Target resonant frequencies between 50–250 Hz with constrained-layer damping materials. Properly tuned systems reduce sound pressure variance to ±2 dB, enabling precise monitoring.
Position Speakers for Studio-Like Imaging
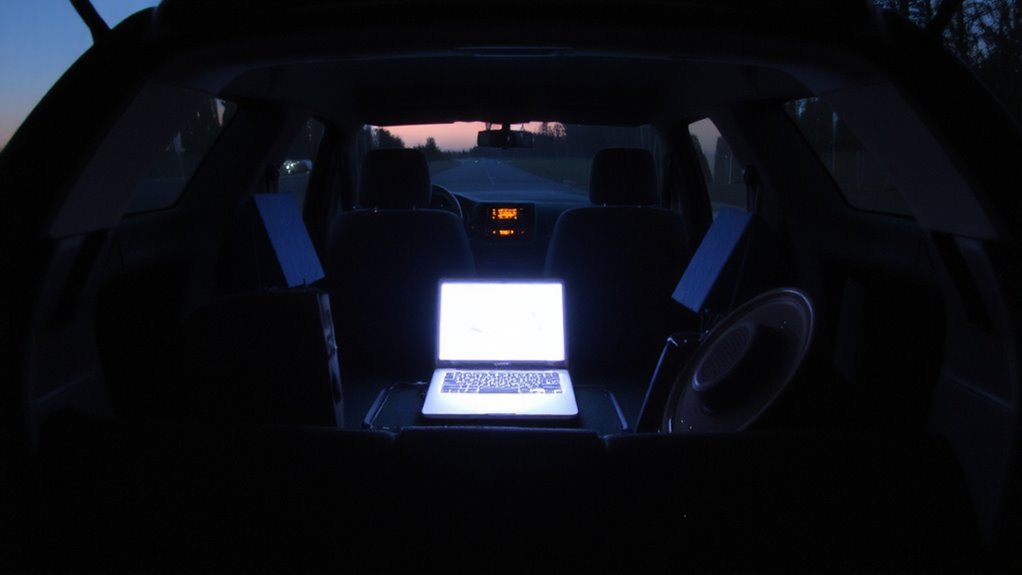
Imaging precision starts with where you place your speakers. Proper speaker placement directly impacts stereo coherence and soundstage accuracy. Position front drivers at equal distance from your head, forming an equilateral triangle with a 60-degree angle between left and right units. Mount tweeters at ear level-ideally 36 to 40 inches from the cabin floor-to maintain vertical imaging alignment. Angle speakers inward, toed-in precisely toward the listening position, minimizing off-axis distortion. Use rigid, low-resonance mounts to reduce vibration-induced smearing. Avoid placing drivers near reflective surfaces like windows or A-pillars, which cause phase interference. Maintain symmetrical positioning: left and right channels must mirror each other within 0.5 inches laterally and vertically. This guarantees consistent arrival times for acoustic energy. Correct imaging alignment improves transient response and depth perception, mimicking studio monitor behavior.
Use Lossless Audio for Critical Listening
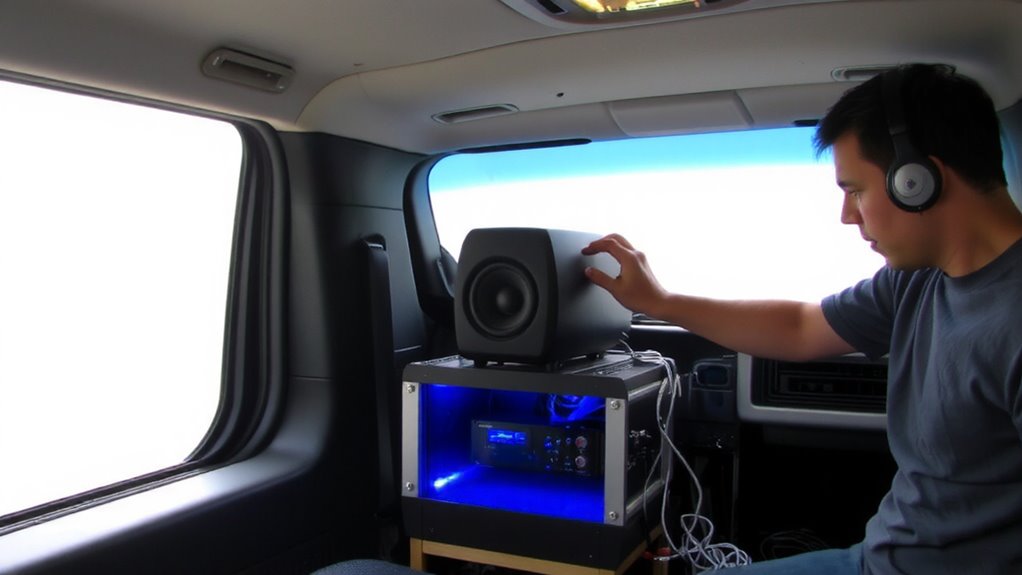
Your music deserves the full spectrum of its original detail-don’t let compressed audio steal what studio engineers painstakingly placed there. Lossless audio preserves every nuance, guaranteeing accurate audio fidelity during critical listening. Formats like FLAC and ALAC maintain the full bit depth-typically 16-bit or 24-bit-captured during studio recording. This depth delivers over 16 million amplitude levels, far exceeding compressed formats’ reduced resolution. You’ll hear subtle reverb decays, layered harmonics, and precise panning cues often lost in MP3s. A 24-bit, 96 kHz lossless file contains up to ten times more data than a 320 kbps MP3. That extra data translates to cleaner transients and a wider dynamic range. For studio-grade accuracy in a car, start with the best source. Lossless guarantees you’re evaluating true performance, not artifacts. Your ears-and monitors-will know the difference.
Apply Real-Time EQ to Fix Car Acoustics
Think of your car’s cabin as an unpredictable acoustic space-one that colors sound more than you realize. Reflections, panel vibrations, and seat materials create phase alignment issues that distort timing across frequencies. Real-time EQ counters these flaws by adjusting specific bands dynamically. You’ll combat frequency masking, where overlapping sounds obscure detail-like bass drowning out kick drums. Use a digital signal processor (DSP) with parametric EQ to target problem areas, such as boosting 2–4 kHz for vocal clarity or cutting 125 Hz to reduce boomy resonance. Adjust in 1/3-octave increments for precision. Maintain phase coherence by applying minimal gain and avoiding steep filters. Modern processors apply corrections within 5 milliseconds, preserving transient response. With careful shaping, you align output closer to studio monitor neutrality-even on rough roads.
Calibrate With Measurement Tools Like in a Studio
While studio-grade calibration might seem out of reach in a car, the right measurement tools bring lab-level accuracy to mobile environments. You’ll need a calibrated audio interface, a measurement microphone, and software like REW or ARTA. Start by capturing frequency response at ear position, applying frequency weighting (A-weighting or Z-weighting) to align measurements with human hearing sensitivity. Analyze dips and peaks across the spectrum, especially below 500 Hz where cabin modes distort sound. Then check phase alignment between speakers using impulse response graphs-misaligned drivers cause cancellations and smeared imaging. Guarantee time alignment is correct so all frequencies reach your ears simultaneously. Most systems allow DSP-based delay adjustments to fix phase issues. Repeat measurements after corrections. Calibration isn’t one-time; road noise and temperature affect results. With precise tools and methodical testing, you achieve reference-grade playback accuracy-even on the move.
Choose Gear That Preserves Audio Accuracy
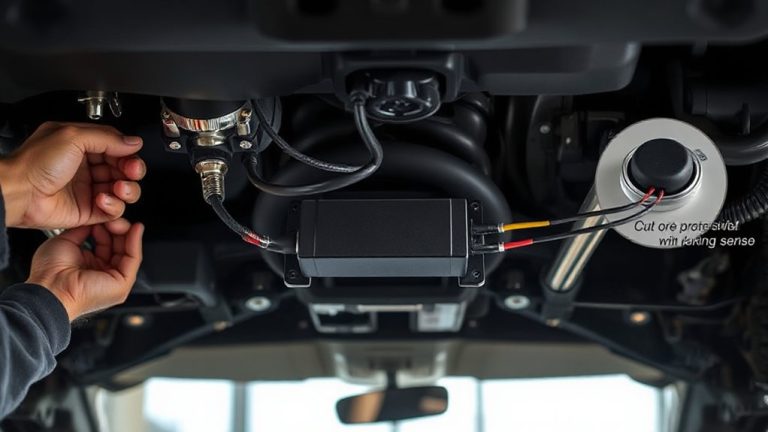
Signal integrity starts with components that minimize distortion and noise. You need gear that maintains studio-grade accuracy despite a vehicle’s chaotic environment. Speaker placement alters sound; mount drivers at ear level and equidistant from you to simulate studio symmetry. Avoid door-mounted highs-they skew frequency response.
| Component | Key Spec | Why It Matters |
|---|---|---|
| DAC | >110 dB dynamic range | Preserves subtle detail |
| Amplifier | <0.005% THD | Reduces audible distortion |
| Speakers | Flat ±2 dB (60 Hz–20 kHz) | Guarantees neutral frequency response |
| Cabling | Shielded, low capacitance | Prevents interference and loss |
Each part must work as one system: your speaker placement affects imaging just as much as the driver’s inherent frequency response. Choose precision over power.
Know When to Trust Your Studio Instead
How reliable is your mix when the environment shifts? Real-time adjustments in a moving vehicle compromise accuracy. Your studio offers controlled conditions vehicle environments can’t match. Speaker placement in a studio follows precise angling-typically 60-degree equilateral triangle setups-for ideal stereo imaging. In contrast, cars force compromised positions, skewing frequency response. Acoustic isolation in professional studios uses materials like mass-loaded vinyl and decoupled walls to achieve ≤30 dB of sound transmission loss. Vehicles lack this, introducing road noise and resonant modes that distort perception. Trust your studio when making critical tonal and spatial decisions. Studio monitors in isolated, symmetrically treated rooms reveal details car speakers can’t reproduce due to cabin gain, material reflections, and seating asymmetry. Use the vehicle for verification only. Finalize balance, EQ, and panning in the studio where acoustic variables are minimized and repeatability is measurable.
On a final note
You achieve studio-grade accuracy in a car by minimizing acoustic interference. Install dynamat insulation to reduce road noise by up to 15 dB. Position component speakers at ear level, aimed precisely at the listening position. Use 24-bit/96 kHz lossless files and a DAC with THD < 0.005%. Apply real-time parametric EQ with Audyssey or MiniDSP. Calibrate with a calibrated measurement mic and RTA. Trust your studio monitors for final decisions.