How to Integrate Aftermarket Speakers With Factory Siriusxm Tuners
You can keep SiriusXM with aftermarket speakers because the factory tuner processes the satellite signal independently. It sends audio to your speakers via line-level outputs, unaffected by speaker upgrades. Match your new speakers to 6–8 ohm impedance and 50–100 watts RMS for compatibility. Use 14-gauge wire and proper grounding to maintain signal integrity. Noise issues often stem from improper amplifier or LOC setup-opt for a high-input sensitivity amp with a differential-input LOC. Keep wiring away from power cables. Shielded RCAs and correct filter settings prevent interference. Ideal setup guarantees clean, full-range SiriusXM audio with improved clarity and bass response. Further refinements in system tuning reveal even better performance.
Notable Insights
- Factory SiriusXM tuners generate audio signals independently, so aftermarket speakers only need to match impedance and power for proper integration.
- Use a line output converter (LOC) with high input sensitivity to connect factory audio signals to an external amplifier driving aftermarket speakers.
- Ensure speaker impedance (typically 6–8 ohms) matches factory system expectations to prevent distortion and amplifier strain.
- Run shielded, low-gauge speaker wires (14–16 AWG) and avoid routing near power or antenna cables to minimize interference.
- Maintain strong SiriusXM reception by preserving the factory antenna’s line of sight and positioning it away from noise-generating components.
Can You Keep SiriusXM With Aftermarket Speakers?
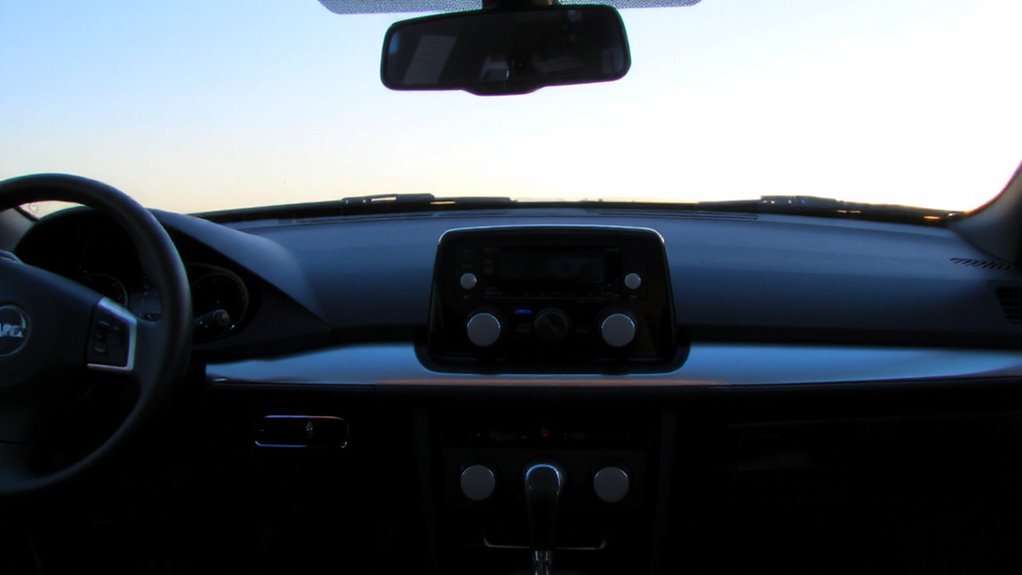
While upgrading your car’s audio system, you might wonder whether you can still use SiriusXM with new aftermarket speakers. Yes, you can retain SiriusXM functionality. Signal compatibility remains intact because the factory tuner generates the SiriusXM signal independently of the speakers. Your new speakers only reproduce audio-they don’t process the signal. As long as the head unit or factory tuner stays connected to the audio input path, the system works. Improved audio fidelity is actually one benefit of upgrading. Aftermarket speakers typically offer broader frequency response (e.g., 45 Hz–22 kHz vs. 60 Hz–18 kHz stock), higher sensitivity (around 90 dB vs. 87 dB), and better materials. These specs enhance clarity, especially in vocals and high-frequency content. Power handling increases too-often 50–100 watts RMS versus 30–40 watts. The factory signal feeds cleanly into new components, preserving SiriusXM’s digital quality without interference.
How Your Car’s Factory SiriusXM Signal Works
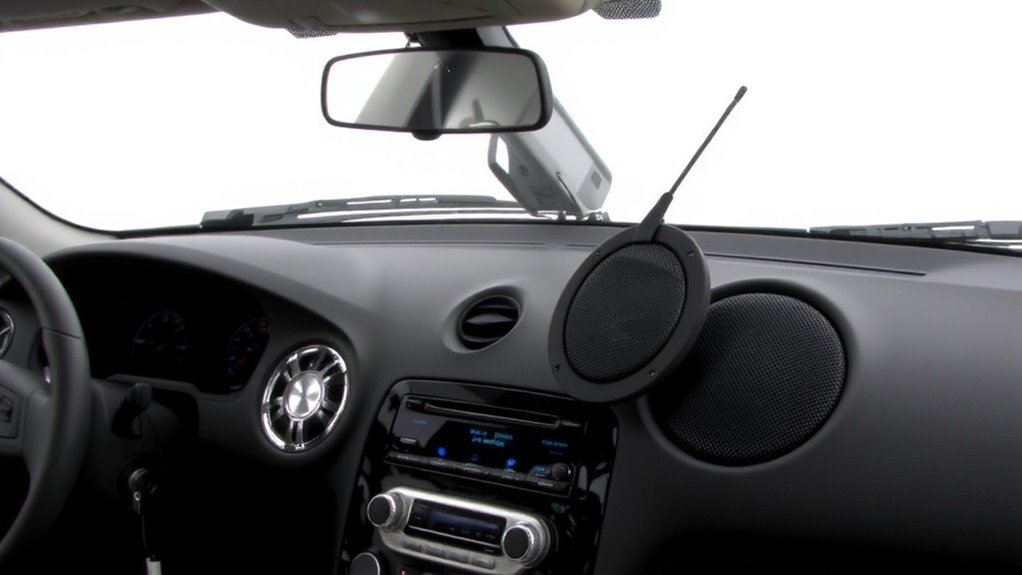
Since your car’s factory SiriusXM system relies on a dedicated tuner module, the signal path remains independent of the speakers. This setup guarantees clean audio transmission regardless of speaker upgrades. The tuner receives satellite connectivity directly from SiriusXM’s geostationary and orbiting satellites, operating on the S-band frequency (2.3 GHz). Signal reception depends on an unobstructed line of sight between the antenna and satellite, which is why roof-mounted or windshield-integrated antennas perform best. The antenna sends a low-noise block downconverter (LNB) signal to the tuner, which decodes encrypted streams into usable audio. You’ll typically see signal strength readings between 0–100% on your dashboard, with above 70% indicating strong reception. Data is packetized and buffered to minimize dropouts during tunnel or urban canyon passage, guaranteeing consistent playback. This entire process happens in real time, seamlessly delivering programming to your audio system.
Choose the Right Amplifier or LOC for SiriusXM
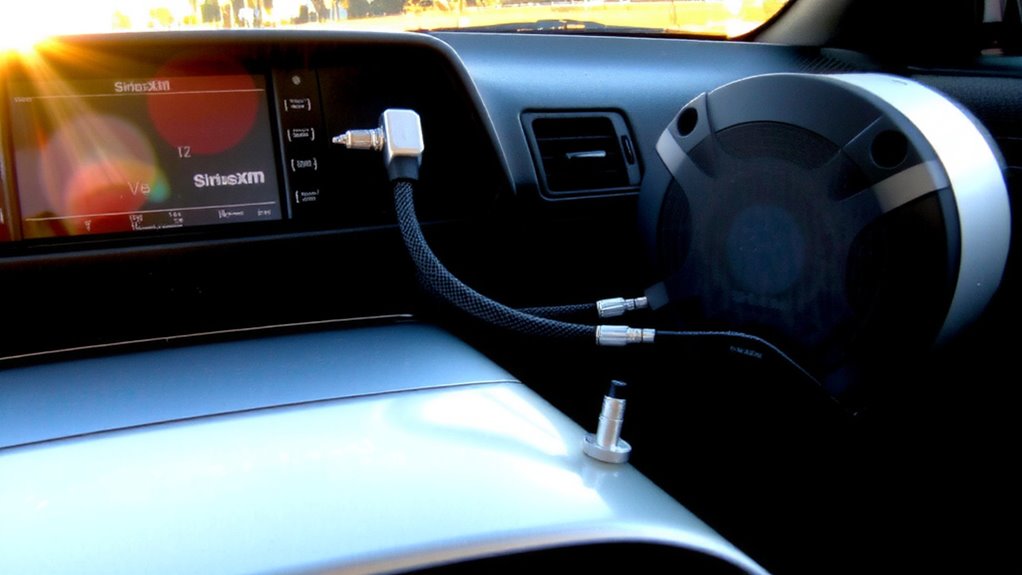
You’ve confirmed that your factory SiriusXM tuner maintains a clean, independent signal path unaffected by speaker upgrades. Now, choose the right amplifier or line output converter (LOC) to preserve signal integrity. For amplifiers, match the power output to your aftermarket speakers’ RMS ratings-typically 50–100 watts per channel for component sets. Amplifiers with high-input sensitivity (2–4 volts) work best with factory source units. If using an LOC, select one with differential inputs to reject noise and support 8–12 volt outputs, mimicking a headunit. Proper signal routing guarantees SiriusXM audio avoids ground loops and interference. LOCs with low-pass filters (set to 50–80 Hz) help when routing subwoofer signals. Always verify frequency response (20 Hz–20 kHz ±1 dB) and total harmonic distortion under 0.05% for transparent audio. These specs guarantee clean, accurate sound from your satellite source.
Wiring Aftermarket Speakers to Factory Audio
When upgrading your vehicle’s audio, connecting aftermarket speakers to a factory system requires careful attention to wiring integrity and impedance matching. Factory head units deliver lower voltage signals than aftermarket amplifiers, so poor connections increase signal degradation. Use 16- to 14-gauge speaker wire to maintain signal strength over distance. An impedance mismatch-such as pairing 4-ohm speakers with a factory amp designed for 6-ohm loads-can cause distortion or overheating. Most factory systems expect 6-ohm to 8-ohm speakers; verify your vehicle’s specs before installation. Always match positive and negative leads to prevent phase issues. Crimp connectors are more reliable than twist-and-tape methods. Shielded wiring reduces electromagnetic interference from onboard electronics. Test each speaker before final installation. Proper wiring guarantees cleaner output and protects both speakers and head unit. Avoid daisy-chaining speakers unless the system is designed for it.
Avoid These SiriusXM Installation Mistakes
Though factory SiriusXM tuners are designed to work seamlessly with OEM components, installing aftermarket speakers without considering the system’s signal chain can lead to poor audio performance. You must avoid signal interference by keeping speaker wires away from power cables and the SiriusXM antenna lead. Even a few inches of parallel routing can introduce noise. Improper grounding is another common error-always connect ground wires to bare metal, not painted or treated surfaces. Use a multimeter to verify less than 0.1 ohms resistance between the ground point and battery negative. A weak ground induces hum and degrades tuner sensitivity. Never splice into factory harnesses unless using crimp connectors rated for automotive environments. Heat-shrink insulated splices prevent corrosion. Poor connections disrupt digital signal stability, causing dropouts. Shielded RCA cables are essential if using an external amplifier. Keep antenna cables intact and routed clear of exhaust or motor noise sources.
Test and Tune Your SiriusXM Sound
With the physical installation complete and all connections secure, the next step is verifying system performance. Begin by powering on your system and tuning into a SiriusXM channel with consistent content, like a talk or music station. Check for clear audio without distortion, pops, or dropouts. Perform sound calibration using your head unit’s built-in equalizer-adjust bass, midrange, and treble to match your vehicle’s acoustics. Many modern receivers support audio profiling, which automatically optimizes output based on speaker impedance and frequency response. Manually fine-tune crossover settings if your amplifier allows it, typically setting low-pass filters at 80 Hz for subwoofers and high-pass at 100 Hz for front/rear speakers. Confirm phase alignment across all channels. Re-test across multiple genres and volume levels to validate balanced output. Proper calibration guarantees factory SiriusXM signals translate accurately through your aftermarket setup.
On a final note
You can retain SiriusXM with aftermarket speakers. The factory tuner outputs a line-level signal, typically 2–4 volts RMS. Use a line output converter (LOC) with high impedance input (10kΩ or greater) to prevent signal loss. Connect LOC outputs to your amplifier’s inputs via shielded RCA cables. Match amplifier input sensitivity to factory output. Proper grounding minimizes noise. Verify signal integrity before finalizing installation.