How to Wash a Vehicle After Exposure to Sea Spray in Coastal Regions
Rinse your vehicle within 30 minutes of coastal exposure using 50–80 psi pressurized water, starting at the top to prevent redepositing grime. Use a pH-balanced car wash soap (6.5–8.5 pH), diluted at 1–2 oz per gallon, with a clean microfiber mitt to preserve wax and clear coat. Wash top to bottom, focusing on horizontal then vertical surfaces. Clean undercarriage at 1,200–1,800 PSI and wheels with a safe, dwell-enabled cleaner. Dry thoroughly with a 70/30 polyamide microfiber towel using flat, overlapping strokes. Apply a synthetic polymer wax containing at least 20% carnauba every three months for sustained corrosion resistance-and there’s a precise method to maximize its bond and longevity.
Notable Insights
- Rinse your vehicle with 50–80 psi pressurized water within 30 minutes of coastal exposure to prevent salt corrosion.
- Use a pH-balanced car wash soap (6.5–8.5 pH) diluted properly to protect paint and clear coat from salt damage.
- Wash from the top down, starting at the roof, to leverage gravity and prevent redepositing grime on clean areas.
- Clean the undercarriage with 1,200–1,800 PSI pressure and use a safe wheel cleaner to remove salt and brake dust.
- Dry with a clean microfiber towel using flat, overlapping strokes and apply a polymer-based wax every three months.
Rinse Off Sea Spray Immediately
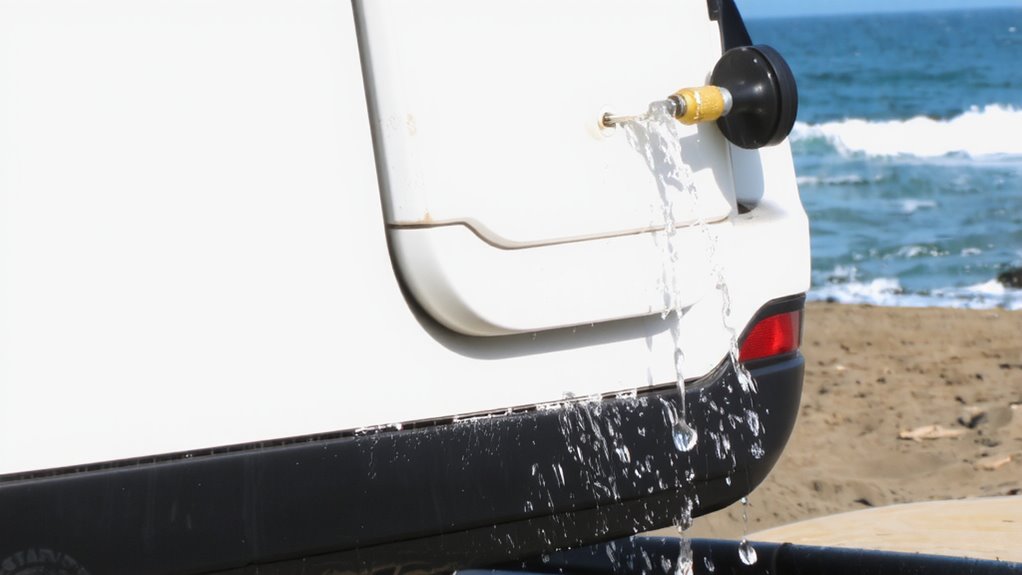
After leaving the coast, you should rinse your vehicle as soon as possible-ideally within 30 minutes-to prevent salt corrosion. Salt residue from sea spray accelerates oxidation on metal surfaces and degrades paint finishes over time. Use clean, pressurized water at 50–80 psi to effectively remove contaminants without damaging surfaces. Begin at the top and work downward to minimize redepositing grime. High-pressure nozzles with a 40-degree spray angle guarantee even coverage while avoiding paint marring. Immediate rinsing dissolves hygroscopic salt particles, reducing the chance of etching. If left untreated, evaporated sea spray leaves behind concentrated salt residue that attracts moisture and promotes rust. This same residue can harden into stubborn water spots, especially on glass and chrome. Water spots form when minerals in salt-laden droplets crystallize under sunlight. For best results, follow the rinse with a proper wash-do not let the vehicle air-dry. A car steam cleaner kit can provide a deep clean by lifting embedded salt and grime from surfaces without chemical additives.
Use a pH-Balanced Car Wash Soap
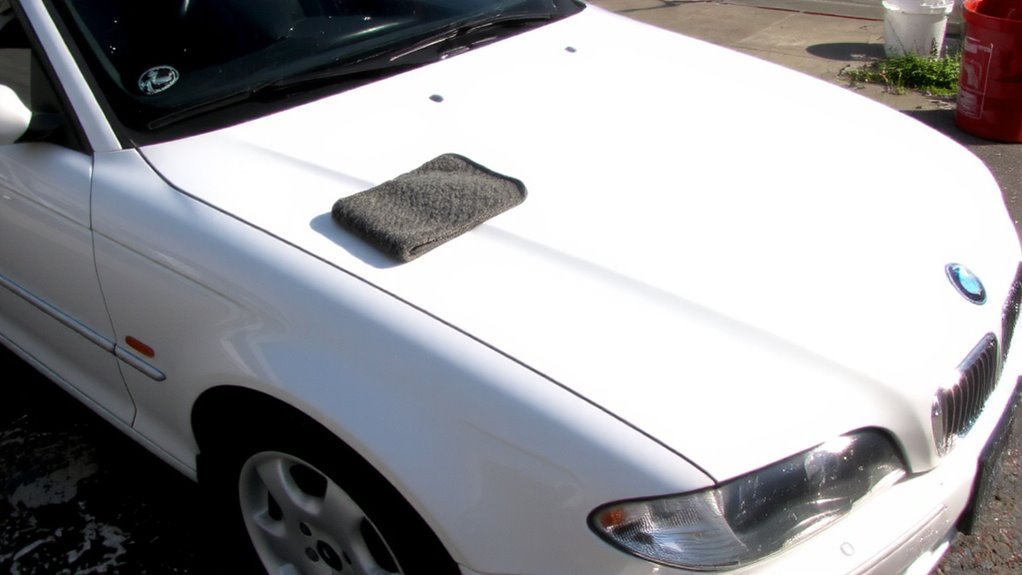
You’ve removed the bulk of the sea salt with a thorough rinse, but lingering residues and microscopic contaminants still cling to the surface. A pH-balanced car wash soap is essential for safe, effective cleaning. Most modern paints and clear coats degrade when exposed to extreme pH levels. Use a soap with a neutral pH balance between 6.5 and 8.5 to preserve wax and sealants while breaking down contaminants. Avoid household detergents-they’re too alkaline and strip protective layers. Follow manufacturer guidelines for soap concentration; typically, 1 to 2 ounces per gallon of water guarantees peak performance. Too little reduces cleaning power; too much leaves residue. A properly diluted, pH-balanced formula lifts salt, grime, and pollutants without harming surfaces. This precision cleaning maintains finish integrity, especially in coastal environments where corrosion risks are high. Always apply with a clean microfiber wash mitt for uniform coverage. For optimal results, choose one of the best car wash soaps recommended for use in salt-exposed conditions.
Wash Top to Bottom to Prevent Streaking
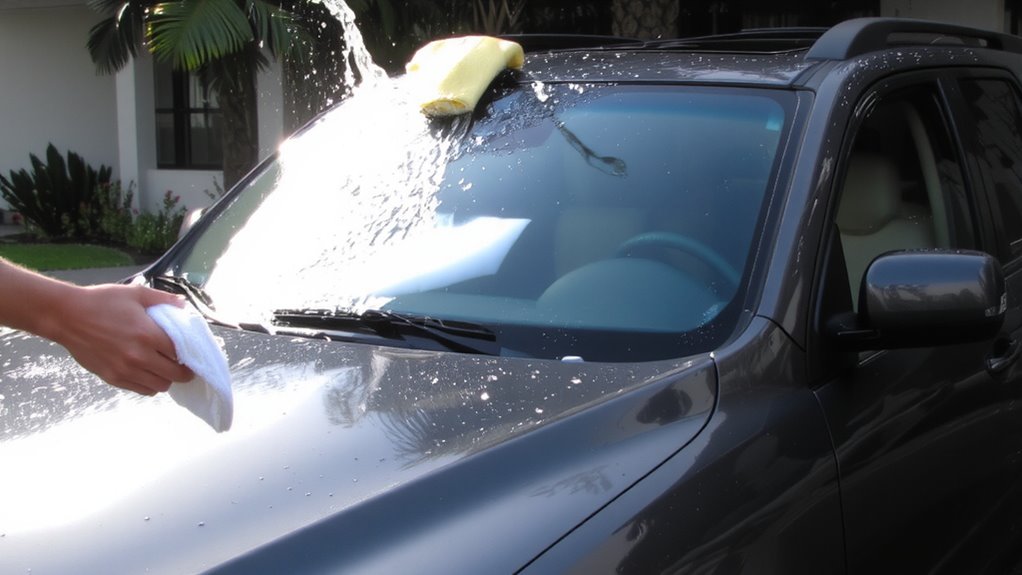
Start at the roof and work downward to minimize streaks and surface marring. This method uses gravity assist to let soap and dislodged salt residues flow naturally from higher to lower panels. Water flow carries contaminants away without redepositing them on already-cleaned areas. Begin with gentle agitation on horizontal surfaces, then progress to vertical sections like doors and fenders. Always rinse each section before moving to the next lower area to prevent drying and spotting. Using the right car washing accessories can enhance this top-to-bottom technique by improving soap distribution and reducing swirl marks.
| Zone | Cleaning Sequence Benefit |
|---|---|
| Roof | Prevents runoff from dirty zones |
| Hood | Reduces overspray on windshield |
| Doors | Controls water flow direction |
| Fenders | Avoids recontamination of wheels |
| Side Panels | Guarantees even suds distribution |
Working top-down maintains cleanliness and boosts efficiency. You’ll achieve a streak-free finish by letting physics help-gravity assist pulls grime away cleanly.
Clean the Undercarriage and Wheels
Your vehicle’s undercarriage and wheels take the brunt of roadborne contaminants, especially after sea spray exposure. Salt buildup accumulates rapidly, accelerating corrosion on brake lines, suspension components, and wheel hubs. Use a high-pressure washer at 1,200–1,800 PSI to flush the undercarriage, focusing on frame rails and control arms. This pressure effectively removes grime without damaging sensitive seals. Wheel wells trap brake dust and road grime, creating a corrosive paste when mixed with salt moisture. Apply a pH-balanced wheel cleaner safe for alloys and brake components. Let it dwell for 2–3 minutes to break down metallic brake dust particles. Agitate with a soft-bristle brush, especially behind calipers. Rinse thoroughly with clean water until runoff is clear. Regular undercarriage cleaning prevents long-term structural damage and maintains braking efficiency.
Dry With a Microfiber Towel
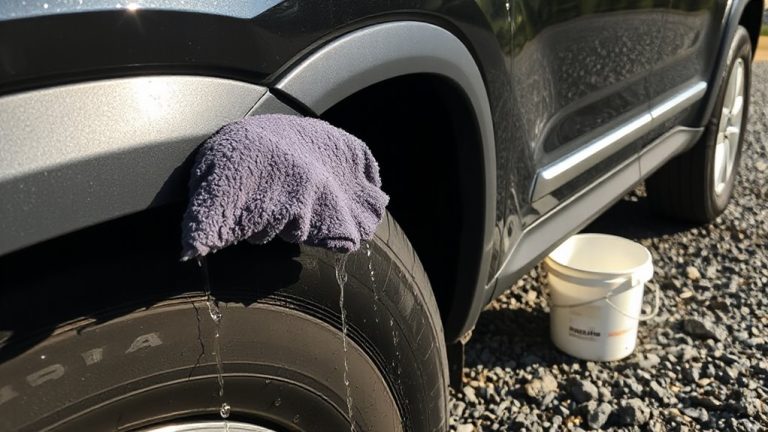
After rinsing away residual salt and cleaning agents, drying the vehicle properly prevents water spots and mineral deposits left by evaporating seawater. Use a clean, plush microfiber towel with a minimum 70/30 polyester-to-polyamide blend for maximum absorbency. Effective drying techniques start at the roof and work downward, using flat, overlapping strokes to minimize friction and swirl marks. Apply light pressure, letting the towel lift water instead of dragging it. Avoid soaking towels-wring them frequently to maintain efficiency. Proper microfiber care guarantees longevity and performance; wash towels after each use in fragrance-free detergent without fabric softener. Replace towels when fibers become matted or lose softness. A 16″ x 16″ towel covers surface area efficiently, reducing drying time. Never reuse towels that have contacted the ground, as embedded grit can scratch paint. Thorough drying protects finish integrity and preserves chemical treatment effectiveness.
Inspect for Rust and Corrosion Signs
A vehicle’s underside and hidden surfaces are most vulnerable to salt-induced damage, so a thorough inspection comes first. Early detection of corrosion prevents costly repairs. Focus your check on areas prone to moisture retention and surface pitting.
| Area Checked | Common Sign of Corrosion |
|---|---|
| Wheel wells | Flaking paint, rust spots |
| Frame rails | Surface pitting, orange residue |
| Brake lines | Thin rust films, bubbling |
| Suspension components | Cracked coatings, etching |
| Exhaust system | Perforation, flaky metal |
Use a flashlight and mirror to view obscured zones. Surface pitting appears as tiny dimples in metal, signaling active degradation. Address findings promptly to maintain vehicle integrity. Early detection limits spread and preserves structural strength. Inspect every three months in coastal climates.
Apply Wax for Long-Term Protection
Once the inspection reveals no active corrosion or after any affected areas have been treated, protect the vehicle’s surface with a high-quality wax. Wax application forms a sacrificial barrier that shields paint from salt, UV rays, and pollutants. Use a synthetic polymer-based wax with at least 20% carnauba content for maximum durability and gloss. Apply in thin, even layers using a foam applicator pad, working in shaded conditions to prevent premature drying. Allow the wax to haze-typically 5 to 10 minutes-before buffing with a microfiber cloth. For enhanced protection, follow waxing with a clear paint sealing layer. Paint sealing bonds to the clear coat, providing harder, longer-lasting resistance to chemical etching and water intrusion. Most sealants last 6–12 months and resist pH levels from 2 to 12. Reapply wax every 3 months in coastal environments for sustained defense.
On a final note
You must act quickly after sea spray exposure. Rinse with fresh water immediately to remove salt-chloride concentrations above 500 ppm accelerate corrosion. Use a pH-neutral shampoo (pH 7–8) to preserve wax and clear coat. Wash top to bottom to avoid dragging grit. Dry with a plush microfiber (300–400 GSM) to prevent scratches. Apply ceramic wax (hardness 9H, thickness 2–3 mils) for lasting protection. Inspect seams monthly for early corrosion.