Vacuum-Bleeding ABS Brakes: Safe PSI, Fluid & Bleed Order
You can vacuum-bleed ABS-equipped brakes only if your system is compatible-older models pre-2005 are more likely to support it. Use a calibrated pump delivering 25–30 in-Hg with proper fittings and DOT 3 or 4 fluid. Start at the right rear, follow OEM sequence, and never exceed recommended vacuum. Avoid Bosch 8/5, Delphi M6, and most post-2005 stability-controlled modules. Incorrect use risks error codes or solenoid damage. Specific procedures for safe operation follow.
Notable Insights
- Confirm ABS compatibility before vacuum bleeding-some systems like Bosch 8/5 or Delphi M6 are not vacuum-compatible and may trigger errors.
- Use a calibrated vacuum pump with 25–30 in-Hg capacity and proper adapters to ensure stable, controlled fluid extraction.
- Follow the correct bleed sequence starting from the farthest wheel: right rear, left rear, right front, then left front.
- Use fresh, specification-matched brake fluid (typically DOT 3 or DOT 4) from a sealed container to prevent contamination.
- Avoid vacuum bleeding on newer ABS modules with stability control; use pressure bleeding or scan tool-assisted methods instead.
Check If Your ABS Brakes Can Be Vacuum-Bled
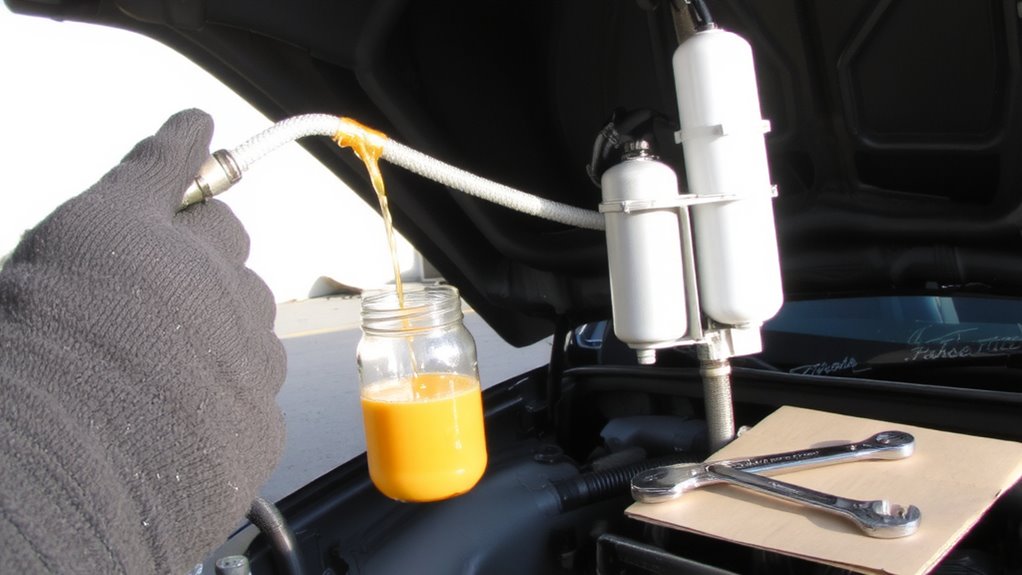
Can all ABS-equipped brake systems handle vacuum bleeding? No, not all do-abscap compatibility varies by manufacturer and model. Your vehicle’s ABS module may resist vacuum bleeding due to its internal design and vacuum sensitivity. Systems with high vacuum sensitivity can misinterpret bleeding pressure changes as brake failure, triggering error codes. Older ABS units, especially on pre-2005 models, often support vacuum bleeding if specified by the OEM. Newer systems, particularly those with integrated stability control, require pressure or scan tool-assisted bleeding. Always consult service manuals for abscap compatibility details. Check technical service bulletins for your make and year. Misapplying vacuum pressure beyond 22 inHg risks damaging seals and sensors. Vacuum bleeding works only when the control unit allows unrestricted fluid flow. When in doubt, assume the system isn’t compatible-proceeding risks costly recalibration or module damage.
Gather Vacuum Bleeding Tools for ABS Brakes
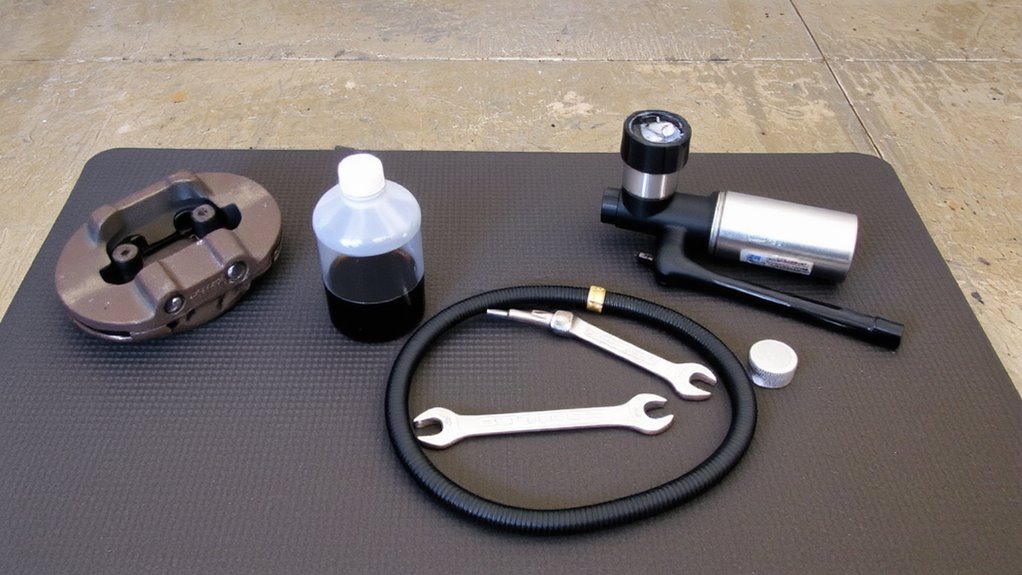
You’ve confirmed your ABS system supports vacuum bleeding-now it’s time to assemble the right tools. Correct vacuum pump selection is critical: use a calibrated, handheld vacuum pump capable of maintaining at least 25 in-Hg of sustained pressure. This guarantees efficient fluid extraction without damaging ABS modulator valves. Always match brake fluid types to your vehicle’s specification-typically DOT 3 or DOT 4-to prevent compatibility issues and seal degradation. Use only clean, sealed fluid to avoid moisture contamination.
| Tool | Specification |
|---|---|
| Vacuum Pump | 25–30 in-Hg capacity, gauge included |
| Adapter Kit | Includes ISO, GM, Ford, and Chrysler fittings |
| Collection Bottle | 16-oz capacity with check valve and hose |
Double-check all connections for leaks. A proper setup prevents air ingestion and maintains consistent vacuum during operation. For reliable performance, consider investing in one of the top brake bleeding kits recommended for precision and durability.
Prepare the Vehicle for Safe Brake Bleeding
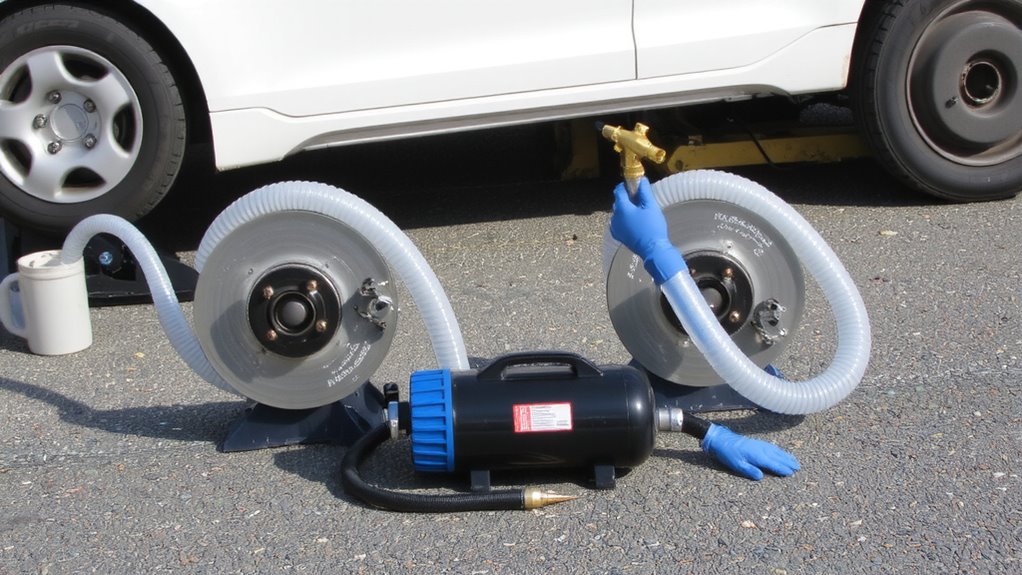
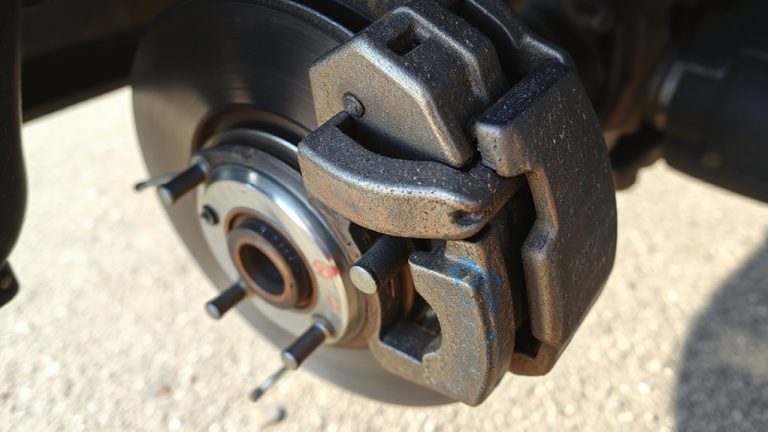
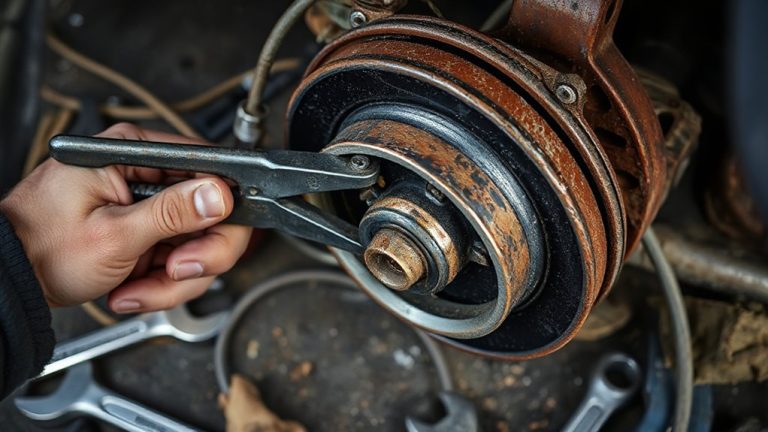
Start by parking on a level surface and engaging the parking brake to prevent unintended movement during brake bleeding. Lift the vehicle using a floor jack rated for its weight, then secure it on jack stands placed at the manufacturer’s recommended lift points. Remove all four wheels to access the brake components. Perform a thorough brake pad inspection-measure pad thickness and replace if below 3mm. Check rotor condition for scoring, warping, or thickness below the minimum spec stamped on the rotor. Replace worn or damaged rotors to guarantee effective bleeding and braking performance. Clean brake dust with compressed air to avoid contaminating the system. Confirm the master cylinder cap is tight and fluid level is within the reservoir’s MAX and MIN lines. Guarantee all bleeder valves turn freely before starting vacuum bleeding to prevent breakage.
Bleed Brakes in the Right Order: Front or Rear First?
Most technicians follow a specific sequence to guarantee complete air removal when vacuum-bleeding ABS-equipped vehicles. You should start with the wheel farthest from the master cylinder-typically the right rear-then move to the left rear, right front, and finally the left front. This order guarantees peak pressure distribution and prevents trapping air in the system. Proper sequence maintains brake balance, which is critical for safe, even stopping. Uneven bleeding can shift pressure distribution, causing premature lockup or reduced effectiveness. ABS systems rely on precise hydraulic balance, so deviating from the correct bleed order may compromise performance. Think of it like tightening lug nuts in a star pattern-consistency prevents distortion. Follow OEM specifications, as some models vary. You’ll achieve a firm pedal and reliable operation only when air is fully expelled in the correct sequence. Brake balance isn’t just ideal-it’s essential.
Don’t Vacuum Bleed These ABS Modules: You’ll Trigger Errors
Not all ABS modules are compatible with vacuum bleeding, and using this method on certain systems can trigger diagnostic trouble codes or activate the ABS warning light. Applying external vacuum may force fluid too aggressively, risking ABS failure or permanent module damage. Manufacturers like Bosch, Delphi, and ATE often specify pressure or pedal cycling methods instead. Always check service manuals before proceeding.
| Manufacturer | Vacuum Bleed Safe? | Required Method |
|---|---|---|
| Bosch 8/5 | No | Pressure or scan tool |
| Delphi M6 | No | Pedal cycling only |
| ATE MK60 | Limited | Scan tool recommended |
| Nissin | Yes | Low-pressure vacuum only |
Using vacuum on incompatible units disrupts internal solenoid calibration. You’ll introduce air or damage seals, leading to brake performance issues. Stick to manufacturer-recommended procedures.
Test Brake Feel and ABS Warning Lights After Bleeding
How does your brake pedal feel now? You should notice immediate improvement in brake pedal firmness. A properly bled system yields a rock-solid pedal with minimal travel-ideally, less than 1 inch of movement before resistance builds. Spongy or soft feedback suggests trapped air; re-bleed affected corners. With the engine running, press the brake firmly five times, holding pressure on the last depression. The pedal must hold steady-any sinking indicates fluid leakage or incomplete bleeding. Now, observe the dashboard. The ABS warning light should illuminate for 3–5 seconds at startup, then turn off. Persistent or flashing warning light behavior signals active fault codes, often from air in the ABS module or sensor errors. Use a scan tool to retrieve codes. Never assume the system operates correctly without verifying both brake pedal firmness and warning light behavior.
On a final note
You now know how to vacuum-bleed ABS-equipped brakes safely and effectively. Always verify your vehicle’s service manual allows vacuum bleeding. Use a regulated vacuum pump set to 18–22 in-Hg to avoid introducing air. Follow the correct sequence: right rear, left rear, right front, left front. Some ABS modules, like Bosch 5.7, fail if vacuum-bled. Test brake pedal firmness and scan for DTCs post-bleed.