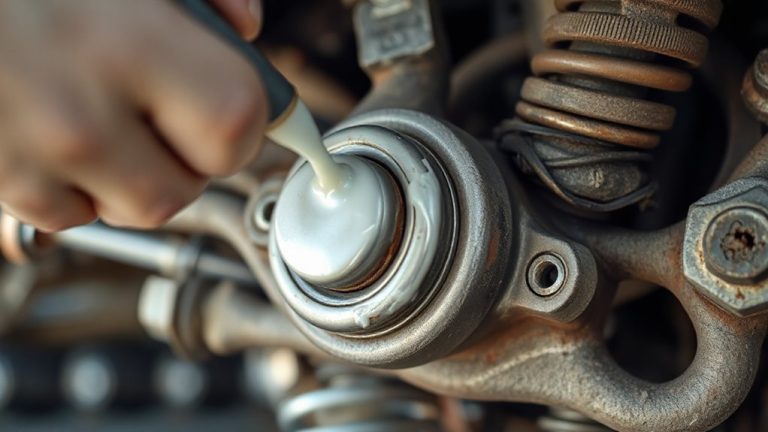
Coilover Seal Leaks: 250 vs 400 PSI Bottom-Out Damage Guide
You’re likely seeing oil weepage from your coilovers after repeated bottom-outs, which force the piston to its travel limit and spike pressure past 400 psi-exceeding the 250 psi rating of nitrile or polyurethane seals. High-pressure surges deform the seal lip, creating paths for fluid to escape. Rapid shaft movement during hard impacts generates heat and micro-tears, accelerating wear. A light sheen is normal, but dripping means the seal has failed. Inspecting the rod for scoring and checking for 5 ml per 1,000-mile loss confirms damage. Adjusting ride height and damping settings reduces bottom-out risk and preserves seal life. Solutions depend on identifying the root cause early.
Notable Insights
- Repeated bottoming out forces piston to travel limit, spiking hydraulic pressure beyond seal ratings.
- Excessive pressure from hard impacts can exceed 400 psi, deforming nitrile or polyurethane seals.
- High piston velocity during bottom-out generates heat and friction, accelerating seal wear and micro-tear formation.
- Bottom-mounted oil leaks often indicate seal or guide damage due to loss of fluid retention under pressure.
- Inspect for pooled oil or dripping; light sheen is normal, but sustained leakage requires seal replacement.
What Causes Coilover Leaks From Bottoming Out
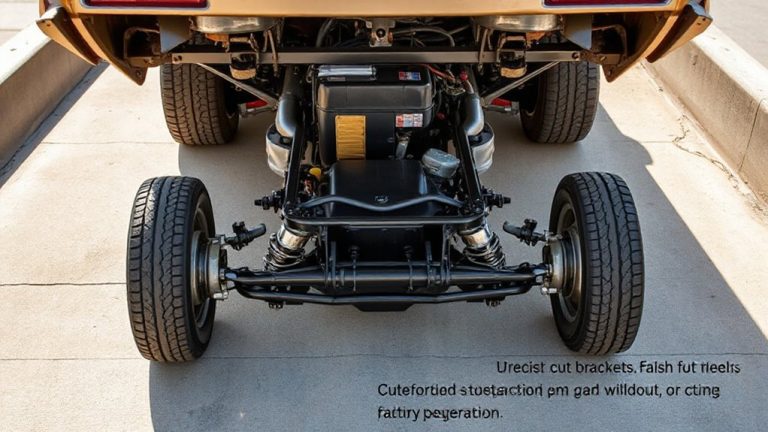
While your coilovers are built to handle aggressive driving and rough terrain, repeated bottoming out can lead to seal leaks over time. Each hard compression forces the piston to its travel limit, spiking hydraulic pressure inside the shock body. This sudden rise in pressure stresses the seal beyond design limits. High piston velocity during impact generates excess heat and friction at the sealing surface. The combination compromises the seal’s ability to retain fluid. Microscopic gaps form, allowing oil to escape. Even minor seepage indicates internal wear. Seals exposed to frequent high-speed impacts degrade faster, especially if fluid contamination occurs. Modern coilovers use nitrile or polyurethane seals rated for 250 psi operating pressure, but bottoming can exceed 400 psi momentarily. Sustained exposure weakens material integrity. You’ll notice dampness around the lower shock body. Left unchecked, leakage accelerates. Preventive tuning of spring rates and travel limits reduces risk. Monitoring for early signs keeps performance consistent and extends service life.
How Hard Impacts Damage Shock Seals
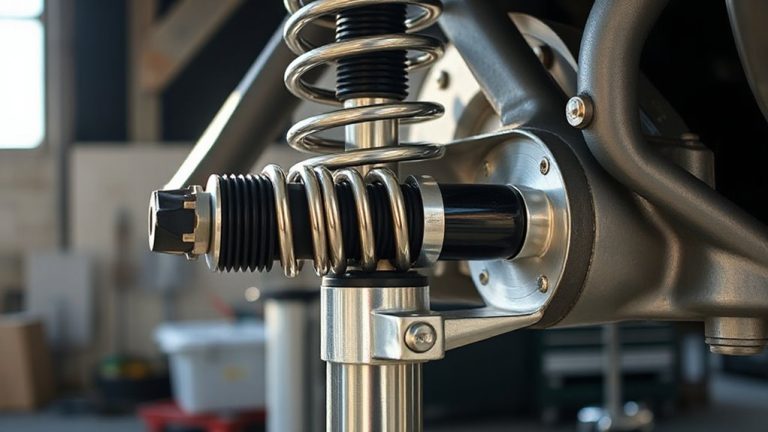
When your coilovers endure sudden, forceful impacts-like hitting a pothole at speed or landing hard after a jump-the shock’s internal pressure can spike to extreme levels in milliseconds. High impact velocity forces the piston to compress fluid rapidly, causing internal pressure to exceed 1,500 psi in performance shocks. This pressure surge stresses the seal and rod surface beyond design limits. Repeated overpressure events deform the oil seal’s lip, allowing fluid to escape. The seal’s nitrile material hardens under stress, reducing elasticity and sealing capability. Even minor deformations create leak paths. Most coilovers use a dual-seal system: a rod seal and a dust wiper, but only the rod seal contains internal pressure. When it fails due to impact fatigue, oil migrates past the rod. Hard impacts don’t just stress components-they accelerate wear at microscopic levels, compromising seal integrity long before visible leaks appear. Choosing the right off-road suspension systems can significantly reduce the frequency of bottom-out events and prolong seal life.
Is That Leak Normal or a Sign of Trouble?
How much oil is too much? A light sheen on the coilover body is usually normal and doesn’t affect performance-manufacturers allow minor seepage to keep the seal lubricated. However, if you notice dripping or pooled oil, leak severity increases, signaling possible seal compromise. These symptoms often reduce seal longevity due to contamination and pressure loss. A healthy seal should retain fluid under 300+ psi internal pressure. Once leaks exceed 5 ml per 1,000 miles, replacement is recommended. Severe leaks degrade damping consistency, affecting handling and ride quality. While minor weeping won’t kill your coilovers, persistent leakage suggests wear or prior damage from hard impacts. Monitor the rate and location of oil escape. Bottom-mounted leaks typically indicate seal or guide wear. Track progression over two weeks. If the leak spreads beyond the lower cap, trouble is likely present.
Driving Habits That Kill Coilover Seals
Why do some coilovers fail prematurely despite regular maintenance? Your driving habits may be to blame. Aggressive cornering generates extreme lateral loads, forcing seals to endure uneven pressure and accelerated wear. These repeated stresses compromise the urethane sealing lip, which operates under 200–300 psi in normal conditions. Frequent potholes cause sudden, high-velocity shaft impacts, leading to micro-tears in the seal edge. Each bottom-out drives contaminated debris past the wiper lip, scoring the chrome-plated rod. Over time, even minor abrasions allow fluid migration. You’re not just driving-you’re hammering precision components beyond design limits. Seal life drops by up to 60% under these conditions. Unlike gradual wear, impact damage isn’t predictable. Avoiding sharp bumps and moderating corner speed preserves seal integrity. Proper use extends service intervals and maintains damping consistency. Your coilovers can last years-if you don’t treat them like disposable parts. Choosing the right setup for daily use, such as best coilovers for daily driving, can significantly reduce stress on internal components.
How to Check If Your Seals Are Blown
Could your coilovers be leaking without you knowing? Perform a seal inspection regularly to find out. Look closely at the lower shock body and damper rod-any visible fluid residue means trouble. Fresh oil droplets or greasy grime near the seal indicate internal pressure loss and potential blowout. Wipe the area clean, then recheck after a short drive; new seepage confirms a failed seal. Most coilovers use Viton seals rated for 3,000 psi; once compromised, they can’t maintain damping force. A blown seal reduces control and accelerates wear. Use a lint-free cloth to detect trace leaks invisible to the eye. Fluid residue isn’t just messy-it’s a sign of deteriorating performance. Ignoring it leads to inconsistent ride quality and bottom-out damage. Seal inspection every 6,000 miles guarantees early detection. Don’t wait for total failure-spotting fluid residue early saves cost and maintains handling precision.
Fix Ride Height to Prevent Seal Damage
You’ve checked the seals and found signs of leakage-now it’s time to address one of the leading causes: incorrect ride height. Setting your coilovers too low reduces suspension travel, increasing the chance of hard bottom-outs that damage seals. Proper ride height maintains adequate stroke length, preventing metal-to-metal contact. Adjust spring preloading to achieve the correct ride height without over-compressing the spring. Excessive preloading increases spring force, transferring more impact energy to the damper body and seal. This accelerates wear and promotes leakage. Target factory-recommended ride heights or consult manufacturer specs for your model. Most performance coilovers allow 1–2 inches of adjustable ride height; staying within this range preserves seal integrity. If you’ve modified spring rates, consider valve recalibration to match damping forces. Correct valve tuning guarantees consistent oil flow during compression, reducing shock load on the seal. Fixing ride height isn’t just about stance-it’s critical for longevity.
Choose the Right Damping for Hard Driving
How well does your coilover handle sustained high-speed cornering or aggressive compression on rough track surfaces? If you’re bottoming out often, your damping might be mismatched. Proper valve tuning guarantees resistance matches your driving style. Too soft, and you’ll crash through bumps; too stiff, and the tire loses contact. Valve tuning controls oil flow based on piston speed, which spikes during hard hits. High piston speed demands precise metering to avoid harshness or seal damage. Adjustable coilovers let you tailor compression and rebound for your weight and track conditions. Aim for linear damping-smooth resistance that increases with piston speed. This reduces shock load on seals during repeated bottom-outs. Match damping to your spring rate: 65–75 lb/in springs usually pair well with medium-firm damping. Consistent piston speed response prevents seal fatigue. Choose wisely-your seals depend on it.
On a final note
You’re risking seal failure if your coilovers repeatedly bottom out. Hard impacts exceed seal compression limits, often rated for 15–20 Gs, causing micro-tears. These leaks aren’t normal wear-they signal mechanical overload. Inspect for oil residue near the shock body; even 5 mL per week indicates failure. Correct ride height and damping settings to maintain 2–3 inches of travel margin. Stiffer valving or external reservoirs improve heat and impact resistance. Prevent damage-don’t ignore early signs.