Step-by-Step Guide to Installing a Digital Signal Processor (DSP) in Your Vehicle
Choose a DSP with at least 6 input channels, 8 outputs, and 24-bit/192 kHz DACs for precise audio control. Set up a clean, static-free workspace and keep the unit protected until use. Mount it securely under a seat or near a vent using rubber isolators to prevent vibration. Connect a fused 12–16 AWG power wire to the battery’s positive terminal, install an in-line fuse within 18 inches, and ground the unit to bare chassis metal. Keep power and signal wires separated to avoid interference. Use ferrite cores on signal lines to suppress noise. Connect via USB or Bluetooth to access tuning software. Use real-time analyzer (RTA) mode to identify acoustic issues. Adjust crossovers from 20 Hz to 5,000 Hz in 1 Hz steps and apply 31-band EQ with ±12 dB range per channel. Enable time alignment in 0.1 ms increments to synchronize sound arrival from all speakers. Proper setup guarantees studio-accurate staging and clarity. You’ll discover how each adjustment transforms your system’s performance.
Notable Insights
- Choose a DSP with at least 6 input channels, 8 outputs, and high signal-to-noise ratio for optimal audio performance.
- Set up a clean, static-free workspace and keep the DSP protected until installation begins.
- Mount the DSP securely in a well-ventilated, vibration-isolated location away from heat and direct sunlight.
- Connect a fused power wire directly to the battery and ground the unit to bare chassis metal with a short wire.
- Use DSP software via USB or Bluetooth to tune audio with precise crossovers, EQ, and time alignment.
Choose the Right DSP for Your Car
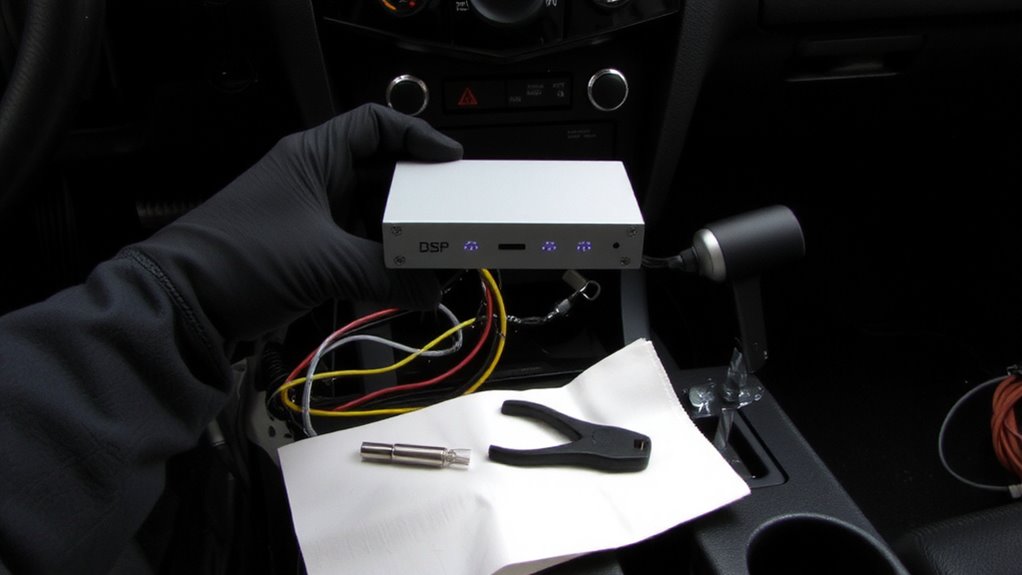
What makes one DSP better than another for your setup? It’s how well it handles signal processing and preserves audio fidelity. You need a unit with high signal-to-noise ratios-96 dB or higher-so background hiss stays gone. Look for 24-bit/192 kHz digital-to-analog converters; they capture细微 details in music. Your chosen DSP must support time alignment, so sound from each speaker reaches your ears in sync. Most quality units offer at least 6 input channels and 8 outputs, letting you fine-tune component speakers and subwoofers. Adjustable crossover slopes-12 dB to 48 dB per octave-give you control over frequency blending. Advanced models include parametric EQ with up to 31 bands per channel, correcting room acoustics with precision. Don’t overlook onboard memory; presets save tuning work. A good DSP doesn’t color sound-just clarifies it, like removing smudges from glass. For optimal results, consider one of the top-rated DSP units based on expert testing and user feedback.
Set Up Your Car Audio DSP Work Area
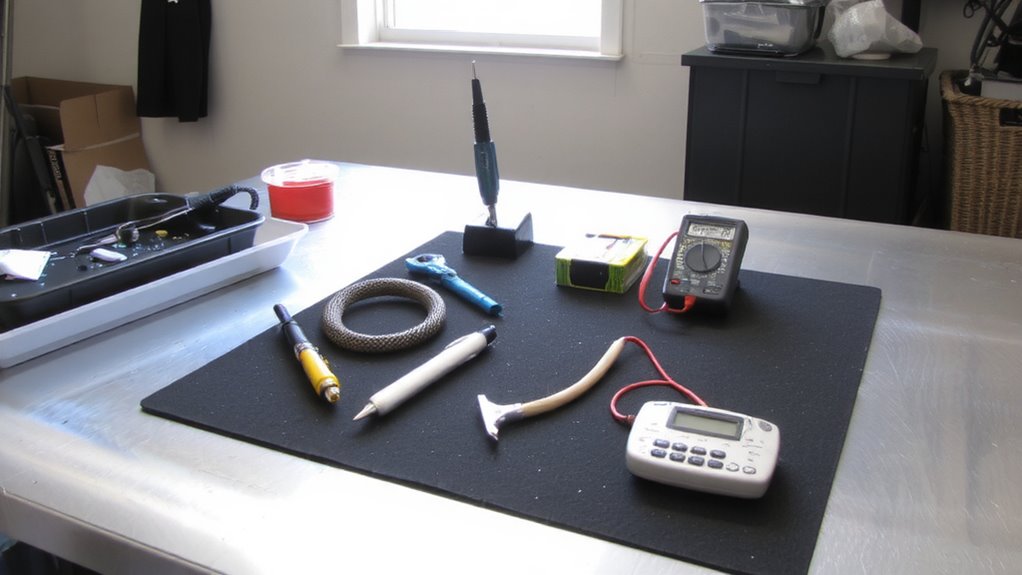
Before touching any wires, set up a clean, well-lit workspace with all your tools laid out. A clutter-free environment ensures accuracy and reduces the risk of damage. Use an anti-static mat to protect sensitive circuitry-static discharge can compromise signal integrity. Keep the DSP in its protective packaging until ready for installation. Separate power, signal, and ground wiring paths during prep to maintain proper component isolation. Electromagnetic interference from nearby wires or devices distorts low-voltage audio signals. Label all cables and connectors to prevent cross-connections. Use ferrite cores on signal lines to suppress high-frequency noise. Guarantee your multimeter, crimping tool, and wire strippers are calibrated and functional. A well-organized work area improves efficiency and supports correct signal flow. Maintaining clean connections and physical separation of components enhances audio fidelity and system reliability from the start.
Mount the DSP in a Safe, Accessible Spot
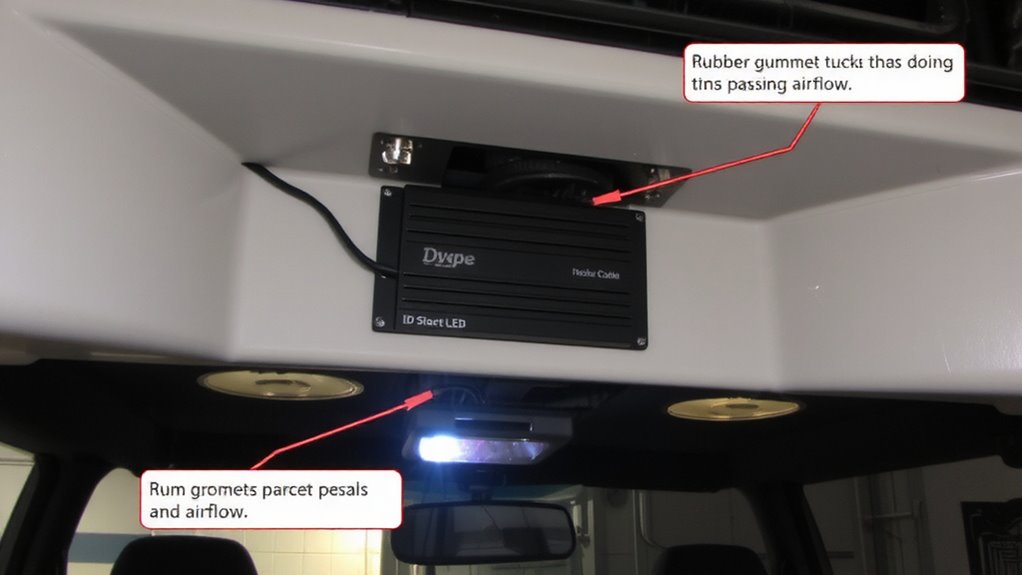
You’ve prepped your workspace and organized every cable, tool, and connector-now it’s time to secure the DSP where it performs best. Mount it in a location with strong heat management, avoiding direct sunlight and enclosed spaces. DSPs generate internal heat, and sustained high temperatures can shorten component lifespan or cause thermal throttling. Choose a spot with ambient airflow, like under a seat or in the trunk near a vent. Guarantee vibration isolation by using rubber mounts or damping pads-metal-to-metal contact transmits chassis vibrations that harm solder joints over time. The unit should be level and secure, with no risk of shifting during transit. Keep it accessible for firmware updates or adjustments, but away from moisture and foot traffic. Most modern DSPs measure around 7” x 5”, so confirm clearance. Proper placement guarantees signal integrity and long-term reliability.
Power and Ground Your DSP
With the DSP securely mounted, focus shifts to powering it efficiently and safely. Use a fused power wire (typically 12–16 AWG) connected directly to your car battery’s positive terminal. This minimizes voltage drop, ensuring stable operation under high signal loads. Always include an in-line fuse within 18 inches of the battery to prevent fire hazards. For the ground, connect a similarly sized wire to a bare metal point on the vehicle’s chassis, free of paint or corrosion. Poor grounding increases signal interference and degrades audio quality. Keep power and ground wires away from audio signal cables to prevent induced noise. A short, direct ground path reduces resistance and maintains voltage integrity. Proper wiring prevents performance issues caused by insufficient current delivery. You’re building a reliable foundation-clean power and solid grounding are essential for accurate digital processing and consistent output.
Tune Your Sound Using DSP Software
How do you transform a well-wired DSP into a high-performance audio system? You start with precise audio calibration and frequency tuning using your DSP’s software. Connect your device via USB or Bluetooth, then launch the application. Most DSPs support real-time analyzer (RTA) mode, which reads sound output and identifies acoustic flaws. Use this data to adjust crossovers, time alignment, and equalization.
| Parameter | Adjustment Range | Precision |
|---|---|---|
| Crossover Frequency | 20 Hz – 5,000 Hz | 1 Hz increments |
| EQ Bands | 31-band per channel | ±12 dB range |
| Time Alignment | 0 – 12 ms | 0.1 ms steps |
| Gain | -20 dB to +12 dB | 0.5 dB steps |
Apply frequency tuning to eliminate muddy bass or harsh highs. Audio calibration guarantees each speaker contributes accurately. Results? A stereo image that’s tight, detailed, and true to source.
On a final note
You’ve installed your DSP correctly when all connections are secure and firmware is updated. The unit draws 5–10 amps, requiring a 16-gauge power wire fused within 18 inches of the battery. Ground resistance should measure under 0.1 ohms. Properly tuned, your DSP delivers 96 dB signal-to-noise ratio and ±0.5 dB frequency accuracy. This precision guarantees time alignment, crossover control, and peak speaker performance. You now have full acoustic control.