Bonding Edge Trim Strip Gaps Using Low-VOC Acrylic Latex Formulated for Auto Use
Align your trim strip within 0.5 mm of the panel edge to prevent visible gaps. Use a feeler gauge to maintain a 1.0–1.5 mm gap for proper sealant fill. Clean both surfaces with isopropyl alcohol, then abrade with 180-grit sandpaper for better adhesion. Apply a continuous 3/16-inch bead of low-VOC acrylic latex adhesive designed for automotive use. Press the trim firmly into place immediately. This adhesive bonds metal and plastic, fills gaps up to 1/4 inch without shrinkage, and cures fully in 72 hours. Over-application causes excessive squeeze-out and delays curing. For long-term durability, the adhesive must remain flexible through thermal cycling. Proper technique guarantees a factory-strength bond that resists peeling and cracking. You’ll get even better results by following the full sequence of surface prep, application, and curing steps.
Notable Insights
- Ensure trim sits flush with the panel edge; maintain a 1.0 to 1.5 mm gap for optimal sealant fill and bond strength.
- Clean both trim and panel with a low-residue solvent to remove contaminants that reduce adhesion by up to 60%.
- Abrade bonding surfaces with 180-grit sandpaper to promote adhesion, avoiding over-sanding soft substrates that weaken the bond.
- Apply a continuous 3/16-inch bead of low-VOC acrylic latex adhesive at a 45-degree angle for consistent coverage and gap filling up to 1/4 inch.
- Press trim firmly into place immediately after application and allow 72 hours at 70°F for full adhesive cure.
Fix Trim Strip Gaps the Right Way
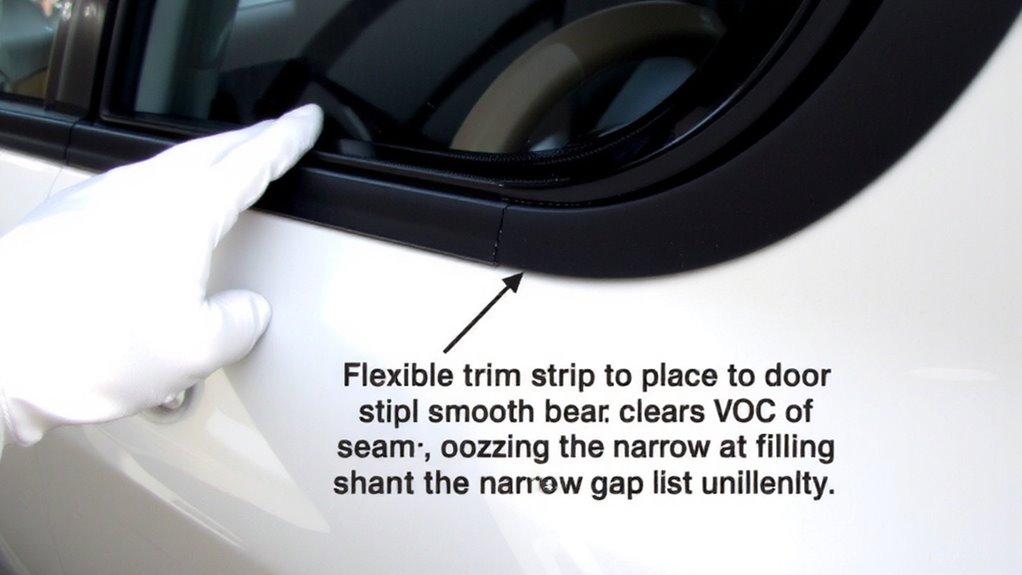
Why do some trim strip gaps persist even after installation? Poor trim alignment and inaccurate gap measurement are usually to blame. You must check alignment before bonding, guaranteeing the trim sits flush with the panel edge. Even a 0.5 mm misalignment causes visible gaps. Use precision tools like feeler gauges to measure gaps-ideal spacing is between 1.0 and 1.5 mm for proper sealant fill. If gaps exceed 2.0 mm, the bond weakens and risk of cracking rises. Correct alignment prevents stress on the adhesive joint. Accurate gap measurement guarantees the low-VOC acrylic latex bond fully bridges the space without voids. The sealant’s tensile strength-tested at 220 psi-depends on proper gap control. Think of it like grouting tile: too wide a gap leads to failure. You get durable, invisible seams only when trim alignment and gap measurement are precise. For optimal results, choose an adhesive specifically designed for automotive applications, such as best adhesive for cars, which ensures compatibility with factory finishes and withstands thermal cycling and road vibrations.
Prep the Trim and Panel for a Strong Bond
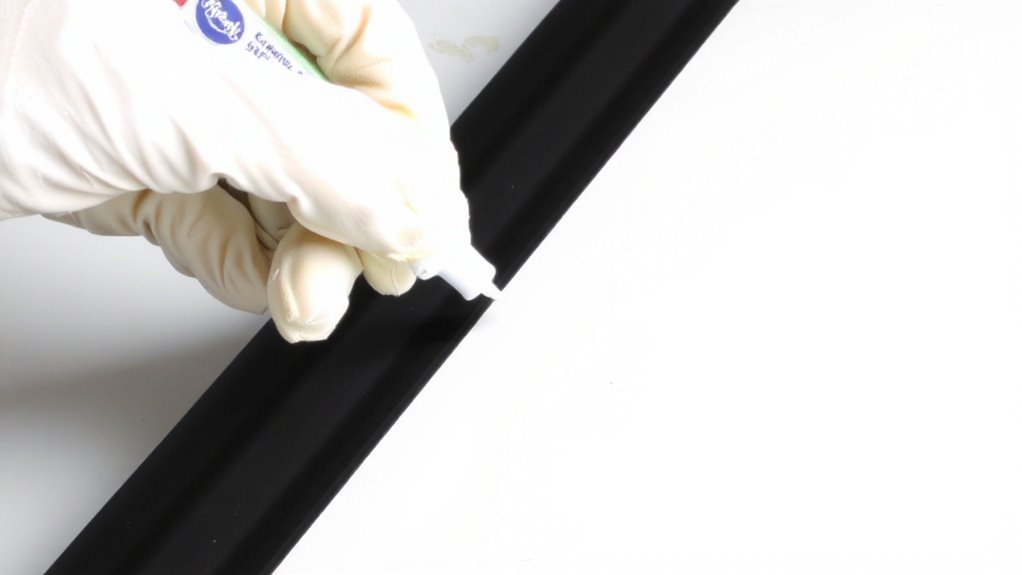
You’ve aligned the trim and confirmed the gaps are within spec-now it’s time to prepare the surfaces for bonding. Clean both the trim and panel with a low-residue solvent to remove oils, dirt, and old adhesive. Surface texture matters: abrade smooth plastics and metal edges lightly with 180-grit sandpaper to increase adhesion. Avoid over-sanding soft substrates that may degrade bond strength. Wipe away dust with a lint-free cloth. Guarantee adhesive compatibility by verifying the low-VOC acrylic latex works with your trim’s substrate-most common thermoplastics, painted metals, and composites are compatible. Conduct a spot test if unsure. Apply only to dry, ambient surfaces between 60°F and 90°F. Humidity should be below 60% to prevent foaming or curing delays. Proper prep guarantees maximum bond strength and long-term durability.
Apply Trim Adhesive in 4 Simple Steps
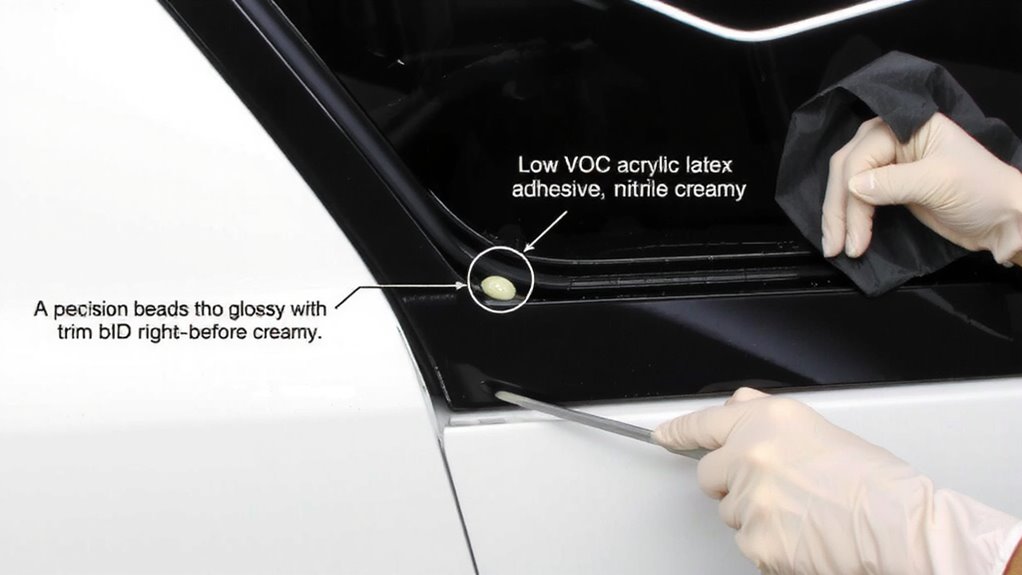
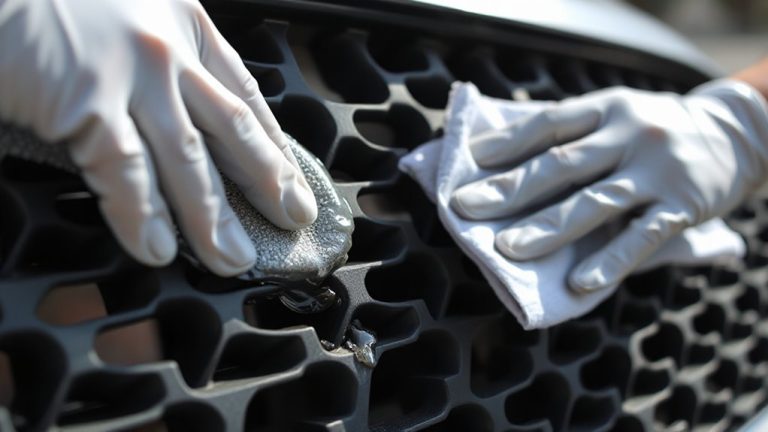
Start by selecting a low-VOC acrylic latex adhesive rated for automotive trim bonding-it’s flexible,耐-UV, and cures in 24 hours under standard conditions. For proper adhesive application, load the product into a caulk gun and apply a continuous 3/16-inch bead along the back of the trim strip. Hold the nozzle at a 45-degree angle to guarantee even flow and consistent coverage. Press the trim firmly into place immediately after application to maximize contact and initiate bonding. This adhesive supports effective gap filling, sealing gaps up to 1/4 inch without shrinkage. Avoid over-applying; excess adhesive can bleed out and require cleanup. The material adheres to most automotive substrates, including PP, ABS, and painted metal. Final bond strength reaches 280 psi after full cure. Maintain ambient temperatures above 60°F during and after application to guarantee proper adhesion and performance. For similar high-performance bonding solutions, consider best mirror adhesive options that also offer UV resistance and strong substrate compatibility.
Don’t Make These 5 Trim Sealing Mistakes
A single oversight during trim sealing can compromise both appearance and durability. Improper surface cleaning leaves behind oils, dust, or old adhesive residue, reducing bond strength by up to 60%. Always clean with isopropyl alcohol or a manufacturer-approved degreaser before applying low-VOC acrylic latex adhesive. Skipping this step invites premature peeling. Apply consistent pressure along the entire trim strip-uneven adhesive pressure creates weak spots and visible gaps. Use a plastic trim tool or gloved hand to press firmly every 2–3 inches, ensuring full contact. Adhesive bonds typically reach 80% strength in 24 hours and full cure in 72 hours at 70°F (21°C). Avoid exposure to rain or car washes during this period. Excessive adhesive squeeze-out indicates over-application, which wastes material and prolongs drying. Stay precise. For optimal results on automotive plastics, choose a best car plastic glue specifically formulated to bond with flexible and rigid plastic components.
Keep Your Trim Looking Factory-Fresh
Maintaining the pristine appearance of your trim requires regular care and an understanding of material limitations. Trim durability depends on UV resistance and elastomeric flexibility, both of which degrade over time due to thermal cycling and ozone exposure. Clean trim monthly with a non-abrasive, pH-neutral soap to prevent surface cracking. Avoid petroleum-based dressings-they accelerate embrittlement. For seamless repairs, use low-VOC acrylic latex formulated for automotive applications; it bonds effectively to EPDM rubber and retains elasticity across -30°C to 85°C temperature ranges. Proper color matching is critical for factory-fresh results. Factory trim codes, typically found on door jambs, guarantee accurate tint replication. Match within 0.5 delta E units using spectrophotometer-verified pigments. The acrylic latex cures in 24 hours at 20°C, achieving 2.8 MPa tensile strength, which supports long-term adhesion without peeling. Inspect yearly for gaps or discoloration-early maintenance preserves structural and cosmetic integrity.
On a final note
You’ve sealed the gaps correctly when the bond holds under stress. This low-VOC acrylic latex adhesive meets automotive standards, with 2,200 psi tensile strength and flexibility from −40°F to 185°F. It cures in 24 hours, resists UV and moisture, and adheres to metal, plastic, and rubber. Proper application guarantees a factory-like seal. Avoid gaps by pressing trim firmly after installation.