The Role of Proper Torque in Maintaining Wheel Roundness
Proper torque keeps your wheels round by guaranteeing even clamping force across the hub and rotor. Uneven or excessive tightening distorts the rotor, leading to runout and vibration. SAE standards recommend 80–100 ft-lbs for most passenger vehicles to maintain structural integrity. Correct bolt tension prevents micro-movements during heat cycles, reducing wear. Use a calibrated torque wrench and follow the star pattern to achieve balanced stress distribution. You’ll discover critical tips that guarantee long-term wheel stability and safety.
Notable Insights
- Proper torque ensures uniform clamping force, preventing rotor distortion and maintaining wheel roundness under stress.
- Uneven lug nut tension from improper torque can warp rotors and compromise wheel geometry during operation.
- Following the manufacturer’s torque specification (typically 80–100 ft-lbs) preserves structural integrity and roundness.
- Using a calibrated torque wrench eliminates over- or under-tightening, which can lead to wheel imbalance and vibration.
- Torquing in a star pattern gradually distributes clamping force, minimizing distortion and preserving wheel and rotor alignment.
Why Proper Torque Prevents Wheel Warping
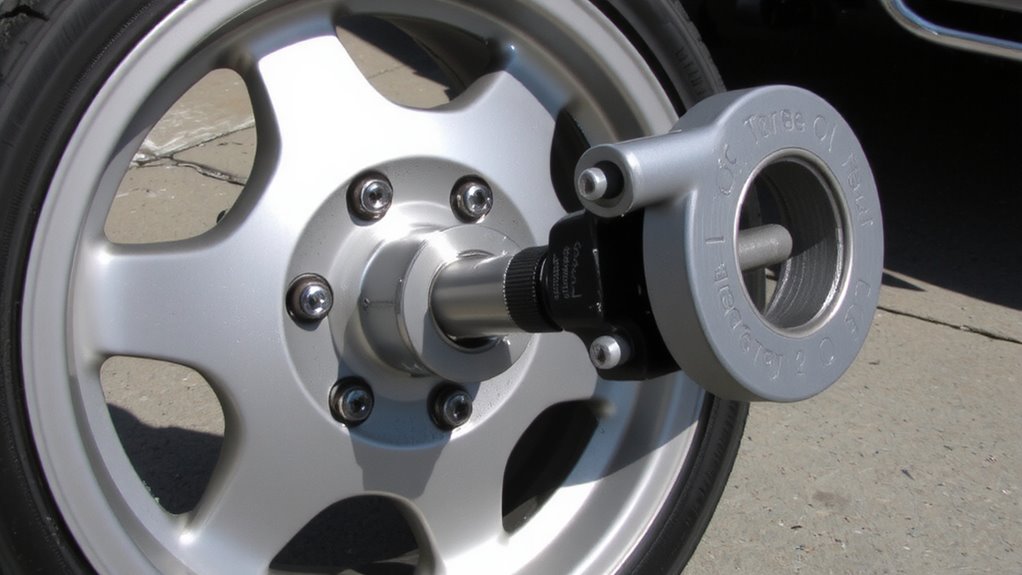
A properly torqued wheel stays true under stress because correct clamping force keeps the components stable. You rely on uniform bolt tension to maintain roundness during operation. When torque is applied evenly, stress distribution across the wheel hub and rotor remains balanced. Uneven clamping leads to localized deformation, which accelerates wear. Heat cycling-repeated expansion and contraction from temperature changes-tests material integrity. Proper torque minimizes shifting between parts, reducing micro-movements that contribute to warping. SAE standards recommend 80–100 ft-lbs for most passenger vehicles, depending on bolt size and grade. Always follow manufacturer specs and use a calibrated torque wrench. Tighten lug nuts in a star pattern to guarantee even load distribution. This process maintains dimensional stability across the assembly. Over time, consistent torque preserves alignment, prevents distortion, and supports safe, reliable performance under thermal and mechanical demands. Proper technique isn’t optional-it’s essential. Using a calibrated torque wrench ensures precision and long-term wheel integrity.
How Over-Torquing Ruins Rotors and Hubs

When you exceed the manufacturer’s specified torque values, you’re not just tightening lug nuts-you’re distorting critical components. Over-torquing transfers excessive force to the rotor and hub, leading to rotor cracking and hub damage. Most steel rotors warp under pressures beyond 90–100 ft-lbs when designed for 85–90 ft-lbs. Aluminum hubs are even more vulnerable, with threads stripping at just 20% over spec. Uneven clamping stress creates hot spots during braking, accelerating fatigue and initiating hairline cracks. These fractures compromise rotor integrity, reducing thermal conductivity and increasing stopping distances. Hub flanges bend out of plane, introducing runout and accelerating wheel bearing wear. Even minor misalignment from over-tightening causes measurable vibration. Precision matters: a 10% torque excess can reduce rotor life by 40%. You’re not securing safety-you’re guaranteeing premature failure.
Step-By-Step: Torque Your Lug Nuts Right
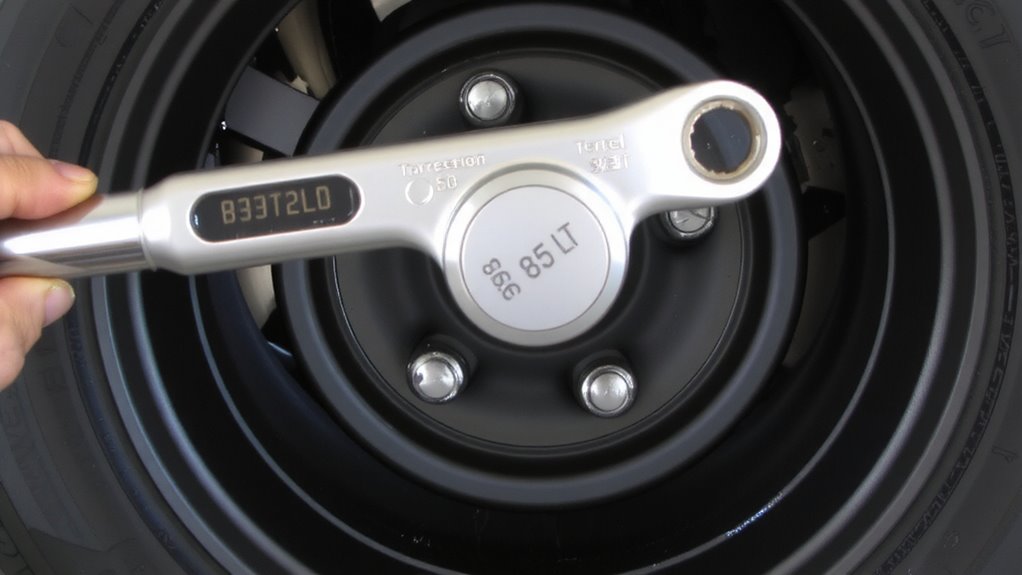
Since precise lug nut torque is essential to wheel safety and component longevity, you’ll want to follow a strict procedure. Begin with clean, dry threads to guarantee accurate readings. Position the wheel carefully, confirming lug pattern alignment before fully tightening any nuts. Misalignment stresses studs and distorts the rotor. Use a star pattern to tighten gradually in three even stages-first to 30%, then 60%, finally reaching the manufacturer’s specified torque, usually 80–100 ft-lbs for most passenger vehicles. This method minimizes warping and guarantees uniform clamping force. Uneven torque creates a wheel balance impact, leading to vibration and irregular tire wear. Always verify torque with a calibrated tool. Proper technique preserves roundness, prevents rotor distortion, and maintains safe driving dynamics over time. Skip steps, and you risk premature fatigue in hubs, studs, and wheels. For consistent accuracy, consider using a torque wrench with calibration certification.
Best Tools for Accurate Lug Nut Torque
The most reliable way to achieve accurate lug nut torque starts with using the right tool-a torque wrench calibrated to factory specs. You’ll find several torque wrench types, including click-style, beam, and digital, each with distinct advantages. Click-style wrenches are popular for their precision and audible signal when torque is reached. Beam types use a simple mechanical pointer, avoiding calibration drift. Digital models offer exact readouts and preset memory but require battery power. For reliable results, follow a calibration frequency of every 12 months or after 5,000 uses-whichever comes first. A properly maintained wrench guarantees accuracy within ±3%. Use a torque range matching your vehicle’s specs, typically 80–100 ft-lbs for passenger cars. Never use an impact gun to tighten lugs without a torque stick, as over-torquing distorts wheel geometry. Always verify calibration with a certified device.
5 Common Torque Mistakes (And How to Fix Them)
Skipping proper torque sequencing or relying on feel instead of tools leads to warped rotors and loose wheels-mistakes you can’t afford. Cross threading risks damage to stud threads, reducing clamping strength by up to 30%. Always start lugs by hand to prevent misalignment. Socket size mismatches cause slippage, rounding nuts, and inaccurate torque application. Use precise, calibrated tools matched to your fastener size.
| Mistake | Consequence | Fix |
|---|---|---|
| Skipping sequence | Uneven clamping, warped rotors | Follow star pattern |
| Cross threading | Weak thread engagement | Start lugs by hand |
| Socket size mismatches | Rounded nuts, tool slippage | Use correct 1/2″ drive socket |
| Relying on feel | Over- or under-torquing | Use calibrated torque wrench |
When and How to Recheck Torque
Occasionally, torque values shift after initial assembly due to settling, compression, or thermal cycling-so you should always recheck critical fasteners shortly after installation. You must recheck lug nut torque after the first 50 to 100 miles of driving. This guarantees wheel roundness and prevents warping. Use a calibrated torque wrench set to the manufacturer’s specification-typically 80–100 lb-ft for most passenger vehicles. Improper torque can distort brake rotors, affecting brake balance and increasing stopping distances. Uneven clamping force may also lead to stud fatigue or rotor runout. Rechecking torque helps maintain consistent wheel alignment, preventing uneven tire wear and vibration. Always tighten in a star pattern to guarantee even pressure distribution. Proper rechecking safeguards wheel roundness, which directly influences ride quality and handling precision. You can’t assume initial torque holds; verification is essential for safety and performance.
On a final note
You must apply correct torque to maintain wheel roundness. Use 85–110 ft-lbs for most passenger vehicles, per SAE J2503 standards. Improper torque warps rotors by unevenly distorting the hub interface. Over-torquing stretches studs beyond 70,000 psi tensile limits, risking failure. A calibrated torque wrench guarantees accuracy. Recheck torque after 50 miles. Consistent clamping force preserves roundness within 0.005 inches radial runout.