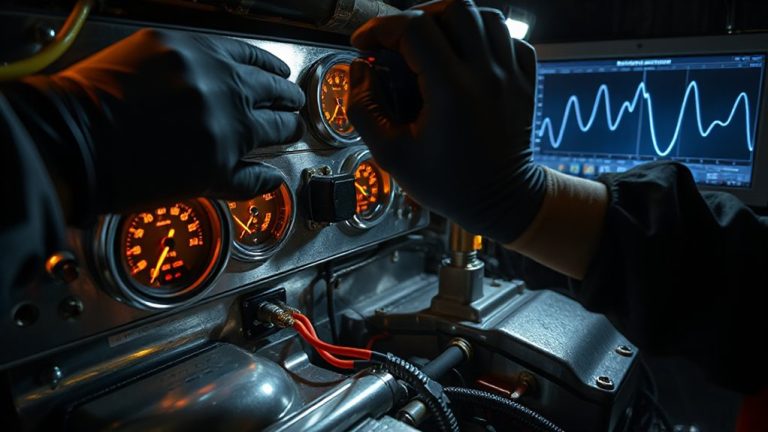
How to Diagnose and Fix Electronic Parking Brake Issues
Start by checking for warning lights or error codes like C1446, which often indicate sensor or circuit issues. Inspect the brake system fuse-typically 10 to 15 amps-and test wiring for damage using a multimeter. Use an OBD-II scanner to pull codes such as C1640 or C2304, pointing to actuator faults. Check rear caliper motor current draw (2–5 amps) and resistance (1.2–1.8 kΩ). If problems persist after a reset, deeper diagnostics will be required.
Notable Insights
- Check for diagnostic trouble codes using an OBD-II scanner to identify issues like C1446 or C1640 in the brake control module.
- Inspect fuses and wiring for damage, ensuring correct amperage and testing circuit continuity with a multimeter.
- Examine brake pad thickness, as wear below 2.0 mm can reduce clamping force and trigger system alerts.
- Test sensors for proper operation, including brake travel and wheel speed sensors, which may cause engagement failure if faulty.
- Perform a system reset by holding the brake button with ignition on, then restart to recalibrate if no mechanical or electrical faults are found.
Recognize Common Electronic Parking Brake Problems
While you may expect your electronic parking brake to engage silently and hold the vehicle securely, problems can arise that compromise its function. One common issue is brake wear, which reduces pad thickness below the manufacturer’s minimum of 2.0 mm, leading to weak clamping force and slippage. Excessive wear triggers system alerts because insufficient friction material can’t maintain holding torque. Another key failure point is sensor failure, particularly in the brake travel sensor or wheel speed sensors. These sensors relay position and load data to the control module; if they malfunction, the system may not engage or disengage properly. A faulty sensor often logs diagnostic trouble codes (DTCs) like C1446. Response delay or incomplete engagement typically indicates internal circuit faults or signal noise interference. Diagnosing these requires a scan tool capable of reading ABS and brake control modules. Ignoring early symptoms risks complete system failure.
Check Fuses and Wiring for Electrical Issues
If electrical issues are affecting your electronic parking brake, start by inspecting the fuses-these small components protect the system’s power supply and can fail without warning. Fuse inspection is a fast, essential step. Locate the fuse box using your vehicle’s manual, then identify the brake system’s fuse by its amperage rating-typically 10 to 15 amps. Check for visible breaks in the metal strip. A blown fuse interrupts power and causes system failure. Replace only with the correct amperage. Next, assess wiring integrity from the brake actuator to the control module. Look for frayed, corroded, or pinched wires. Use a multimeter to test continuity along the circuit. Damaged wiring disrupts signal transmission like a blocked artery. Ensuring both fuse inspection and wiring integrity saves time and prevents misdiagnosis. Always disconnect the battery before repairs.
Use a Scan Tool to Diagnose Electronic Parking Brake Codes
How do you pinpoint the exact cause when your electronic parking brake fails to engage or release? You start with scan tool usage. Connect a compatible OBD-II scanner to your vehicle’s diagnostic port and retrieve stored trouble codes from the brake control module. Modern systems generate specific DTCs-like C1640 or U0121-pointing to actuator faults or communication errors. Scan tool usage allows real-time data viewing, such as actuator position or motor current draw, typically ranging 2–5 amps during operation. Accurate code interpretation is critical: a C2304 may indicate a rear caliper motor stall, while U04166 suggests lost signal from the body control module. Don’t assume; verify each code against your vehicle’s service manual. Misinterpretation leads to incorrect repairs. Best OBD2 scanners provide the reliability and advanced features needed for accurate electronic parking brake diagnostics.
Learn How Electronic Parking Brakes Work
You’ve used a scan tool to retrieve fault codes, but understanding those codes means knowing how the system operates. Your electronic parking brake replaces the traditional hand lever with an electric system controlled by a button. When you press it, the control module receives the signal and activates the brake actuator. The control module, usually integrated with the ABS or body control system, calculates the required clamping force based on vehicle conditions. Each rear wheel has an electric brake actuator that drives a motorized screw to push brake pads against the rotor. These actuators operate at 12 volts and can generate up to 8,000 Newtons of clamping force. Sensors provide feedback to guarantee even application. This system self-adjusts for pad wear and maintains consistent performance. Knowing how the brake actuator and control module interact helps you interpret fault codes accurately and perform precise diagnostics.
Reset Your Electronic Parking Brake System
Why does your electronic parking brake need a reset? A reset clears error codes caused by a software glitch or restores function after battery drain. If your vehicle’s battery dies or is replaced, the system may lose calibration, triggering warning lights or unresponsive controls. Some models, like those from Volkswagen or Toyota, require a reset procedure using the brake switch and ignition cycle. Press and hold the parking brake button for five seconds with the ignition on but engine off. Release, turn the ignition off, then restart the car. This recalibrates internal sensors and re-establishes communication between the ECU and actuator motors. The process takes under two minutes and doesn’t require special tools. Perform it only when symptoms like failure to release or engage occur. Resetting won’t fix mechanical faults but resolves many electrical faults tied to power interruptions or software errors.
When to Call a Mechanic for Electronic Parking Brake Issues
If the electronic parking brake fails to respond after a proper reset, it’s time to contemplate professional help. A non-responsive system may indicate actuator failure or wiring faults that require a professional inspection. You’ll need urgent repairs if the brake engages randomly or won’t release, risking drivability and safety. These symptoms often stem from malfunctioning sensors, typically with resistance readings outside the 1.2–1.8 kΩ range. Error codes like C1446 or C1452 on a scan tool point to specific electrical issues beyond DIY fixes. Ignoring such warnings can lead to complete system lockup or loss of braking assist. The control module, responsible for signal processing at 12 volts DC, must be tested with a multimeter and calibrated properly. Don’t delay-persistent warning lights or grinding noises mean immediate service is critical. You’re dealing with safety-critical hardware; expert assessment guarantees compliance with FMVSS Brake Standards. Using a best car diagnostic tool can speed up identifying these complex electrical faults accurately.
On a final note
You now understand how to diagnose and fix electronic parking brake issues. Common problems include unresponsive buttons, error messages, or failure to engage. Check 10A fuses in the IPDM, inspect wiring for continuity, and verify brake actuator voltage (12V ±0.5). Use an OBD2 scan tool to pull fault codes from the ABS module. After repairs, perform a system reset via the service mode. Persistent faults require professional calibration equipment.