Inspecting CV Joint Boots for Tears to Prevent Grease Loss in FWD Cars
You should inspect your CV joint boots regularly to prevent grease loss and protect your FWD drivetrain. These rubber boots, 6–10 inches long, seal joints that flex up to 30 degrees and endure torque up to 400 ft-lbs. Cracks or tears, especially in the bellows, let grease escape and let in dirt. Without lubrication, internal clearances of 0.001–0.003 inches degrade, causing wear and potential failure. A damaged boot risks transmission damage and costs over $1,500. You’ll find out how to catch early signs before it’s too late.
Notable Insights
- Inspect CV boots monthly for cracks, splits, or grease leaks at the inner and outer joints.
- Check accordion folds first, as tears often start in these high-flex areas.
- Look for grease splatter on wheels, suspension parts, or inner fenders, indicating boot leakage.
- Replace damaged boots immediately to prevent contamination and joint wear from lost lubrication.
- Use OEM or quality aftermarket boot kits with proper clamps torqued to 8–12 N·m for reliability.
What Are CV Joint Boots and Why Should You Care?
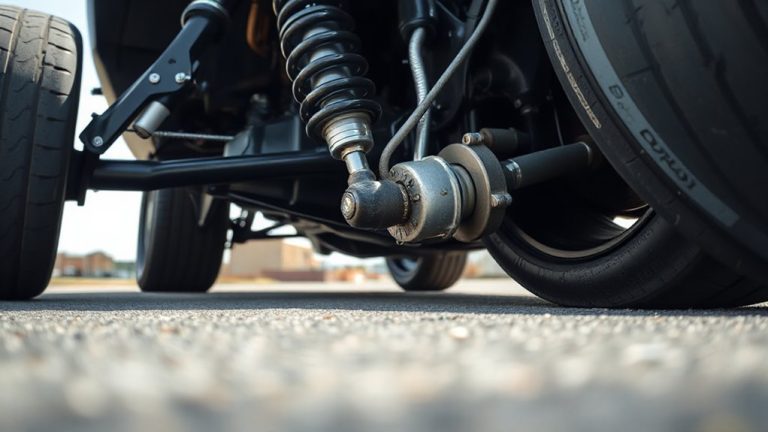
Why do car manufacturers go to such lengths to protect a small part on your front axles? Because the CV joint function is critical. It transfers power smoothly to your wheels while allowing for suspension movement and steering. Without it, your FWD car wouldn’t turn or accelerate reliably. The CV joint boot seals and protects this component, keeping grease in and contaminants out. Damage to the boot leads to rapid joint wear. Boot material types vary-most are molded from nitrile rubber or thermoplastic elastomers, designed to resist oil, heat (up to 150°C), and ozone degradation. They typically measure 6–10 inches long, with bellows allowing 20–30 degrees of flex. These boots last 80,000–100,000 miles under normal conditions. Their integrity is essential. A compromised boot means lost lubrication and exposed joints-eventually, costly failure. You can’t afford to ignore them.
How to Spot a Torn CV Boot in Under 5 Minutes
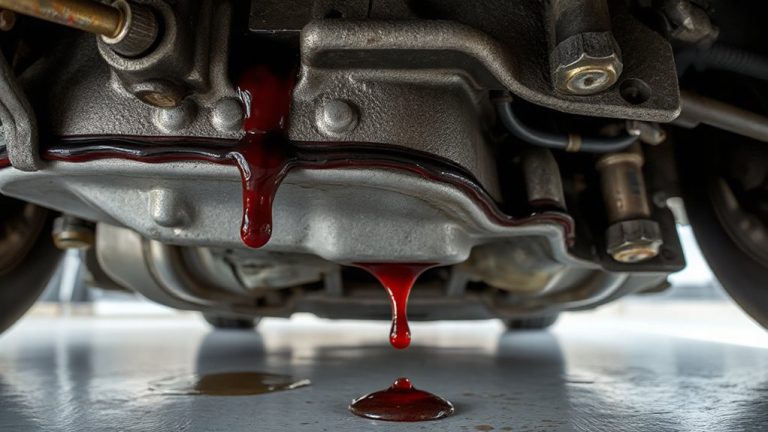
Start by inspecting each front wheel area for signs of grease leakage-just one split CV boot can sling thick, dark grease onto the inner wheel well or control arm. A quick visual inspection takes under five minutes and requires no tools. Look for grease splatter around the outer CV joint near the wheel hub or along the suspension components. The boot should be intact, flexible, and free of cracks or splits. Any hole larger than 3 mm compromises the seal. Focus on the accordion-like folds; tears often start there due to constant movement. If the rubber feels brittle or shows exposed inner mesh, the boot is failing. Fresh grease escaping means immediate attention is needed. Use a flashlight to check the entire CV shaft, especially the inner boot near the transmission. Catching damage early prevents joint wear and costly repairs.
What Happens When a CV Boot Leaks Grease?
A small split in your CV boot might seem minor, but it sets off a chain reaction of mechanical decline. Once compromised, the boot leaks grease, depriving the CV joint of essential lubrication. Without sufficient grease, metal components grind, accelerating joint wear. Typical joint clearance tolerances are 0.001 to 0.003 inches; even slight wear beyond this range increases vibration and noise. Expelled grease also causes grease contamination, attracting dirt and debris that infiltrate the joint. Road grime mixes with residual lubricant, forming an abrasive compound that further erodes bearing tracks and cage surfaces. This contamination hastens fatigue cracking in the joint’s internal geometry. Over time, the joint loses angular efficiency, reducing torque transfer by up to 15% under load. You may notice clunking during turns or shuddering at acceleration-early signs of internal damage. Left untreated, joint wear progresses to complete failure, requiring full axle replacement instead of a simple boot repair.
Can You Drive With a Torn CV Boot?
While the car may still move, driving with a torn CV boot risks accelerating internal joint damage. Grease escapes under high-pressure operation-typically 250–400 ft-lbs of torque in front-wheel-drive vehicles-exposing the joint to dirt and moisture. Without lubrication, metal-on-metal friction increases, generating heat up to 300°F, degrading the joint within weeks. Compromised boots reduce driving safety, especially during cornering or acceleration. You may hear clicking noises-often exceeding 85 decibels-indicating joint failure. Delaying action escalates repair urgency, as a failed CV joint can leave you stranded. Replacement cost averages $250–$500 per axle, but neglect may require transmission repairs exceeding $1,500. Manufacturers like SKF and NTN specify boot integrity as critical to joint lifespan. Inspect boots every 15,000 miles. Even small tears-over 3 mm-compromise sealing effectiveness. Address damage immediately to maintain reliability and prevent cascading mechanical failure.
Can You Fix a Torn CV Boot Yourself?
If you’re dealing with a torn CV boot, you might wonder whether a DIY fix is feasible-however, most temporary solutions like tape or sealants won’t withstand the operational demands of the drivetrain. A true DIY repair requires replacing the entire boot, not applying a temporary fix. Factory-specified boots are molded rubber or synthetic elastomers rated for -40°C to 150°C and constant flexing up to 1.5 million cycles. Aftermarket kits include clamps with 8–12 N·m torque specs and pre-greased, OEM-compliant boots. You’ll need a socket set, torque wrench, and pry bar. Removing the half shaft involves unbolting the hub nut (typically 32–46 mm) and disconnecting control arm joints. Reinstallation demands precise clamp positioning: 3–5 mm from the boot’s edge. Misalignment causes premature failure. While possible, improper installation risks vibration, grease ejection, and joint contamination. For lasting reliability, a full boot replacement-not a temporary fix-is essential.
On a final note
You must inspect CV joint boots regularly to prevent premature failure. A torn boot allows grease to escape and contaminants to enter, degrading the joint. Loss of lubrication leads to increased friction and wear on the CV joint’s precision-machined grooves. Most failures occur within 3,000 miles of boot damage. Replacement costs rise considerably if the joint fails. Inspect boots every oil change. Address cracks or tears immediately to maintain driveline integrity and avoid costly repairs.