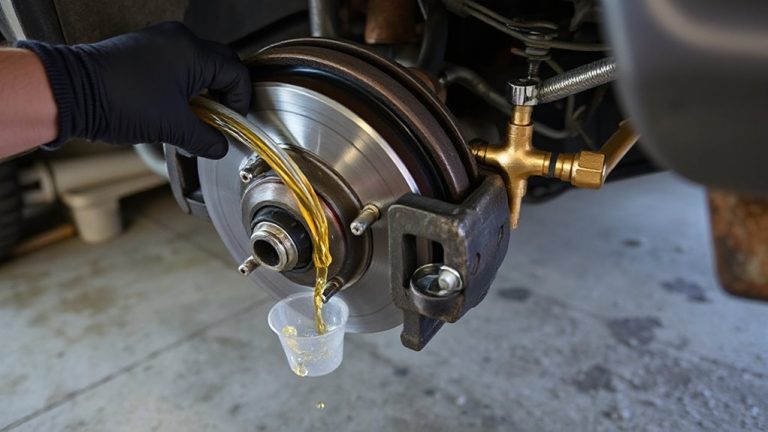
Transmission Fluid Leak Diagnosis: Locating Common Seepage Points Around the Pan Gasket
You’ll find transmission fluid leaks around the pan gasket at common seepage points like the outer edges, corners, and bolt holes. These areas fail due to gasket hardening, improper torque (8–12 ft-lbs typical), or pan warping as slight as 0.030 inches. Dark red fluid pooling there confirms gasket breakdown. Inspect with a flashlight and mirror, noting the sweet-smelling, slick residue. Correct diagnosis now leads to precise fixes you can follow next.
Notable Insights
- Inspect the outer edges and corners of the transmission pan for dark fluid pooling, indicating gasket seepage due to hardening or shrinkage.
- Check bolt holes for drips, as over-torquing or loose bolts can compromise the gasket seal and cause localized leaks.
- Examine the center seam of the pan for leaks, which may result from a warped pan or debris trapped between mating surfaces.
- Use a flashlight and mirror to spot fluid trails along the pan’s front and rear seams, common areas for gasket failure.
- Confirm the leak source by identifying reddish, slick fluid with a slightly sweet smell, ruling out other potential leak points like lines or cooler fittings.
What a Transmission Pan Gasket Does and Why It Fails
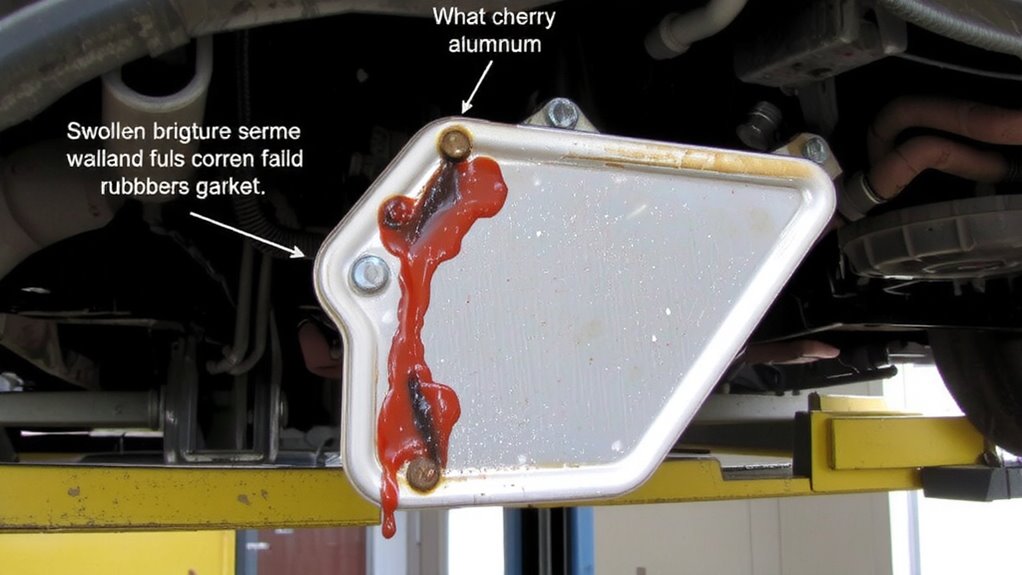
A transmission pan gasket is a thin seal, usually made of rubber or cork, that sits between the transmission pan and the transmission housing. You rely on it to prevent fluid leaks under normal operating conditions. Over time, heat and pressure lead to material degradation, causing the gasket to harden, shrink, or crack. Once compromised, it can no longer maintain a secure seal. Improper installation is another common cause of failure. If you don’t follow the manufacturer’s torque specifications when reinstalling the pan, you risk under-tightening, which leads to leaks, or over-tightening, which distorts the pan or crushes the gasket. Even minor deviations from recommended torque values-typically between 8–12 ft-lbs-can cause premature failure. Modern vehicles often use RTV sealants alongside formed gaskets, adding complexity. Proper maintenance includes checking both fastener tightness and gasket condition during fluid services.
Common Signs of a Leaking Pan Gasket
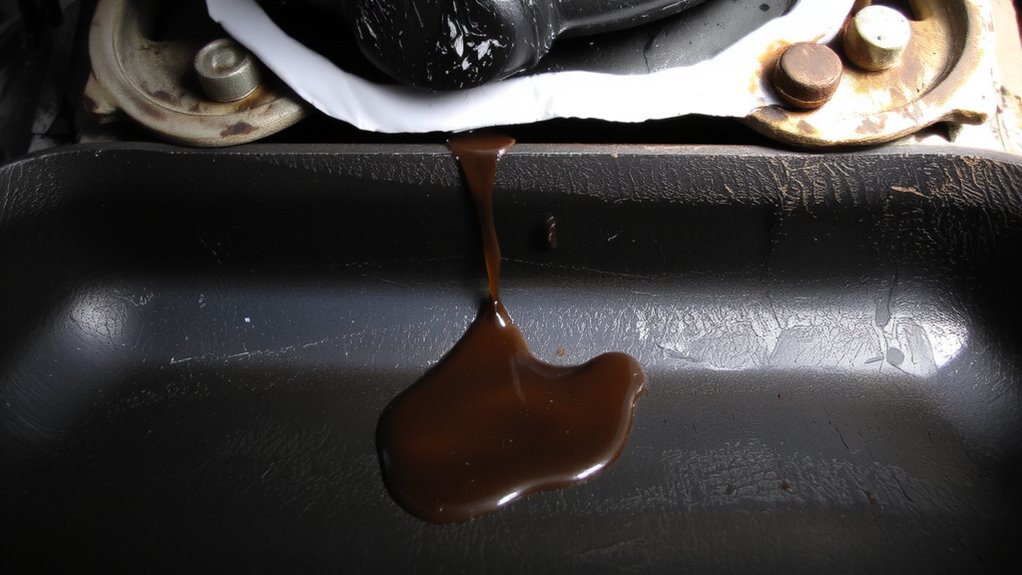
Leak symptoms show up in ways you can’t ignore once you know what to look for. You’ll notice red or brown transmission fluid pooling under your vehicle, a clear sign of a compromised pan gasket. Fluid discoloration often occurs when debris and heat degrade the fluid, indicating prolonged leaks or high internal temperatures. Over time, uneven tightening or excessive heat can cause pan warping, preventing the gasket from sealing properly. A warped pan, even by as little as 0.030 inches, disrupts surface flatness and leads to consistent seepage. You may also detect a burning smell or hear slight whining from low fluid levels. Dropping fluid pressure affects shift timing and performance. These signs don’t resolve themselves. Ignoring them risks complete transmission failure. Check fluid condition and pan alignment early. Early detection prevents costly repairs.
Where Transmission Pan Gaskets Typically Leak
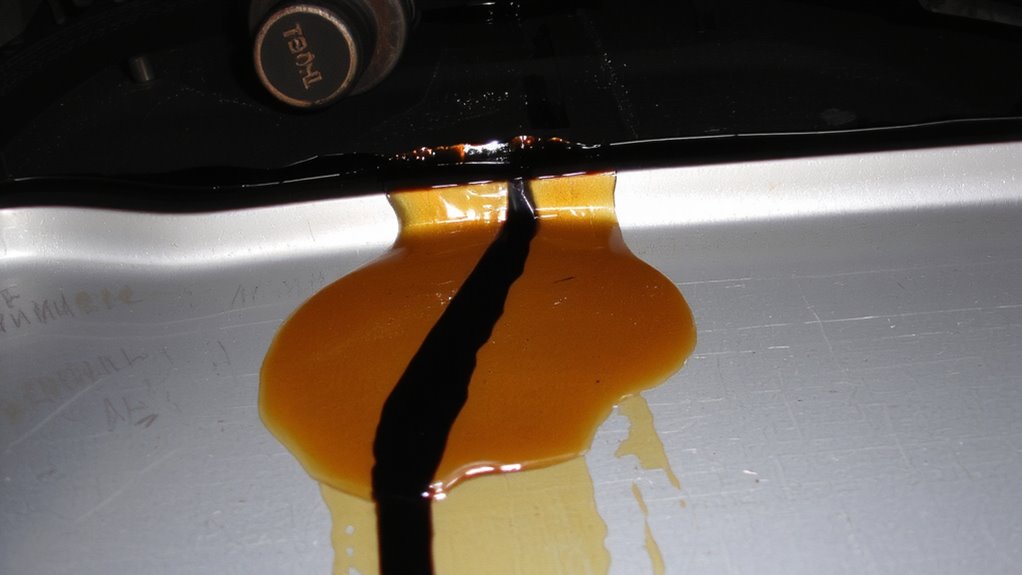
Spotting where the leak originates matters just as much as recognizing the symptoms. Fluid seepage most commonly occurs at the transmission pan’s outer edges, corners, and bolt holes due to gasket hardening over time. As the gasket loses elasticity, it can’t maintain a proper seal under vibration and thermal cycling. Below are typical leak locations:
| Leak Location | Common Cause | Visual Indicator |
|---|---|---|
| Pan corners | Gasket hardening | Dark fluid pooling at edges |
| Bolt holes | Over-torqued or loose bolts | Drips near fasteners |
| Center seam | Warped pan or debris | Continuous fluid seepage |
These areas experience high stress, increasing failure risk. Gasket hardening typically starts after 80,000 miles, especially in units exposed to extreme heat. Fluid seepage here often begins slowly, making early detection critical. Inspect the full perimeter-many overlook minor dampness until it worsens.
How to Confirm It’s a Pan Gasket Leak
How can you be sure the fluid pooling under your car is coming from the transmission pan gasket? Start with a visual inspection under the vehicle. Transmission fluid typically leaks from the pan’s front or rear seams, near mounting bolts or the drain plug. Look for dark red or brown fluid soaked into the pan’s seams or dripping from the gasket edges. Use a flashlight and mirror to check hard-to-see areas. Confirm it’s transmission fluid with fluid testing: dip a clean rag into the leak-transmission fluid feels slick, smells slightly sweet, and leaves a reddish trace. Engine oil is darker; coolant is watery and colored. The pan gasket usually shows irregular seepage patterns, not a steady stream. These signs, combined with no damage to lines or cooler fittings, confirm a pan gasket source.
Don’t Make These Pan Gasket Repair Mistakes
While replacing a transmission pan gasket might seem straightforward, skipping key steps can lead to repeat leaks and costly repairs. Always use the correct torque specification-typically 10 to 12 ft-lbs-for the pan bolts to prevent warping or leaks. Improper torque, either too high or too low, distorts the pan or fails to compress the gasket evenly, compromising the seal. Never reuse old gaskets or RTV sealant unless explicitly recommended by the manufacturer. Inspect the mating surface for debris, old gasket material, or scratches that could break the seal. Make certain you’re using factory-specified or exact-fit replacement parts. Mismatched parts, like a universal gasket or incorrect pan, won’t align properly with bolt holes or sealing surfaces, inviting fluid seepage. Verify part numbers match your transmission model. Clean both surfaces with a non-residue solvent before assembly.
Repair or Replace the Transmission Pan Gasket
A successful repair starts with knowing whether to fix or replace the transmission pan gasket. If the gasket is undamaged and properly seated, reusing it may work, but most leaks require replacement. Inspect the pan and mating surface for warping or corrosion-these prevent proper sealing. Always use the correct gasket adhesive types for your transmission. Silicone-based adhesives are common, but RTV (room temperature vulcanizing) must be specified for transmission fluids. Apply a thin, continuous bead-excess adhesive can break loose and clog passages. Torque specifications are critical: most transmissions require 8–12 ft-lbs. Under-tightening causes leaks; over-tightening warps the pan. Follow the manufacturer’s torque sequence in a crisscross pattern. After installation, check fluid levels and monitor for new seepage. Replacement is often faster and more reliable than repair.
On a final note
You now know the pan gasket’s role in sealing the transmission sump. Common leaks occur at bolt holes, corners, and rail joints due to torque specs being missed or old RTV failure. Inspect for wetness along the pan’s edge and check fluid level and condition. A confirmed leak requires precise gasket replacement, not quick fixes. Use OEM-spec materials and torque bolts to 12–15 ft-lbs in sequence.