How to Replace Rear Brake Rotors on a 2013 Mazda CX-5 With Hub Centric Fitment
Lift your 2013 Mazda CX-5 using a 3-ton floor jack at the rear subframe, then secure it on jack stands. Remove the wheel with a 19mm socket, then unfasten the caliper’s two 7mm Allen bolts. Hang the caliper safely. Slide off the old 18.3-lb rotor; clean the hub, then install the new 300 mm hub-centric rotor-its 50–60 micro-inch finish guarantees low runout. Confirm proper fit to prevent vibration and guarantee even braking performance.
Notable Insights
- Use a floor jack and jack stands at manufacturer-specified points to safely lift and support the 2013 Mazda CX-5.
- Remove the wheel, then detach the brake caliper using a 7mm Allen bit and secure it without disconnecting the brake hose.
- Pull off the old rotor; apply penetrating oil and use an 8mm bolt or rubber mallet if it’s stuck due to rust.
- Install the new hub-centric rotor by sliding it onto the hub, ensuring a snug fit and clean mounting surface.
- Reinstall the wheel, torque lug nuts to 80 ft-lbs in a star pattern, and check for proper brake function and runout.
Lift Your 2013 CX-5 Safely
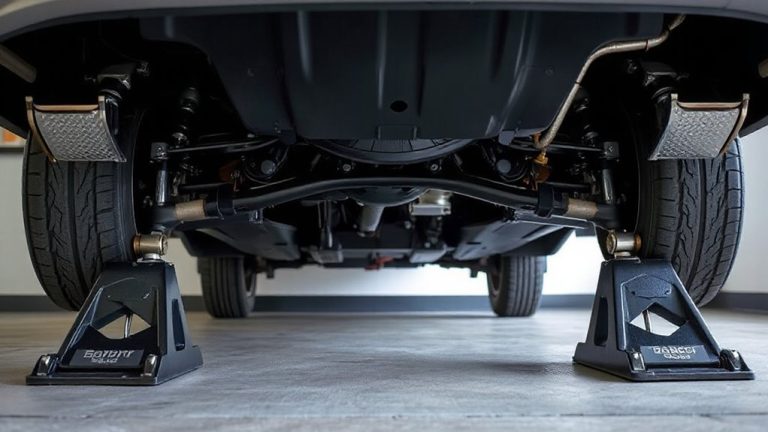
Before lifting your 2013 Mazda CX-5, make sure you’re working on a flat, level surface-preferably concrete or asphalt with good traction. Engage the parking brake and chock the front wheels to prevent rolling. Use a floor jack rated for at least 3 tons, lifting only at the manufacturer-specified jack points beneath the rear subframe. Incorrect placement risks damaging suspension components and compromises axle alignment. Once raised, support the vehicle on jack stands placed under reinforced frame sections. Never rely solely on the jack. With the rear elevated, perform a preliminary suspension inspection: check for worn bushings, damaged control arms, and uneven tire wear, which may indicate alignment issues. Proper axle alignment guarantees even brake rotor wear and safe handling. Suspension integrity directly affects braking performance. Address any defects before proceeding. Safety and precision now prevent failures later. For heavy-duty performance, consider a 3-ton floor jack designed specifically for trucks and SUVs to ensure reliable lift capacity and durability.
Remove the Rear Wheel and Caliper
With the rear of your 2013 Mazda CX-5 safely supported on jack stands, begin by removing the wheel to access the brake components. Use a 19mm socket to loosen the lug nuts, then lift the wheel off for full visibility. Next, locate the brake caliper-secured by two 7mm Allen-head bolts. Remove these using a hex bit and ratchet. Gently pivot the caliper upward without disconnecting the brake hose, securing it with a wire hanger or bungee to avoid strain. This exposes the brake pads for inspection. During brake pad inspection, check for uneven wear, cracks, or less than 3mm thickness. Note any signs of contamination. While the caliper’s detached, apply high-temperature synthetic grease to the caliper slide pins. Proper caliper slide lubrication guarantees smooth movement, prevents sticking, and extends pad and rotor life.
Take Off the Old Brake Rotor
Now that the caliper’s safely secured out of the way, you can access the rotor directly. Grasp the rotor and pull it straight off the hub. If it’s stuck, two 8mm bolts threaded into the rotor’s removal holes will break it free. Before removal, perform initial brake dust removal using a brush and brake cleaner to improve visibility and safety. Residual dust can obscure mounting surface imperfections. Rust often bonds the rotor to the hub flange, especially at the lug bolt holes and inner hub contact ring. For rotor rust removal, apply penetrating oil at the rotor-hub interface and let it soak for 10 minutes. Tap the rotor’s edge with a rubber mallet to break the bond. Do not strike the hat section. The factory rotor weighs 18.3 lbs and measures 11.69” in diameter with a minimum thickness of 0.87”. Removing corrosion guarantees smooth installation of the replacement.
Install the New Hub-Centric Rotor
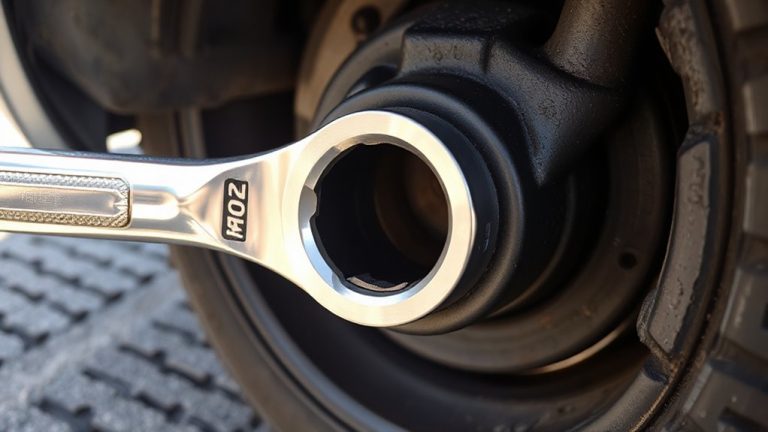
A new hub-centric rotor guarantees precise alignment with the wheel hub, minimizing vibration and promoting even brake wear. Slide the rotor onto the hub, ensuring the center bore fits snugly over the hub without force. The rotor’s finish quality directly affects initial friction levels and noise control-OEM-grade rotors typically feature a 50–60 micro-inch surface finish for ideal pad contact. Avoid touching the friction surfaces with bare hands; oils can compromise brake pad bedding later. Most 2013 Mazda CX-5 rear rotors are 300 mm in diameter with a minimum thickness of 23.0 mm. Confirm the mounting surface is clean and corrosion-free. A proper hub-centric fit eliminates wobble, reducing runout to less than 0.05 mm. This precise fit supports thermal stability during braking, enhancing long-term performance and safety under repeated heat cycles.
Reassemble and Torque the Wheel Lugs
Once the new hub-centric rotor is securely in place and properly seated on the hub, it’s time to prepare the wheel assembly for reinstallation. Align the wheel with the lug pattern-2013 Mazda CX-5 uses a 5-lug, 114.3mm bolt circle. Hand-thread each lug nut to avoid cross-threading. Use a torque wrench for final tightening; never rely on an impact gun alone. Follow the proper torque sequence: tighten in a star pattern to guarantee even clamping force. The manufacturer specifies 80 ft-lbs (109 Nm) for wheel lugs. Applying the correct torque sequence prevents rotor warping and maintains hub alignment. Improper torque can lead to loose wheels or warped brakes over time. Think of it like tightening a drum head-uneven pressure causes distortion. Always double-check each lug nut. Proper lug torque guarantees safety, stability, and long-term performance under repeated thermal cycling and road stress. A reliable torque wrench ensures consistent and accurate results every time.
Check for Smooth Braking and No Vibration
After reassembling the wheel and properly torquing the lug nuts to 80 ft-lbs (109 Nm) in the correct star pattern, it’s time to verify the braking system performs as intended. Drive cautiously and test braking at low speeds. You should feel smooth deceleration with no pulsation or vibration through the pedal.
| Check | Specification | Purpose |
|---|---|---|
| Rotor thickness | Minimum 20.0 mm | Guarantees adequate material for heat dissipation and braking force |
| Brake pad wear | Minimum 3 mm lining | Prevents metal-to-metal contact and rotor damage |
| Runout | Less than 0.020 mm | Eliminates pedal pulsation and uneven wear |
Verify rotor thickness during inspection to avoid premature failure. Monitor brake pad wear regularly. Any vibration likely indicates warped rotors or improper installation. Address issues immediately to maintain safety and component longevity.
Why Hub-Centric Rotors Prevent Wobble on Your CX-5
With your CX-5’s wheel hub as the primary mounting surface, hub-centric rotors align precisely during installation, eliminating the risk of lateral wobble. This exact fit guarantees consistent rotor alignment, which is critical for maintaining brake balance. Unlike lug-centric rotors, which rely on wheel studs for centering, hub-centric models center directly on the spindle, minimizing runout to less than 0.002 inches. Proper rotor alignment reduces uneven pad wear and vibration under braking. You’ll notice smoother stops and longer component life. The hub-centric design also supports factory-spec brake balance, guaranteeing even force distribution across both rear wheels. This precision directly impacts safety and performance, especially during hard stops. Correct alignment prevents premature wear on calipers and hardware. Always verify the inner diameter matches the OEM hub size-67.1 mm for your 2013 CX-5. This guarantees a true fit and peak function.
On a final note
You’ve successfully replaced your 2013 CX-5’s rear rotors with hub-centric units. These rotors center precisely on the hub, minimizing runout-critical for smooth braking. The OEM spec allows only 0.002 inches of lateral runout; exceeding this causes pedal pulsation. Torque lug nuts to 83 lb-ft in a star pattern. Test drive at low speed. Confirm no noise or vibration. Hub-centric fitment guarantees alignment, unlike lug-centric designs that rely on clamping force alone. Precision matters.