How to Remove Hazing From Clear-Coated Alloy Wheels Professionally
You remove hazing from clear-coated alloy wheels using a dual-action polisher at 1,200–1,800 OPM with a 3-micron abrasive compound and foam pad. This safely eliminates oxidation and embedded iron particles without burning through the 0.5 to 2.0 mil clear coat. Always clean wheels with a pH-balanced cleaner first. Apply light pressure in overlapping passes. Finish with a ceramic-based sealant for lasting protection. A proper technique guarantees flawless results-knowing the right steps makes all the difference.
Notable Insights
- Clean wheels with a pH-balanced cleaner and soft brush to remove contaminants before buffing.
- Use a dual-action polisher with a 3-micron compound and firm foam pad for haze removal.
- Operate the polisher at 1,200–1,800 OPM with light pressure to prevent clear coat damage.
- Inspect the surface frequently under bright light to ensure even correction and avoid overheating.
- Apply a ceramic-based sealant in thin layers for long-lasting protection against UV and heat.
Why Alloy Wheels Get Hazy
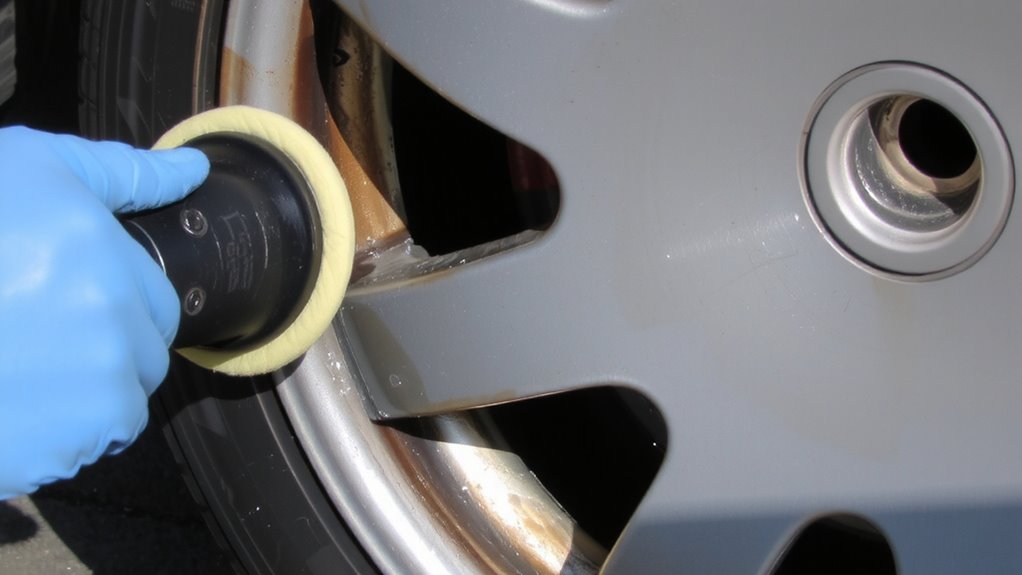
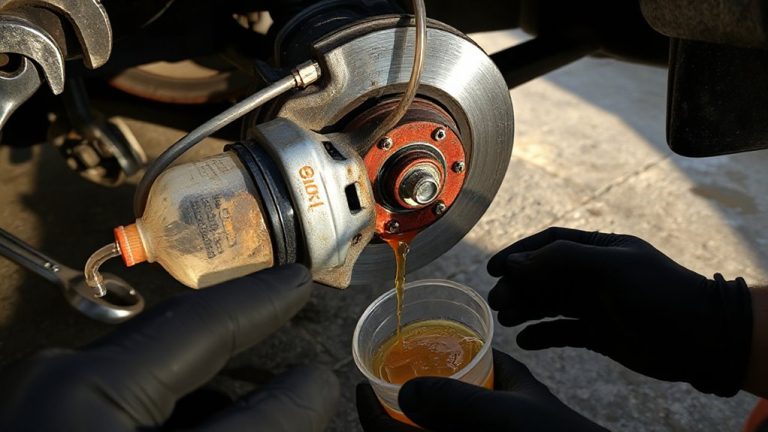
While moisture and road grime might seem harmless, they’re actually key contributors to the hazy film that builds up on your clear-coated alloy wheels. This film forms when environmental contaminants bond with the wheel’s protective layer. Brake dust accumulation is a primary culprit; microscopic iron particles from pads embed into the clear coat during braking, especially at temperatures exceeding 400°F. Over time, these particles oxidize, creating a rough surface that diffuses light and causes haze. Corrosion buildup follows when moisture traps these metallic residues, accelerating electrochemical reactions across the aluminum substrate. The clear coat, typically 0.5 to 2.0 mils thick, degrades under this sustained exposure. Without routine cleaning, oxidation etches deeper, compromising structural integrity. Haze isn’t just cosmetic-it signals material breakdown. Preventing it requires understanding how heat, chemistry, and friction interact on your wheels’ surface.
Gather the Right Buffing Tools
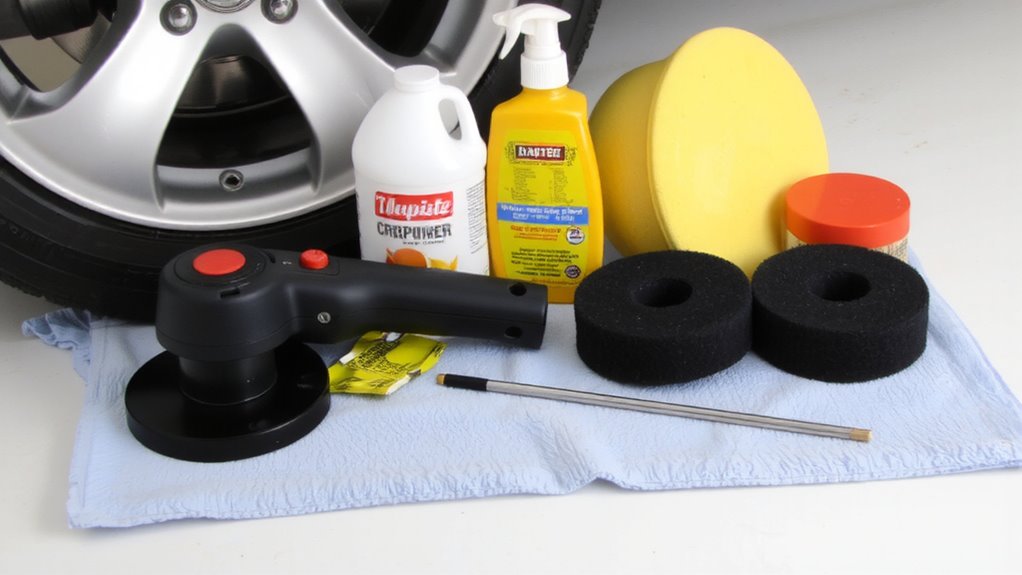
The right tools make all the difference when restoring clarity to hazy alloy wheels. You’ll need a dual-action polisher with variable speed settings, ideally between 1,200 and 3,000 oscill在玩家中 per minute. This prevents heat buildup that can damage the clear coat. Use foam buffing pads specifically designed for clear-coated alloys-choose a firm polishing pad for initial correction and a softer finishing pad for final clarity. Pair them with high-quality wheel compounds formulated for clear coat systems; these remove oxidation without aggressive cutting. A 3-micron abrasive compound works best for eliminating fine hazing. Always follow the manufacturer’s guidelines for pad and compound pairings to avoid marring. Using improper pads or compounds can cause swirls or burn through the coating. Proper tool selection guarantees effective results and preserves the wheel’s protective layer. For long-term defense against hazing and environmental damage, consider applying one of the best clear coats for wheel protection after buffing, such as a ceramic-infused clear coat system that enhances durability and gloss.
Wash Your Wheels Before Polishing
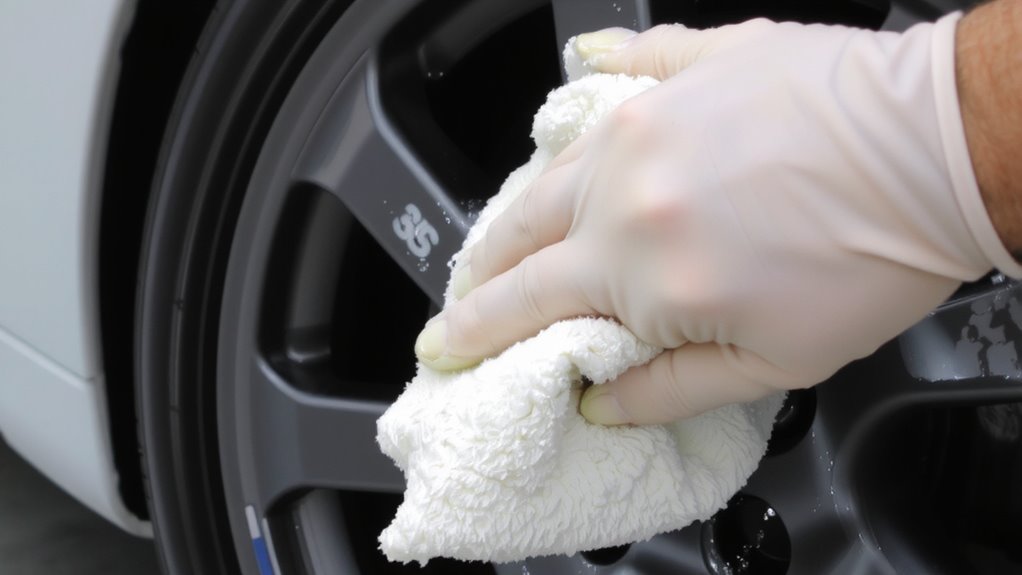
Start with clean wheels-it’s non-negotiable. Dirt, brake dust, and road grime interfere with effective wheel cleaning and compromise polishing results. Use a pH-balanced wheel cleaner rated for clear-coated alloys; harsh chemicals degrade the protective layer. Apply the cleaner with a soft-bristle brush to avoid micro-scratches. Rinse thoroughly with low-pressure water to prevent contamination trapping. Dry completely with a microfiber towel to eliminate water spots. Perform a detailed surface inspection under bright, angled light to detect defects like pitting, cracks, or coating delamination. Tactile inspection with clean fingers identifies texture changes invisible to the eye. Any contaminants or damage must be addressed before progressing. Proper wheel cleaning guarantees polishing acts only on the hazing, not debris. This step guarantees precision, maximizes clarity restoration, and prevents irreversible harm to the clear coat. For black wheels, consider using a best wheel cleaner specifically formulated to preserve dark finishes while lifting stubborn residues.
Buff Haze Safely (No Clear Coat Damage)
If you want to remove haze without damaging the clear coat, use a dual-action polisher with a foam pad rated for clear-coated alloys-never a rotary tool, as its aggressive action can burn through the thin protective layer. Heat control is critical; excessive friction degrades the clear coat. Maintain a consistent speed of 1,200–1,800 OPM and avoid lingering in one spot. Use light to medium pressure-this guarantees pressure balance across the surface, preventing low spots or thinning. Apply a small amount of cutting polish designed for clear coat. Work in 2×2 foot sections for even coverage. Keep the pad flat and moving in overlapping passes. Let the machine do the work. Over-pressing increases heat and reduces polish efficiency. Inspect frequently under direct light. Stop immediately if the surface feels hot. Proper technique preserves integrity while restoring clarity.
Polish or Repair? Which Fix Works for You?
Why choose between polishing and repair when you can make the right call based on damage depth? A proper wheel evaluation determines your best move. If hazing or light scratches only affect the clear coat-typically 1.5 to 2.0 mils thick-polishing with a 1,500 to 3,000 cut compound restores clarity safely. This non-invasive method preserves structural integrity. But if abrasion exposes bare aluminum or reaches beyond 3.0 mils of material loss, polishing won’t suffice. You’ll need professional refinishing or repair. Always perform a finish assessment under direct lighting, using a depth gauge to measure clear coat thickness. Surface imperfections deeper than 2.5 mils compromise the protective layer. In such cases, recoating after repair restores protection. Your fix depends on data-not guesswork-so assess before acting. For stubborn brake dust and grime that contribute to surface hazing, consider using a dedicated black rim cleaner to ensure a thoroughly clean starting surface before evaluation or treatment.
Seal for Lasting, Showroom Shine
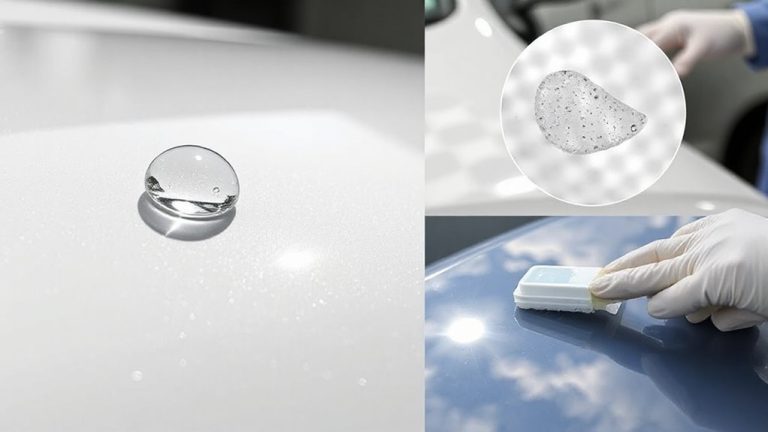
After polishing or refinishing your wheels, sealing the surface locks in the restoration and guards against future hazing, UV degradation, and road contaminants. A high-quality sealant forms a protective barrier that enhances seal durability, often lasting 6–12 months under normal driving conditions. You’ll want a product with silicon dioxide (SiO₂) or ceramic-based technology-these provide superior chemical resistance and thermal stability up to 600°F. Proper application guarantees even coverage and maximum adhesion. Apply 2–3 thin layers using a microfiber applicator, allowing 10–15 minutes between coats. This process dramatically improves shine retention, preserving the deep, reflective finish that mimics a freshly polished look. Unlike waxes, synthetic sealants don’t degrade quickly when exposed to rain, brake dust, or car washes. For best results, cure the sealant for 24 hours before driving. Your wheels stay cleaner longer and resist oxidation, maintaining professional-grade protection.
Avoid These 5 De-Hazing Mistakes
You’ve sealed your wheels with a SiO₂-based coating, locking in that deep, reflective shine-but even the best protection won’t save you from costly errors during the de-hazing process. Avoid these five common mistakes to preserve both finish and coating integrity.
| Mistake | Consequence | Prevention |
|---|---|---|
| Using acidic cleaners | Chemical etching | pH-neutral formulas only (6.5–7.5) |
| Aggressive polishing | Clear coat thinning | Use 2,500–3,000 rpm with foam pads |
| Skipping surface prep | Poor compound adhesion | Clean with isopropyl alcohol (70%) |
| Improper drying | Water spotting, hazing | Dry immediately with microfiber (300+ GSM) |
Chemical etching permanently damages the alloy surface, creating micro-pitting. Improper drying invites mineral deposits that scatter light, reintroducing haze. Each error undermines the coating’s optical clarity. Use proper technique, validated tools, and follow manufacturer specs to maintain flawless results. Precision matters-every step affects final reflectivity.
On a final note
You’ve removed haze safely without damaging the clear coat. Use only non-abrasive polish rated 1,500–2,000 grit equivalent to preserve the 0.06–0.1 mm clear layer. Apply even pressure: 3–5 lbs per square inch with a dual-action polisher set to 1,200–1,800 RPM. This prevents overheating and material loss. Seal with ceramic coating rated 9H hardness for UV and brake dust resistance. Maintenance extends clarity up to two years.