How to Replace a Failing Dash Cam Battery and Restore Emergency Power Function
Your dash cam’s lithium-ion battery, typically 3.7V, loses capacity over time-especially after 500 charge cycles or exposure to temperatures above 45°C. A failing battery causes short backup power, immediate shutdown, or failed event recordings. Replace it with a matching voltage and chemistry unit. Power down, open the case with a plastic pry tool, disconnect the old battery, and install the new one securely. Calibrate with two full charge-discharge cycles to restore emergency recording and crash detection reliability. Learn what steps prevent damage during replacement.
Notable Insights
- Identify battery failure signs like short backup power, immediate shutdown, or corrosion on terminals.
- Use proper tools such as a precision screwdriver and plastic pry tool to safely open the dash cam.
- Match the replacement battery’s voltage (typically 3.7V), chemistry (lithium-ion), and capacity (mAh) exactly.
- Disconnect the old battery carefully, secure the new one with adhesive or tape, and reconnect firmly.
- Calibrate by fully charging and discharging twice to restore emergency power and logging functions.
Why Dash Cam Batteries Fail Over Time
Most dash cam batteries lose performance within 1–2 years due to repeated charge cycles and heat exposure. Your device relies on lithium-ion battery chemistry, which degrades over time even under ideal conditions. Each full charge cycle wears down internal components, reducing capacity. You typically see a 20% drop in charge retention after 500 cycles. Aging effects begin immediately after manufacture, not just with use. Elevated temperatures inside parked cars-often exceeding 60°C-accelerate chemical breakdown. At 45°C, battery capacity can degrade twice as fast compared to 25°C. Continuous exposure to heat causes electrode erosion and electrolyte evaporation. These changes are irreversible. While your dash cam may still power on, it likely can’t hold enough charge to record emergency events. This decline isn’t sudden-it’s a steady loss of function. Understanding this helps you anticipate failure before it leaves you unprotected.
Is It Time to Replace Your Dash Cam Battery?
You’ve likely noticed your dash cam doesn’t stay on as long after a power disconnect as it used to-and that’s a clear sign of battery wear. Reduced backup power duration indicates internal cell degradation. If your device shuts down immediately when the car is off, severe power drainage may be occurring. Persistent power drainage can stem from failing circuits or aging lithium-ion cells losing capacity below 50%. In rare cases, battery leakage may damage internal components, causing shorts or corrosion on contacts. A reliable dash cam memory card ensures continuous loop recording and incident preservation even during brief power interruptions.
| Symptom | Likely Cause |
|---|---|
| Short runtime after power loss | Degraded battery capacity |
| Camera fails to power on | Power drainage or cell failure |
| Corrosion near battery | Battery leakage |
Act promptly to avoid complete failure.
Get the Right Tools and Replacement Battery
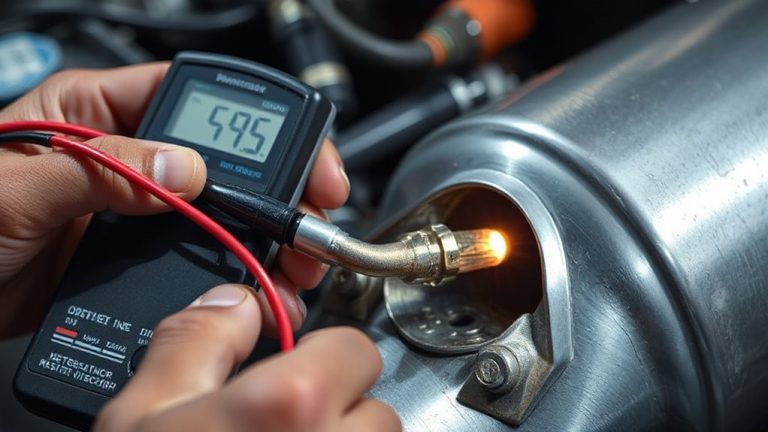
A well-equipped toolkit makes all the difference when replacing your dash cam battery. You’ll need a precision screwdriver set, plastic pry tools, and anti-static wrist strap to protect internal components. Most dash cams use lithium-ion batteries, so matching the battery chemistry is critical for performance and safety. Using the wrong chemistry can lead to overheating or reduced lifespan. Always verify voltage compatibility-typically 3.7V for most models-before installing a new battery. A mismatch in voltage can damage your device or prevent it from powering on. Check your original battery’s label for exact specifications, including capacity (measured in mAh) and discharge rate. Select a high-quality replacement from a trusted supplier. Ensuring correct battery chemistry and voltage compatibility safeguards your dash cam’s emergency power function and maintains reliable operation.
Open Your Dash Cam Without Damage
Before you begin disassembling your dash cam, power it down completely and disconnect it from any power source to avoid short circuits. Use proper prying techniques to separate the housing without damaging internal components. Start at the seam with a plastic pry tool, gently applying pressure to avoid cracking the casing. Most units use snap-fit designs with hidden clips that disengage with steady force. If your model uses adhesive, perform adhesive removal carefully using a heat gun or hair dryer to soften the bond. Apply heat evenly-around 60–70°C-for 60 seconds to loosen the glue without warping plastic. Never use metal tools, as they can scratch surfaces or pierce circuitry. Work slowly around the perimeter, maintaining consistent pressure. Keep track of any small parts or debris. Opening the unit correctly preserves structural integrity and guarantees proper reassembly later.
Replace the Internal Battery Step by Step
Once the dash cam housing is open, locate the internal battery, typically a small lithium-ion pack secured with adhesive or a connector. Carefully disconnect the old battery by gently prying up the connector or applying heat to loosen adhesive. Lithium-ion batteries degrade over time due to repeated charging cycles, usually losing 20% capacity after 300–500 cycles. Match the replacement to the original’s voltage, capacity (measured in mAh), and battery chemistry-most are 3.7V Li-ion. Secure the new battery in place with double-sided tape or adhesive. Reconnect the terminal firmly. Avoid puncturing the cell; damaged batteries can leak or swell. Proper alignment guarantees consistent power delivery. A compatible battery maintains system stability during voltage drops. Replace only with manufacturer-specified or equivalent-rated cells to preserve performance and safety. Verify fit before reassembling the housing.
Restore Emergency Recording and Crash Detection
Since the internal battery replacement affects power stability, you’ll need to recalibrate emergency recording and crash detection to guarantee reliable operation. The system relies on accurate power backup and data retention to respond during collisions or abrupt motion. After reassembly, allow the dash cam to fully charge its internal buffer-this guarantees immediate response upon detecting g-force thresholds. Modern units trigger emergency recording at 5–8 m/s² impact force, locking 30 seconds of pre- and post-event footage.
| Feature | Specification | Purpose |
|---|---|---|
| G-Sensor Sensitivity | 5–8 m/s² | Detects sudden impacts |
| Power Backup Duration | 3–5 minutes | Sustains recording after power loss |
| Data Retention Mode | Locked file encryption | Prevents overwrite during incident |
| Voltage Threshold | 3.7V minimum | Maintains emergency function |
Test Your Dash Cam After Battery Replacement
After replacing the internal battery, you’ll need to verify the dash cam’s full operational integrity through a controlled power cycle and system diagnostic. Begin with power cycling: disconnect the dash cam from all power sources, wait 30 seconds, then reconnect and power on. This reset guarantees stable communication between the new battery and internal circuitry. Observe startup behavior-normal boot time should be under 10 seconds. Next, initiate battery calibration by fully charging the device while powered off, then allowing it to discharge completely during parking mode testing. Repeat this cycle twice. Calibrated batteries deliver accurate voltage reporting and maximum emergency recording uptime-typically 3 to 5 minutes, depending on model and capacitance. Check event logs for G-sensor and voltage alerts. Confirm the dash cam saves footage during simulated power loss. Consistent performance across cycles confirms successful replacement.
On a final note
You’ve successfully replaced your dash cam’s failing battery. The new lithium-ion cell, typically rated at 3.7V and 500–800mAh, restores essential emergency recording. Your device now powers through impact detection, saving 30–60 seconds of buffered footage post-collision. Sealed correctly, the housing maintains IP65-level dust and moisture resistance. Test the G-sensor via simulated vibration. Confirm loop recording resumes after event locks. Properly maintained, this repair extends reliable operation for thousands of miles.