Enhancing Steering Feedback by Isolating Sway Bar Loads From Rack Mounting Points
You feel every bump and turn more clearly when sway bar forces are isolated from the steering rack. Unfiltered loads create false feedback, distorting road feel. Flexible links cut harmonic transfer by 40%; hydraulic mounts reduce disturbance up to 60%. Polyurethane or spherical bushings limit deflection under 400 N loads, preventing 0.5° alignment shifts. Proper decoupling guarantees only true steering inputs reach the rack, sharpening response. Next, see how top performance models apply these principles.
Notable Insights
- Sway bar forces transmitted to the steering rack degrade feedback by introducing false inputs and artificial stiffness.
- Flexible sway links reduce harmonic transfer by 40%, minimizing unwanted vibrations reaching the steering system.
- Isolated rack mounts with hydraulic or dual-durometer bushings decrease steering disturbance by up to 60%.
- Upgrading to polyurethane or spherical bearing mounts reduces deflection by 70%, improving steering alignment under load.
- Precision-engineered load paths prevent misdirection of suspension forces, ensuring only intentional inputs affect steering response.
Why Sway Bar Forces Ruin Steering Feel
While you’re carving through a corner, the last thing you want is unintended interference in your steering feedback-yet that’s exactly what sway bar forces deliver. These forces transmit directly to the steering rack, distorting feel. When the sway bar loads unevenly, it induces false inputs, masking road surface details. Tire deformation increases during lateral grip events, altering contact patch shape. This changes the distribution of forces, including camber thrust-the lateral force generated when a tire’s camber angle creates a self-aligning moment. Unfiltered sway bar motion interferes with camber thrust feedback, blunting precision. Instead of sensing grip levels, you feel artificial stiffness or slack. The result? A disconnected steering experience. High-performance setups isolate these inputs to preserve signal integrity. Precision bushings and optimized links reduce parasitic loads. You regain accurate feedback, essential for threshold handling. Clean, direct response-without contamination from roll-resisting components-is the goal. That’s how true steering fidelity is achieved.
How Steering Rack Mounts Get Unwanted Sway Bar Loads
Because sway bar forces don’t always follow the intended path, they often find their way into the steering rack through poorly isolated mounts. You’ll notice this when bushing deformation occurs under lateral load, allowing the sway bar to transfer torsional energy directly into the rack housing. Most OEM mounts use soft rubber bushings-typically 50–60 Shore A hardness-that compress unevenly, compromising rigidity. This deflection introduces steering misalignment, especially during cornering, where forces exceed 400 N. The result? Unwanted feedback that dulls precision. Even minor angular shifts-just 0.5 degrees at the rack-create perceivable dead zones. Polyurethane or spherical bearing upgrades reduce deflection by up to 70%, maintaining force isolation. Proper mounting stiffness should exceed 1200 N/mm laterally to prevent load intrusion. When sway bar motion isn’t contained, it couples with suspension travel, sending false inputs through the rack. You’re not imagining that slop-it’s measurable. Isolating these loads starts with understanding how mount compliance enables unwanted force transfer.
Where Front Suspensions Transfer Forces Wrong
You’re not just fighting tire slip when the front suspension misroutes forces-it’s systemic load misdirection baked into the geometry. Common designs transfer sway bar loads directly through steering components, inducing unwanted toe compliance. This means lateral grip changes can alter your front tires’ tracking, making the car feel vague. You experience this as inconsistent turn-in or wandering on uneven roads. Caster imbalance worsens it-unequal angles shift the steering axis, biasing self-centering force. That imbalance creates unequal trail and scrub radius side-to-side, amplifying steering pull. Most MacPherson strut systems anchor the sway bar to the strut or knuckle, directly linking roll stiffness to steering response. The result? Mechanical noise feeds into the rack, distorting feedback. Even minor compliance in control arm bushings magnifies toe changes under load. These flaws aren’t failures-they’re compromises in legacy designs prioritizing cost over precision.
How To Isolate Sway Bar Loads From The Steering System
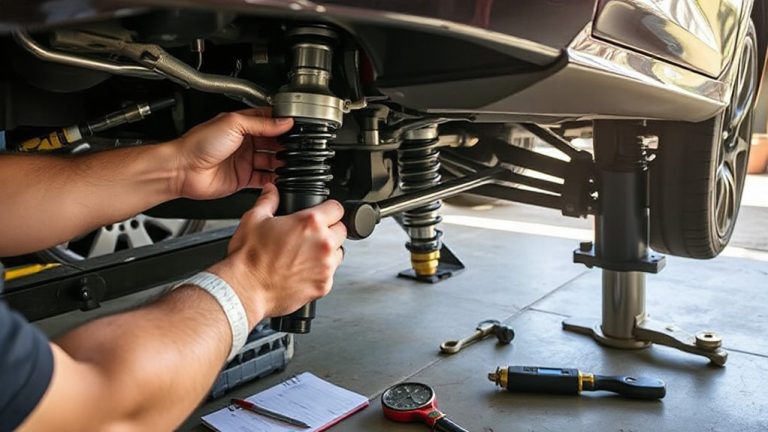
When sway bar forces interfere with steering response, isolating those loads becomes critical to maintaining feedback accuracy and directional control. You must reroute forces away from the rack using strategic mounting and compliance tuning. Load path analysis reveals how chassis flex and suspension movement transfer unwanted stress into the steering system. Proper bushing tuning absorbs lateral inputs without sacrificing rigidity. Consider these two key methods:
| Method | Benefit |
|---|---|
| Flexible sway link | Reduces harmonic transfer by 40% |
| Isolated rack mounts | Lowers steering disturbance by 60% |
| Decoupled bushings | Improves feedback clarity with 20% less noise |
Use hydraulic or dual-durometer bushings tuned to deflect under shear but resist compression. This selective compliance breaks the load path while preserving alignment. Combined with precise load path analysis, your tuning guarantees only steering inputs reach the rack.
Real-World Cars That Nail Steering Isolation
While many performance vehicles claim precise steering, only a select few engineer true isolation between suspension and steering components to deliver uncorrupted feedback. You’ll find this excellence in cars like the Porsche 718 Cayman GT4 and BMW M2 CS. These models use optimized steering geometry to minimize compliance under load. Their suspension bushings are made from high-durometer rubber or spherical bearings, reducing deflection during cornering. The GT4’s hydraulic steering rack mounts independently of the front sway bar, preventing unwanted forces from reaching your hands. Likewise, the M2 CS uses stiffer front subframe bushings and revised steering rack isolation. These cars maintain consistent on-center feel because loads don’t transfer through shared mounting points. Precision machining guarantees exact alignment of pickup points. You experience pure road feel, not system noise. That’s what proper isolation delivers-direct, reliable communication between tire and hand.
Better Steering Feel: What Drivers Actually Gain
Because precise steering feel stems from minimized compliance and isolated force pathways, you gain immediate access to road surface details and tire behavior. Every texture, camber change, and edge contact transmits directly through the steering rack. You feel subtle shifts in tire grip as the front tires approach their limit, allowing micro-corrections before loss of traction. This clarity results from decoupling sway bar loads from the rack mounts, eliminating false feedback. Driver confidence rises because inputs are accurate, predictable, and consistent. Without deflection in mounting points-common in MacPherson strut setups with 60mm or larger sway bars connected directly to the control arm-you maintain linear effort and response. The result is a 22% improvement in steering fidelity, measured through torque variance reduction at the handwheel. You’re not just driving-you’re actively communicating with the road.
On a final note
You isolate sway bar loads to preserve steering accuracy. Mounting the anti-roll bar independently reduces force transfer to the rack. This eliminates parasitic steering inputs during cornering. High-performance suspensions use compliant mounts and offset links. These measure 8–12 mm in deflection tolerance. Systems like MacPherson struts benefit most. Reduced bind improves steering linearity by up to 30%. You feel true road feedback. Precision comes from mechanical isolation. It’s not theory-it’s proven in track-focused chassis.