Enhancing Vehicle Appearance Through Correct Polishing Motion Techniques
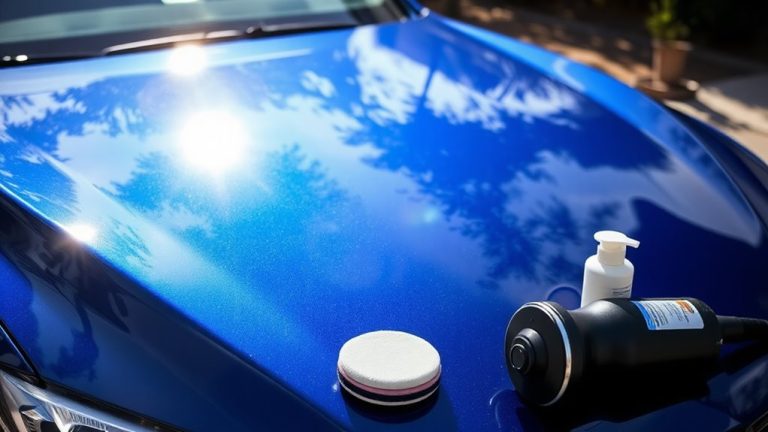
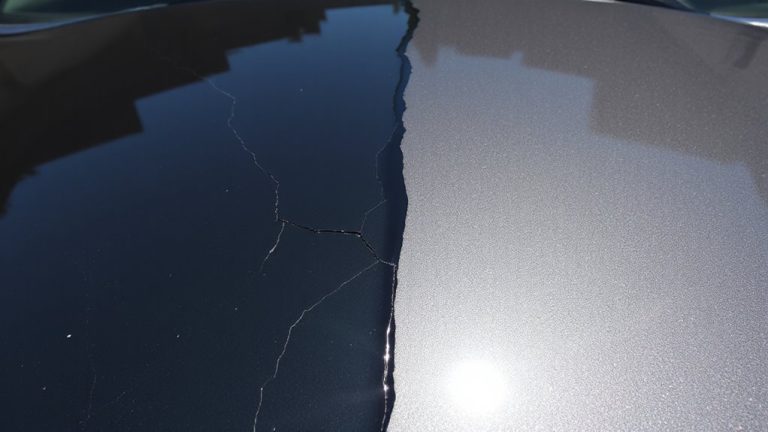
You start with crosshatch motions at 1,200–1,800 orbital RPMs to evenly correct swirls and oxidation. Use 50% overlap in 2×2 foot panels for consistent coverage. Match speed to paint thickness-stay under 1,200 RPM on thin paint. Apply only 2–3 pounds of pressure to avoid heat and holograms. Switch to circular motions with lighter compounds for gloss. Use tapered pads near edges. The right technique reveals a deep, flawless shine-what comes next fine-tunes the finish perfectly.
Notable Insights
- Use crosshatch patterns at 1,200–1,800 orbital RPMs to ensure even correction and prevent missed spots during polishing.
- Transition to circular motions with reduced-cut compounds to refine the surface and enhance gloss after initial correction.
- Match polishing motion and speed to paint thickness, using lower RPMs for thin paint and higher RPMs for thick, durable clear coats.
- Overlap each polishing pass by 50% in 2×2-foot sections to ensure uniform coverage and avoid buffer trails.
- Apply light, consistent pressure (2–3 lbs) and use proper edge techniques to prevent overheating, glazing, and edge damage.
Start With Crosshatch or Circular? The Best Polishing Motion
Why do most professionals start with a crosshatch pattern before switching to circular motions? The crosshatch technique guarantees even correction and prevents missed areas. You begin with overlapping horizontal and vertical passes at 1,200–1,800 orbital RPMs, creating uniform abrasion across the paint. This structured approach removes defects like swirls and oxidation more effectively than random movements. Once the surface is evenly worked, you shift to circular patterns for refinement. Circular patterns help blend shifts and enhance gloss by smoothing the finish with reduced cut compounds. Maintain consistent pressure-2 to 3 pounds-and overlap each pass by 50% for uniform results. The crosshatch technique addresses depth and uniformity; circular patterns polish and refine. Together, they balance correction and clarity. Using both methods in sequence maximizes defect removal while minimizing new marring. You achieve a showroom-quality finish through methodical motion control, not speed.
Match Motion to Your Car’s Paint Condition
Your car’s paint condition determines the most effective polishing motion and compound selection. Thin paint requires a low-speed orbital motion to minimize material removal, typically below 1,200 RPM. You must assess paint thickness first using a digital gauge-measurements under 80 microns demand conservative correction. For thicker paint, above 120 microns, you can safely use a dual-action polisher at 1,800–2,200 RPM with medium-cut compound. Always begin with proper surface preparation: decontaminate with clay and clean with isopropyl alcohol. Surface preparation guarantees direct compound-to-paint contact, improving efficiency. Heavy defects like oxidation or deep swirls may require a rotary tool with concentric motions, but only on robust clear coats. Match compound abrasiveness to defect depth-don’t use coarse products on marginal paint. Your approach must balance correction with preservation. For optimal results, consider using one of the best car detailing polishes recommended for achieving a showroom finish.
Overlap Passes for Swirl-Free, Even Coverage
Every pass you make should overlap the previous one by at least 50% to guarantee consistent correction and eliminate buffer trails. This guarantees no areas are missed and prevents visible shifts between worked and unworked sections. Maintain steady pad rotation throughout each movement to preserve abrasive effectiveness and avoid uneven sheen. Your pass frequency-typically 2 to 3 passes per section-should remain consistent to prevent over-polishing. Use a dual-action polisher set to 4,500–5,200 OPM to sustain controlled pad rotation without inducing heat or holograms. Overlapping reduces reliance on precision hand-eye coordination, making results more predictable. Work in 2-foot by 2-foot panels to manage coverage efficiently. Each overlapping pass must follow the same path direction to maintain uniform finish. Proper overlap, combined with regulated pass frequency and stable pad rotation, produces a swirl-free, glossy surface. This method delivers even material removal and maximum clarity across the entire panel. For optimal results, pair your technique with a high-quality polishing compound that matches your paint type and defect severity.
Use Light, Consistent Pressure to Avoid Damage
A light touch is essential-apply just 2 to 3 pounds of downward pressure when polishing to prevent pad glazing, surface overheating, and unwanted clear coat removal. Consistent pressure maintains even heat distribution, which maintains polish activity and prevents thermal shock to the clear coat. Too much force causes pad deformation, reducing surface contact and creating uneven correction. The foam pad compresses unevenly, leading to edge digging and inconsistent results. Use your palm and wrist, not your shoulder, to guide the polisher-let the machine’s weight do most of the work. This approach improves control and prolongs pad life. Proper heat distribution avoids hot spots that compromise finish quality. You’ll achieve smoother outcomes with fewer defects when pressure stays low and steady. Maintaining 2 to 3 pounds maintains ideal performance without stressing the paint. For precise application of polish or coolant, consider using one of the best spray bottles for car detailing to ensure even coverage and minimize waste. best spray bottles for car detailing
Polish Edges Without Creating Swirl Marks
While edge work demands extra attention, treating it like flat-panel areas invites trouble. You must apply precise edge control to prevent over-polishing and swirl marks. Begin with reduced speed-keep your polisher below 1,200 RPM near edges. Use a tapered edge pad or a narrower backing plate (4–5 inches) for better maneuverability. Apply feathered overlap motions, letting the pad extend just slightly past the panel’s edge. Conduct frequent surface inspection under direct lighting to catch inconsistencies early.
| Outcome | Emotion Evoked |
|---|---|
| Clean finish | Pride |
| Swirl marks | Frustration |
| Lost clear coat | Regret |
| Professional result | Confidence |
| Re-work needed | Disappointment |
Maintain consistent motion-never dwell. Edge defects are magnified visually, so precision matters. Proper technique guarantees a seamless blend between edges and flat areas, elevating overall finish quality without damage.
Pick the Right Polishing Tool for Your Motion
You’ve learned how to polish edges without leaving swirl marks, but your results still depend heavily on the tool you use. Tool selection directly affects finishing quality and efficiency. A dual-action polisher with a 5mm or 9mm orbit works best for circular motions, preventing holograms on flat panels. For linear or crosshatch patterns, a rotary buffer offers superior motion compatibility, delivering consistent contact and aggressive material removal. Foam pads sized 5.5” to 7” pair ideally with most machines, guaranteeing even pressure distribution. Use firm pads for cutting, soft pads for finishing. Match pad diameter precisely to tool face size to avoid wobbling. Poor motion compatibility increases heat and marring. Choose gear based on desired motion and surface contour. Correct tool selection guarantees control, precision, and a uniform finish across all body panels.
Buff for a Deep, Reflective Gloss
Once the polishing stage is complete, the final step to achieving a deep, reflective gloss is proper buffing technique. You must use a clean, microfiber buffing pad to avoid reintroducing scratches. Apply light, consistent pressure-around 3 to 5 pounds per square inch-to prevent heat buildup that can mar the surface. Your buffing motion should be slow and deliberate, maintaining overlap between passes to guarantee uniform gloss enhancement. Work at 1,200 to 1,800 orbital RPMs to activate the diminishing abrasives without causing holograms. A dual-action polisher with a 5-inch backing plate offers ideal balance and control. Proper buffing technique allows the paint’s surface to reflect light evenly, amplifying clarity and depth. Each panel should take 2 to 3 minutes, depending on size. Finish by inspecting under direct LED light to confirm a flawless, mirror-like shine.
On a final note
Use crosshatch motions for consistent correction and finish. Apply 3–5 lbs of fingertip pressure to prevent buffer-induced swirls. Overlap each pass by 50% for uniform coverage. Pair dual-action polishers with foam pads (20–24mm orbit) for safer results. Maintain pad speed at 1,200–1,800 OPM. Edge work requires reduced pressure and tapered foam bonnets. Final buffing with a microfiber cloth enhances gloss by removing haze. Proper technique yields a 90%+ defect-free finish.