Surface Preparation Requirements: A Key to Successful Car Detailing
You must start with a proper pre-wash using a 20–30° downward rinse and pH-neutral snow foam at a 1:5 dilution, maintaining 7–10 psi for best dwell. Follow with a clay bar and lubricant to remove bonded contaminants. Wet sand scratches using 800–1500 grit, depending on depth. Wipe the surface with 70% IPA using a lint-free towel to eliminate residues. If you see oxidation, poor water beading, or surface etching, prep is critical-skip it and risk coating failure. Proper execution guarantees adhesion and a flawless finish every time. There’s more to get right beyond the basics.
Notable Insights
- Pre-wash with a foam cannon using pH-neutral snow foam to safely loosen and lift surface contaminants.
- Target wheels and lower panels first, where brake dust and road grime accumulate most heavily.
- Use a clay bar with lubricant to remove bonded contaminants, leaving paint feeling smooth and glass-like.
- Perform wet sanding with proper grit progression to correct scratches and prepare damaged areas for refinement.
- Wipe down with 70% IPA to eliminate oils and residues, ensuring a clean surface for coating adhesion.
Wash Off Dirt and Grime
Before you begin the detailing process, it’s critical to remove all loose dirt and surface contaminants through a proper pre-wash. Effective pre wash techniques prevent scratches during the wash phase by loosening bonded debris. Start with a 20–30 degree downward-angle rinse to strip away loose particles without forcing dirt deeper into paint. Then, apply foam cannon cleaning using a 1:5 dilution ratio of pH-neutral snow foam to water. The foam cannon should deliver 7–10 psi at the nozzle, ensuring thick, even coverage that clings for 5–7 minutes. This dwell time allows surfactants to break down grime without drying. Target wheels and lower panels first-areas with the heaviest buildup. Avoid high-pressure wands above 1,200 psi, which can damage seals. Always work top-down to prevent cross-contamination. Foam cannon cleaning effectively emulsifies oils and dust, preparing the surface for safe contact washing. For optimal results, choose a high-quality foam cannon with adjustable foam density and consistent nozzle pressure.
Remove Contaminants With a Clay Bar
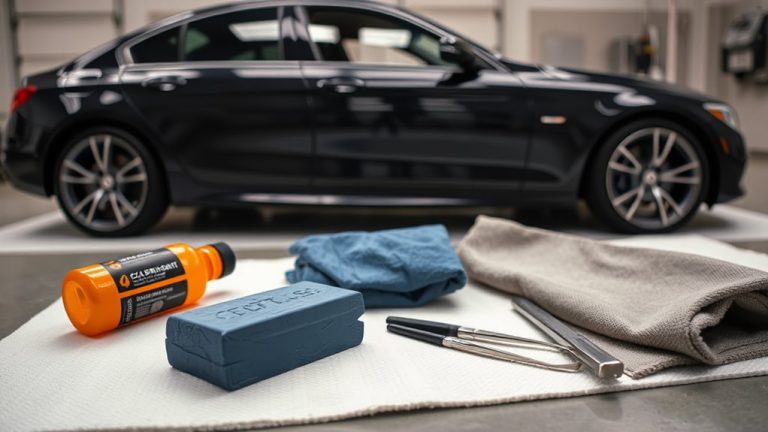
A clay bar is your next line of defense against contaminants that washing alone can’t remove. These include embedded pollutants like industrial fallout, rail dust, and tree sap that bond to your paint. Using a clay bar safely requires proper lubrication techniques. Apply a dedicated clay lubricant or quick detailer spray generously to a small section. Without lubrication, the clay may scratch the surface. Common clay bar types include fine, medium, and heavy, with fine suitable for regular maintenance and heavier grades for neglected finishes. Most clay bars measure about 4x2x1 inches and last 2–3 uses per vehicle. Glide the clay back and forth lightly until it moves smoothly. The surface should feel glassy, not gritty. When the clay picks up too many contaminants, fold it or replace it. This step guarantees a contaminant-free base before moving forward. For those looking to simplify the process, a complete clay bar kit includes all the essentials in one package.
Sand Out Scratches Before Polishing
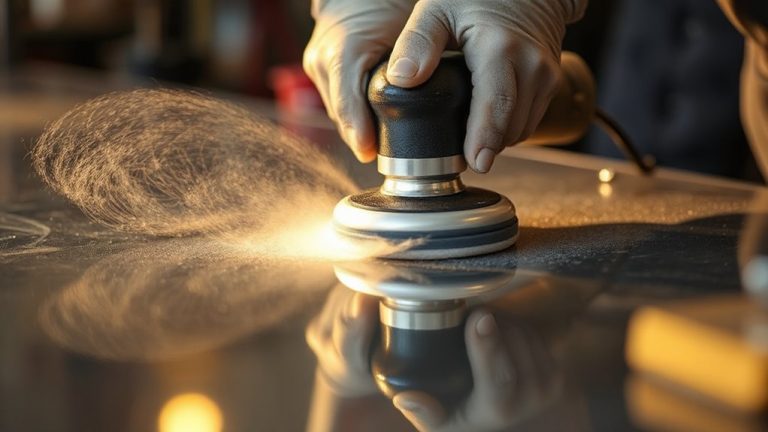
While polishing can correct light surface defects, deeper scratches require more aggressive intervention-this is where wet sanding comes in. You must assess scratch depth first; surface-reaching clear coat flaws respond to polishing, but anything penetrating the base layer needs sanding. Matching sandpaper grades to scratch depth guarantees efficient correction without unnecessary damage. Use consistent, overlapping strokes with soapy water lubrication to prevent heat buildup and clogging.
| Scratch Depth | Sandpaper Grade | Purpose |
|---|---|---|
| Light (≤0.1mm) | 1000–1500 | Feathering edges |
| Moderate (0.1–0.3mm) | 800–1000 | Leveling damaged clear coat |
| Deep (>0.3mm) | 600–800 | Exposing substrate for repair |
| Transition Steps | 50–100 grade jumps | Prevents new abrasion marks |
Always proceed through sandpaper grades methodically to achieve a uniform surface ready for polishing.
Wipe Down With IPA for a Clean Surface
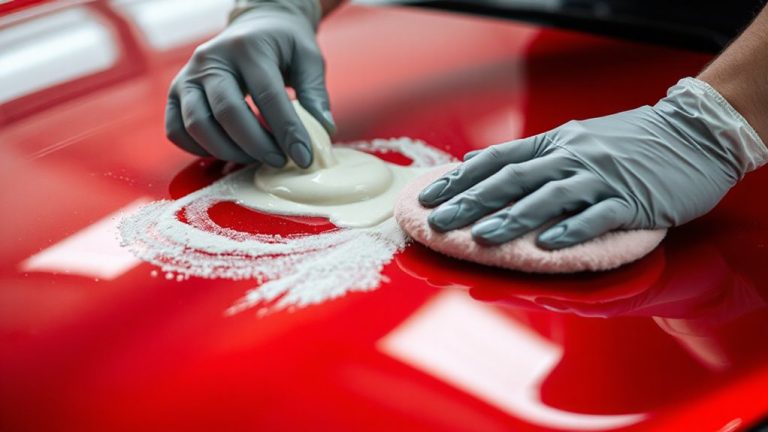
After wet sanding, residual oils, wax, and silicone contaminants remain on the surface, compromising adhesion and clarity during finishing. You must wipe down with isopropyl alcohol (IPA) at 70% concentration to guarantee thorough decontamination. This step reduces surface tension, allowing subsequent coatings to bond uniformly. IPA evaporates quickly-within 30 to 45 seconds-minimizing downtime. Its chemical compatibility with automotive paints, clear coats, and primers prevents lifting or hazing. Use a lint-free microfiber towel saturated evenly but not dripping to avoid streaking. Apply in straight-line motions, overlapping each pass by 50% for complete coverage. Never reuse towels-contaminants will transfer. IPA doesn’t strip paint but effectively dissolves residues invisible to the eye. Proper wiping guarantees maximum surface energy, critical for polish and protective coating performance. Skipping this risks poor adhesion, fisheyes, and premature coating failure.
Check for These 5 Signs You Need Prep?
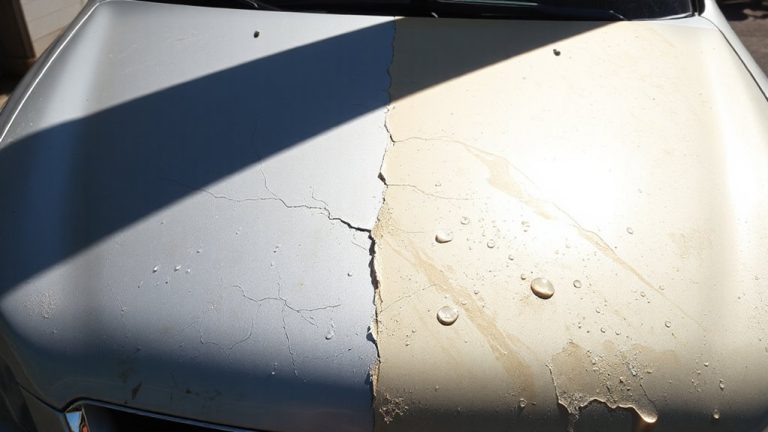
How can you tell when surface prep is non-negotiable? First, check for paint oxidation-dull, chalky surfaces indicate UV and contaminant damage, often removing 2–3 microns of clear coat during correction. Second, visible swirls or holograms under direct light mean improper prior polishing; these require 1,500–3,000 RPM compounding. Third, surface etching from acidic contaminants like bird droppings or sap creates pitted micro-damage; if a clay bar doesn’t smooth it, wet sanding at 1,500–2,000 grit may be necessary. Fourth, texture resembling sandpaper suggests bonded iron fallout-use a decontaminating iron remover. Fifth, water beading failure after washing signals porous residue. Without prep, coatings and waxes fail prematurely. Always inspect under sunlight or 5,000K LED light. Proper prep guarantees adhesion, depth, and longevity-skip it, and protection won’t stick. For severe cases, consider using a dedicated oxidation remover to restore clarity and prepare the surface for protection.
On a final note
You’ve cleaned the surface thoroughly. Now, proper prep guarantees lasting results. Decontamination removes bonded contaminants-clay bars (P1200–P2000 grit equivalent) glide smoothly only on contaminant-free paint. IPA wipes (70% isopropyl alcohol) eliminate oils, guaranteeing adhesion. Sanding (P800–P2000 grit) levels deep scratches before polishing. Without these steps, coatings delaminate prematurely. Surface energy increases post-prep, improving wettability and bond strength. Correct prep extends finish life by up to 50%.