Unlocking the Secrets of Effective Buffing and Polishing Techniques
You achieve best results by polishing before buffing. Polishing removes fine scratches with 3–6 micron compounds at 1,500–3,000 RPM, enhancing clarity. Buffing follows, using softer pads at 1,200–1,800 RPM to flatten and add gloss, removing 2–5 microns. Use foam pads for clear coats, wool for metal. Surface prep-washing, claying, defect mapping-is essential. Apply even pressure in 2’ x 2’ sections. There’s more to mastering the finish than technique alone.
Notable Insights
- Buffing smooths surfaces mechanically, removing 2–5 microns of material, while polishing enhances gloss through finer abrasives and chemical action.
- Always polish before buffing to eliminate scratches and oxidation, ensuring a clean surface for optimal shine refinement.
- Select tools based on surface type: foam pads and dual-action polishers for clear coats, wool pads and rotary buffers for metal.
- Prepare surfaces thoroughly by washing, decontaminating with a clay bar, and mapping defects to achieve flawless results.
- Work in small sections with proper RPM settings, even pressure, and 50% overlap to prevent swirl marks and ensure uniform finish.
Buffing Vs. Polishing: What Each Step Actually Achieves
Why do so many people confuse buffing with polishing? You’re not alone-but the difference matters. Buffing improves surface texture by using abrasives to smooth microscopic imperfections. It relies on mechanical action, not a chemical reaction, to level the surface. Polishing, however, involves a chemical reaction that alters the top layer, enhancing reflectivity and clarity. Buffing typically uses wool or foam pads with diminishing abrasives, ranging from 1,500 to 3,000 grit. Polishing compounds contain reactive agents that break down surface contaminants and oxidation. Buffing removes 2–5 microns of material; polishing removes 1–3 microns but adds gloss. You buff to flatten, polish to shine. Each serves a distinct purpose. Confusing them leads to overworking surfaces or poor finish quality. Precision demands correct sequence and tool selection. Know your goal: texture correction or optical clarity? For beginners, selecting the right product is crucial, and trying a best polishing compounds for beginners can make a significant difference in achieving professional results.
The Right Order: Buff First Or Polish First?
When aiming for a flawless finish, doing the steps in the correct sequence makes all the difference. You must polish before you buff-this sequence importance guarantees ideal results. Polishing removes fine scratches and oxidation, typically using a compound with abrasive particles ranging from 3 to 6 microns. It prepares the surface by creating a uniform finish. Buffing follows, using a softer pad and less aggressive movement to enhance gloss. This procedural timing matters because reversing the order leaves residue and swirl marks. A polishing step at 1,500 to 3,000 RPM with a foam或 wool pad smooths inconsistencies. Buffing then operates best at 1,200 to 1,800 RPM with a microfiber or satin pad to refine shine without heat buildup. Skipping or scrambling steps compromises clarity and depth. Apply consistent pressure-3 to 5 pounds-and overlap passes by 50%. Proper order guarantees a mirror-like, durable finish every time. For best results, choose a high-quality auto buffing compound that matches your paint’s condition and desired finish.
Choose the Right Tools for Your Surface
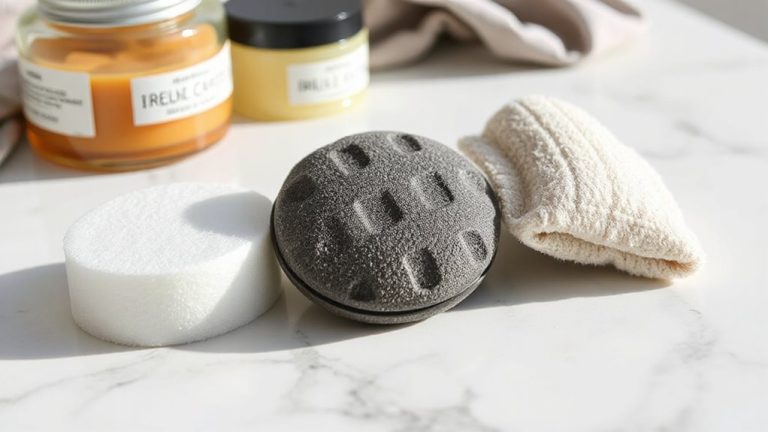
Though surface type dictates tool selection, you’ll get the best results by matching the machine, pad, and compound to the material you’re refining. Tool selection directly impacts finish quality and material removal rate. For clear coat paint, use a foam pad with a dual-action polisher spinning at 1,200–1,800 OPM and a wax-based polish. On metal surfaces like aluminum or stainless steel, a wool pad paired with a rotary buffer at 1,500 RPM guarantees faster cutting without marring. Surface compatibility prevents damage-marble needs non-abrasive compounds and soft microfiber pads, while automotive enamel tolerates more aggressive mediums. A 6-inch pad covers area efficiently on large surfaces; 3-inch pads offer precision on curves. Always verify pad density and compound grit: 1500–3000 RPM systems work best with medium-cut formulas. Mismatched tools cause swirls, heat buildup, or etching-stay precise for flawless results. Top-rated kits often include variable-speed car buffer and polisher kits for versatility across different surfaces and finishes.
Prepare the Surface: Skip This, Ruin the Shine
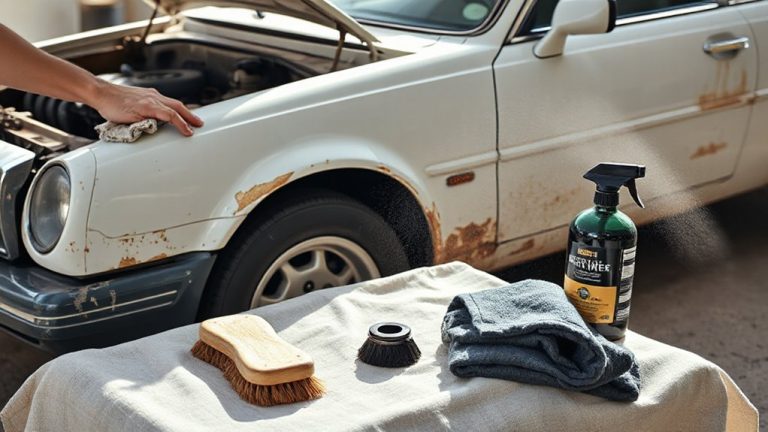
Dirt, grease, and contaminants are your finish’s worst enemies. Remove them before any polishing begins. Start with a thorough surface inspection using a 10x magnifier to detect imperfections invisible to the naked eye. Conduct defect mapping by marking scratches, swirls, and oxidation on the surface with a fine-tipped marker. This guarantees no flaw is overlooked during prep. Wash the area with a pH-neutral detergent and deionized water to lift grime without et siege. Use a clay bar on painted surfaces at 1–2 psi pressure to pull embedded particles from the pores. Failure to complete surface inspection and defect mapping leads to inconsistent results and irreversible damage. Pre-treatment is critical-even premium compounds can’t fix what they can’t reach. Skip this step, and you’ll ruin the shine. Proper prep guarantees uniform reflectivity and adhesion.
Buff for Maximum Shine (Step-by-Step)
A flawless shine starts with the right buffing process-precision matters. Use a dual-action polisher set to 1,200 to 1,800 orbital RPM for best results. Apply the buffing pad firmly but without excessive force, maintaining even pressure across the surface. Uneven pressure causes heat buildup and leaves hazy spots. Move in consistent circular motions, overlapping each pass by 50% to guarantee full coverage. Work in 2’ x 2’ sections for control and accuracy. Use a microfiber buffing pad with a 7/8” foam thickness designed for finishing. Let the machine do the work-don’t push or tilt it. Keep the pad flat and in constant motion to prevent micro-scratches. Proper circular motions distribute abrasive compounds evenly, enhancing reflectivity. Allow 30 seconds per section for compound activation. Inspect under direct LED lighting at a 45-degree angle to verify uniform gloss. Proper technique yields a mirror-like finish.
Polish for a Streak-Free Finish
You’ve achieved a high-gloss finish through precise buffing-now it’s time to refine the surface further with polishing. Use a clean, lint-free microfiber cloth with a tight weave-ideally 300–400 grams per square meter (GSM)-to apply polish evenly. Microfiber cloths lift residue without scratching, guaranteeing a streak-free result. Apply polish in small sections, using concentric circular motions at 1,200–1,800 RPM to avoid overheating. Maintain proper chemical balance: select a neutral pH (6.5–7.5) polish to prevent etching or hazing, especially on sensitive surfaces. Overly acidic or alkaline formulas disrupt this balance, causing dulling or residue buildup. Work under diffused lighting to spot streaks early. Allow polish to haze slightly before buffing off-typically 30–60 seconds. Final wipe with a second microfiber cloth, folded to expose a fresh surface. This process guarantees optical clarity and a flawless, streak-free finish.
Seal and Protect Your Work for Lasting Results
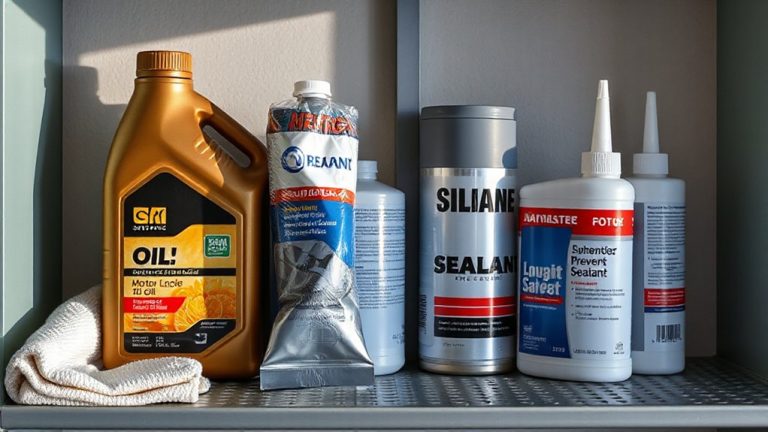
While achieving a flawless finish is essential, sealing it properly guarantees durability against environmental contaminants and daily wear. Wax application is critical for durability enhancement, forming a protective barrier that resists UV damage, oxidation, and chemical etching. Use a pH-stable synthetic sealant or carnauba-based wax every 3–6 months for best results. Apply in thin, even layers with a foam applicator pad, allowing 15–20 minutes of dwell time before buffing off with a microfiber cloth.
| Product Type | Protection Duration |
|---|---|
| Synthetic Sealant | 6 months |
| Carnauba Wax | 3 months |
| Ceramic Coating | 2+ years |
| Hybrid Wax | 4–5 months |
Choose based on your maintenance schedule and environmental exposure. Synthetic sealants bond molecularly with clear coat, enhancing scratch resistance. Ceramic coatings require professional-grade prep but offer superior hydrophobic performance.
On a final note
You now understand the science behind superior surface refinement. Buff魔法师和 removes fine scratches with 1,500–3,000 RPM rotary tools and wool pads, enhancing reflectivity. Polishing uses finer abrasives (0.5–3 microns) with foam pads at 1,200–2,000 RPM to eliminate haze. Always seal with a 9H hardness ceramic coating to resist UV, chemicals, and abrasion. Proper sequence and tooling guarantee flawless, durable results. Precision guarantees performance.