Adjusting Shifter Linkages After Servicing the Manual Transmission Housing
You need precise shifter linkages to fix loose shifting after transmission work. Misalignment as small as 1–2 mm causes poor engagement. Set the transmission and shifter to neutral using the housing mark and detent. Align the shift rail with a 3.0 mm pin in the neutral gate. Torque linkage bolts to 8–12 ft-lbs, pivot points to 15–22 ft-lbs. Confirm clean shifts in all gears. Proper alignment guarantees forks move exactly as designed. There’s more to getting it right.
Notable Insights
- Always set the transmission to neutral using the alignment mark and detent engagement before adjusting linkages.
- Align shift rails precisely with the neutral gate using a 3.0 mm pin to ensure correct positioning.
- Ensure shifter lever is centered with equal movement forward and backward to establish proper neutral alignment.
- Tighten linkage bolts to manufacturer-specified torque values, typically 8–12 ft-lbs, using a calibrated torque wrench.
- Verify smooth gear engagement in all gears with engine off and clutch depressed; correct misalignment if grinding occurs.
Start With Why Linkage Alignment Fixes Sloppy Shifting
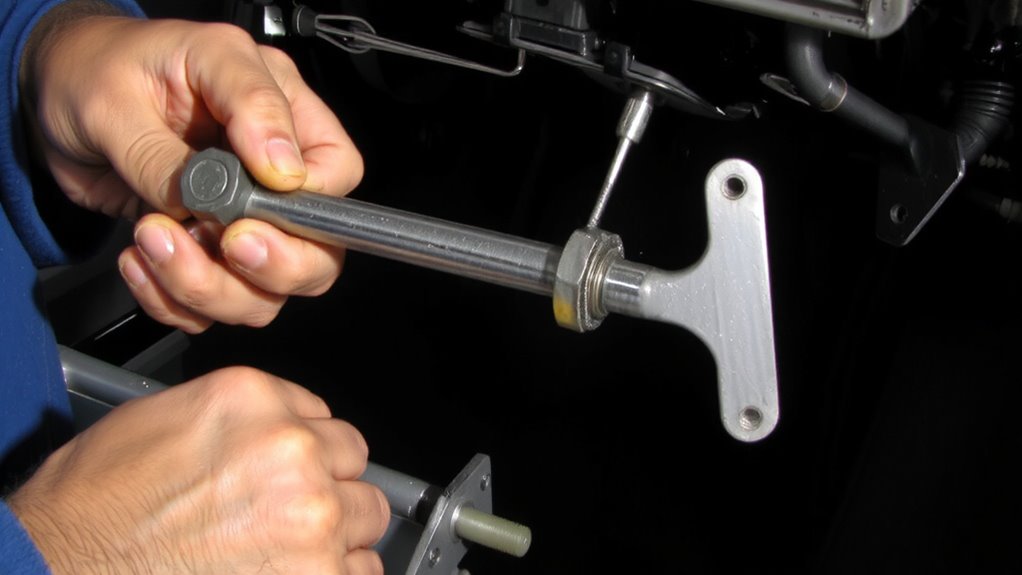
Why does your gearshift feel loose or imprecise? Shifter play is often caused by misaligned linkages after transmission service. When linkage rods shift out of factory specs, they introduce slack into the shifting system. This slack translates directly to imprecision in gear selection. Gear misalignment occurs when selectors don’t fully engage the correct gear due to this mechanical slop. Even 1–2 millimeters of rod displacement can cause partial engagement, increasing wear and reducing shift accuracy. Proper linkage alignment restores tight, deliberate shifts. It guarantees selector forks move the exact distance needed. Without realignment, you risk difficult shifts, grinding, or accidental neutral drops. Think of it like calibrating a control cable: tiny deviations lead to large operational errors. Correcting shifter play isn’t optional-it’s critical for reliable transmission function. Proper alignment maintains mechanical integrity between your hand and the gearbox. Precision begins with proper linkage positioning.
Gather Your Shifter Linkage Adjustment Tools
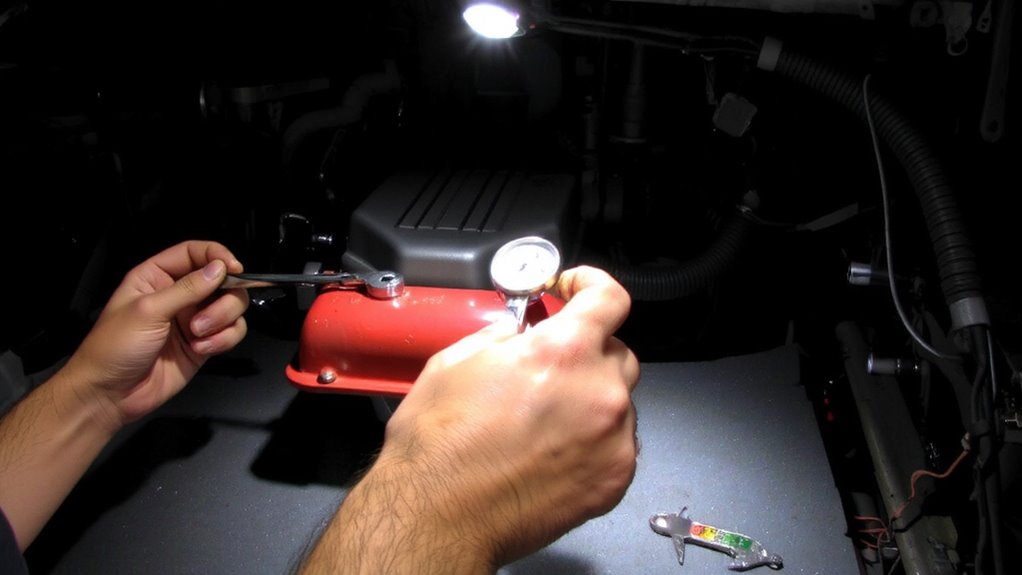
You’ll need the right tools to adjust shifter linkages accurately and safely. Proper tools guarantee correct alignment and adherence to torque specifications. Always follow safety precautions, like disconnecting the battery and securing the vehicle on level ground with wheel chocks. Use a jack and jack stands only if undercarriage access is required. Refer to your service manual for model-specific torque specs-typically 8–12 ft-lbs for linkage bolts. A digital torque wrench gives precise control. Mis-torquing can lead to premature wear or shifting errors. Using the recommended engine oil viscosity can also help maintain optimal transmission performance after reassembly.
| Tool | Purpose |
|---|---|
| 8mm–13mm wrench set | Loosen and tighten linkage bolts |
| Torque wrench | Apply exact torque specifications |
| Needle-nose pliers | Adjust locking tabs or clips |
| Workshop manual | Confirm safety precautions and specs |
Set the Transmission and Shifter to Neutral
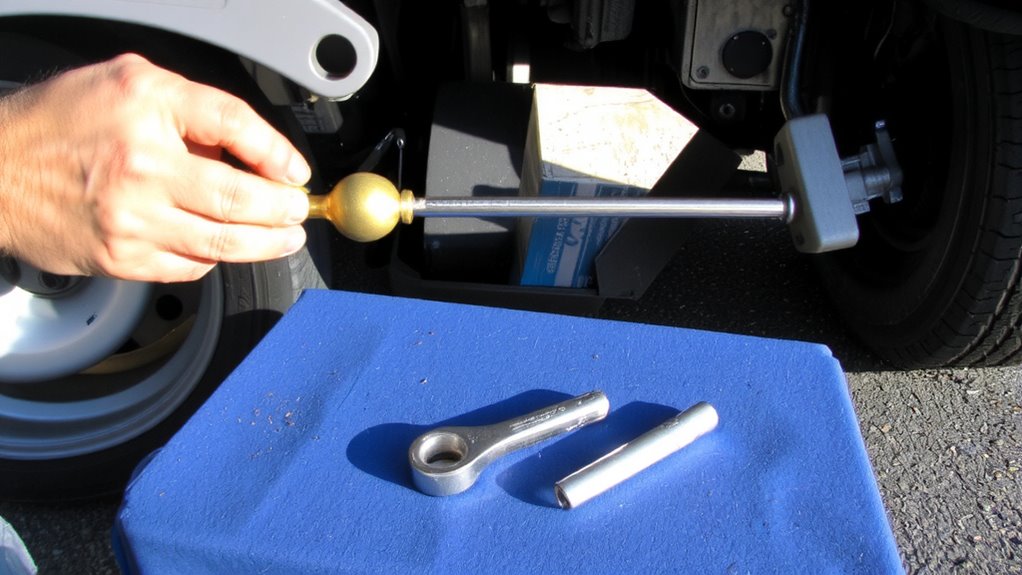
With your tools assembled and the vehicle safely positioned, the next step is setting both the transmission and shifter to neutral. Locate the neutral alignment mark on the transmission housing-this is critical for accurate transmission calibration. Rotate the output shaft slightly if needed until you feel the detent engage, confirming the internal gears are in neutral. On the shifter assembly, move the lever to the center position where it moves equally forward and backward-this guarantees correct shifter positioning. Verify that no tension exists on the shift rods, indicating the assembly isn’t biased toward any gear. Proper neutral setup allows precise linkage adjustment later. This baseline step directly affects shift accuracy and gear engagement. Skipping it risks misalignment, leading to difficult shifts or incomplete gear engagement. You’re not just setting position-you’re establishing mechanical reference points essential for functional calibration. Proper neutral alignment supports reliable transmission operation.
Align the Linkage in the Neutral Gate
How do you guarantee the shifter linkage moves precisely through the neutral gate? Proper linkage calibration guarantees smooth, accurate shifts and prevents gear clash. You must verify neutral positioning before any adjustments. The shift lever and transmission input must align inline with the neutral gate, typically marked by a detent stop or alignment hole. Use a 3mm alignment pin or drift punch to secure the shift rail in neutral. This maintains consistent reference points during linkage calibration.
| Component | Specification |
|---|---|
| Alignment Pin Diameter | 3.0 mm |
| Neutral Detent Force | 18–22 N |
| Linkage Travel Clearance | ±0.5 mm |
| Misalignment Tolerance | < 1.0 mm |
| Calibration Reference | Shift rail index hole |
Accurate neutral positioning guarantees precise gear selection. Misalignment causes incomplete engagement or difficulty selecting first and reverse.
Tighten All Linkage Attachment Points
Once neutral alignment is secured, tightening all linkage attachment points guarantees the shifter operates with maximum precision and minimal play. Use a torque wrench to fasten each pivot bolt to the manufacturer’s spec-typically 15–22 ft-lbs, depending on model. Inspect for linkage wear at contact surfaces; even minor pitting or elongation increases slop. Worn rods or misaligned joints amplify imprecision, mimicking poor adjustment. Check all bushings thoroughly-polyurethane or rubber-since bushing degradation reduces rigidity and allows unintended movement. Replace any that show cracking, flattening, or excessive internal clearance. A degraded bushing may allow over 0.030 inches of deflection, undermining shift accuracy. Re-tighten hardware after a brief test cycle; thermal cycling and initial load can loosen connections. Each fastener must remain secure under vibration and mechanical stress to maintain alignment.
Test Shifting Through All Gears
Ever wonder why a perfectly adjusted shifter still feels off? You might have correct linkage alignment, but without testing through all gears, you can’t confirm proper function. Start with the engine off and depress the clutch fully. Shift systematically from first through sixth, if equipped, then reverse. Pay close attention to gear engagement-each should engage cleanly without grinding or resistance. Proper shift smoothness means minimal effort and precise movement, typically requiring 15–25 pounds of force at the lever. Verify that each gear locks fully; incomplete engagement risks transmission damage. Move through the pattern multiple times, checking for consistency. Neutral should feel distinct, centered between gears. If engagement feels vague or stiff, double-check alignment before assuming internal faults. This test confirms external adjustment accuracy and guarantees drivetrain readiness.
Fix Common Post-Adjustment Issues
You completed the shift test and still notice problems-now it’s time to address common issues that appear after adjusting shifter linkages. Gear grinding typically indicates incomplete clutch disengagement or misaligned linkage. Check the clutch free play; it should measure 0.5 to 1.0 inches at the pedal. If clearance is off, adjust the master or slave cylinder rod. Shifter vibration often stems from loose mounting bushings or unbalanced driveshaft harmonics. Inspect the shifter base bolts; torque them to 15–20 ft-lbs. Verify the rubber bushings are intact and properly seated. Misaligned linkage rods can cause stiff throws or missed shifts. Make certain rod length matches factory specs-usually within ±1/16 inch tolerance. Lubricate pivot points with silicone-based grease. Recheck all connections under load by shifting in place. Address these promptly to prevent premature wear or linkage failure.
On a final note
You’ve aligned the shifter linkage correctly when each gear engages smoothly without grinding. Proper neutral alignment guarantees the shift rail and fork are centered within 0.5 mm tolerance. Tighten all pivot bolts to 12 lb-ft using a calibrated torque wrench. Test all gears in sequence, confirming full engagement. Misalignment causes incomplete shifting or binding. This adjustment restores factory precision-like resetting a clock’s hands-guaranteeing reliable, crisp shifts and preventing long-term wear.