Complete Guide to Bleeding ABS Brakes During a Fluid Flush on a Nissan Altima
You must bleed the ABS module during a brake fluid flush because air trapped in the hydraulic control unit (HCU) causes a spongy pedal and impairs anti-lock braking. Start by flushing old DOT 3 or DOT 4 fluid from the master cylinder. Bleed calipers in sequence-RR, LR, RF, LF-using a 10mm wrench on the HCU’s bleeder valves near the driver’s side engine bay. Use fresh fluid and a scan tool to cycle the ABS pump. A firm pedal means success; softness means recheck for air. Proper bleeding guarantees full brake responsiveness and system integrity under hard stops.
Notable Insights
- Bleed ABS brakes only after flushing old fluid and manually bleeding all calipers in the correct sequence: RR, LR, RF, LF.
- Use a scan tool to activate the ABS pump motor and purge air trapped in the hydraulic control unit (HCU).
- Locate the HCU in the engine bay near the master cylinder and identify the four 10mm bleeder valves on the unit.
- Use fresh DOT 3 or DOT 4 brake fluid and avoid reusing old fluid to maintain system integrity and prevent corrosion.
- Maintain a full reservoir throughout the process to prevent air ingress and ensure a firm, spongy-free brake pedal.
Why You Must Bleed the ABS on Your Altima
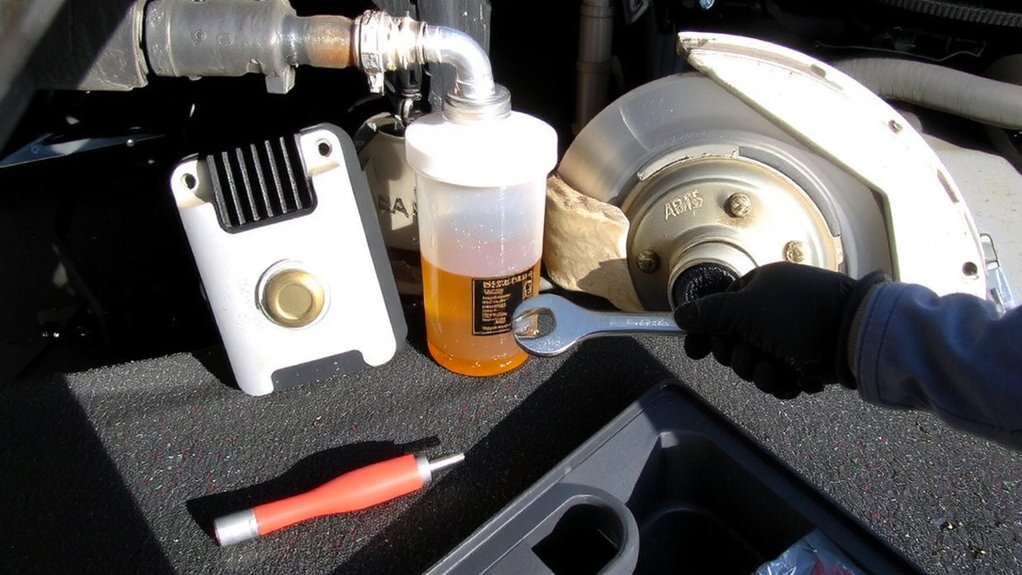
While brake fluid might seem like a simple component, neglecting to bleed the ABS system in your Nissan Altima can lead to serious performance issues. Brake safety relies on consistent hydraulic pressure, which air pockets disrupt. The ABS modulates brake force during emergency stops, and trapped air impairs valve operation. Modern Altimas use DOT 3 or DOT 4 fluid; both are hygroscopic, meaning they absorb moisture over time. This fluid contamination reduces boiling point and corrodes internal components. Moisture-laden fluid can vaporize under high temperature, creating compressible gas instead of transmitting force. That leads to a spongy pedal and longer stopping distances. The ABS unit contains narrow passages where air or contaminated fluid can restrict flow, compromising stability control and traction systems. Bleeding guarantees pure, incompressible fluid fills the entire system. Proper bleeding restores pedal firmness and guarantees the ABS functions during rapid deceleration. You need clean, fresh fluid to maintain maximum braking performance and protect sensitive electronic valving.
Tools You Need for a Nissan Altima Brake Flush
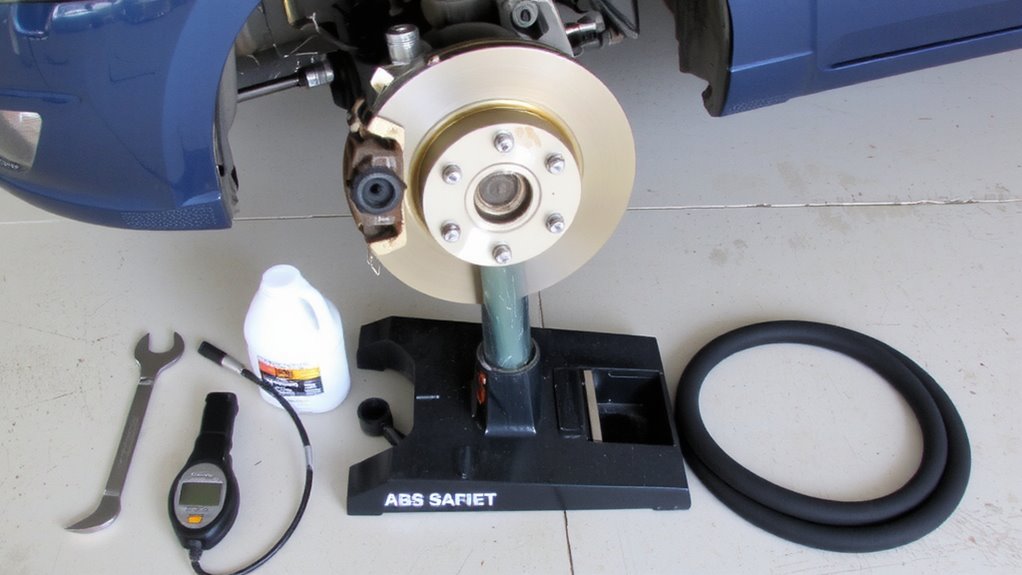
You’ll need the right tools to properly flush the brake system on your Nissan Altima and guarantee complete air and contamination removal. Proper equipment assures fluid flows cleanly through brake lines and reaches all brake calipers. Use a high-quality suction tool to empty the reservoir without spilling. A transparent hose fits snugly on bleeder valves, letting you monitor fluid clarity. Pressure or vacuum bleeder kits speed up the process and reduce air re-entry risks. Always use fresh DOT 3 or DOT 4 fluid-never reuse old fluid.
| Tool | Purpose | Specification |
|---|---|---|
| Brake bleeder wrench | Fits bleeder valves | 8mm or 10mm, depending on model |
| Clear plastic tubing | Connects to bleeders | 3/16″ inner diameter |
| Brake fluid reservoir cap | Seals during pressure bleed | OEM-spec, seals tightly |
| Brake fluid | Maintains hydraulic pressure | DOT 3 or 4, Nissan-recommended |
| Fluid extractor | Removes old fluid | Holds at least 16 oz |
Find the ABS Bleeder Valves (They’re Not Obvious)
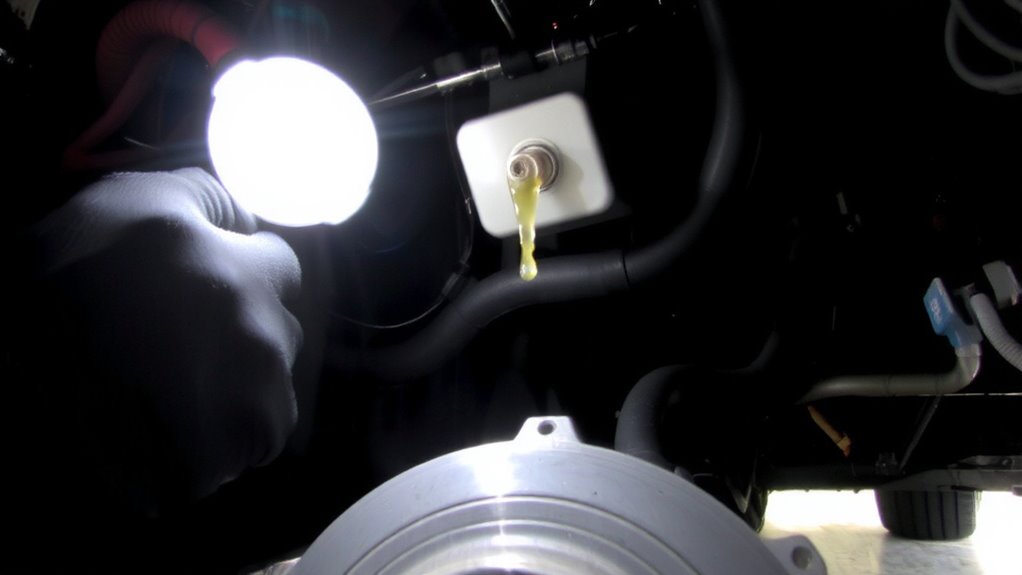
Where are the ABS bleeder valves located on your Nissan Altima? They’re not at the wheels-those are the standard caliper bleeder valves. The ABS location you need is on the hydraulic control unit (HCU), typically mounted near the master cylinder on the driver’s side of the engine bay. This unit manages brake fluid distribution during anti-lock events. Valve identification matters: the HCU has multiple steel brake lines and usually four bleeder valves-two for front and two for rear circuits. They’re small, hex-shaped, and often covered in grime. You’ll likely need a 10mm wrench. Unlike regular bleeders, these are part of the ABS modulator and only accessed during a full system bleed. Misidentifying them can lead to leaks or system damage. Always consult your Altima’s service manual for exact positioning by model year. Proper ABS location and valve identification guarantee a complete, effective brake flush.
Flush and Bleed the Brakes – The Right Way
After locating the ABS hydraulic control unit’s bleeder valves, you’re ready to flush and bleed the system properly-this isn’t a standard caliper bleed, and skipping steps can leave air trapped in the modulator, leading to a spongy pedal or ABS failure. Begin by flushing old fluid from the master cylinder, replacing it with fresh DOT 3 or DOT 4 fluid. Bleed each caliper in the correct sequence-RR, LR, RF, LF-using a clear hose and collection bottle. Proper bleeding guarantees peak performance after brake pad replacement or rotor resurfacing. Air pockets compromise hydraulic pressure, so maintain a full reservoir. Use a scan tool to cycle the ABS pump only after manual bleeding. This process restores precise brake feel and prevents system errors. Never assume bleeding is complete after one pass-repeat until fluid runs clear and bubble-free.
Bleed the ABS Module Like a Pro
How do you guarantee all air is purged from the ABS module, where even small pockets can sabotage brake performance? You need a scan tool capable of activating the ABS module self-bleed function. Without this, trapped air remains, disrupting brake pressure modulation. Locate the diagnostic port, connect your tool, and initiate the ABS bleed cycle per Nissan’s service specs. This cycle pressurizes the system internally, forcing fluid-and air-out through all four calipers. Each outlet must be bled while the module runs, typically requiring two people. Use Nissan-approved DOT 3 or DOT 4 fluid to maintain compatibility. The ABS module relies on precise brake pressure control; any air compromises hydraulic integrity. Cycle the system until clean fluid flows with zero bubbles. Monitor fluid levels closely to avoid introducing more air. This step isn’t optional-it’s essential for restoring full anti-lock functionality and ensuring even brake pressure distribution.
How to Get a Rock-Solid Brake Pedal
You’ve just finished cycling the ABS module with a scan tool, forcing out trapped air from the hydraulic system. Now it’s time to achieve a rock-solid brake pedal. Begin by performing a final manual bleed at each caliper, starting with the wheel farthest from the master cylinder: right rear, left rear, right front, then left front. Use clean DOT 3 or DOT 4 fluid, as specified by Nissan. Maintaining consistent brake pressure during bleeding prevents air from re-entering. Let the pedal drop slowly-never let it fall abruptly. A firm pedal feel indicates proper fluid transfer and minimal air. If the pedal feels spongy, recheck for leaks or missed air pockets. True brake pressure builds only when all air is expelled. A proper bleed yields immediate response, short pedal travel, and confident stopping-this is ideal pedal feel.
On a final note
You’ve completed the brake flush and ABS bleed correctly when the pedal feels firm. A soft or spongy feel means air remains. Confirm all fittings are torqued to 89 in-lb. Use only DOT 3 or DOT 4 fluid-Nissan specifies DOT 3. Flush every two years to prevent moisture buildup. Residual air in the ABS module reduces braking efficiency. Test drive at low speed first. Proper bleeding guarantees peak brake pressure-around 900 psi during firm stops.