Inspection Checklist for Brake Components After Deep Water Crossing Event
Check your brake pads for moisture and debris after deep water exposure-wet friction material reduces stopping power. Inspect pad thickness; replace if under 3mm. Examine rotors for warping and rust; measure thickness and check for runout over 0.003 inches. Test brake fluid with a moisture strip-replace if water exceeds 3% or fluid looks cloudy. Scan calipers, seals, lines, and hoses for damage, corrosion, or leaks. Assess for pitting deeper than 0.5 mm on rotors. A full diagnostic reveals hidden risks lurking beneath the surface.
Notable Insights
- Inspect brake pads for moisture, contamination, and thickness; replace if worn below 3mm or contaminated.
- Check rotors for warping and heavy rust; measure thickness and runout, replacing if out of spec.
- Test brake fluid for water content; replace if >3% moisture or fluid appears cloudy or brown.
- Examine calipers and seals for damage, corrosion, or misalignment; replace cracked or leaking components.
- Inspect brake lines and hoses for leaks, cracks, or swelling; replace any corroded or degraded parts.
Inspect Brake Pads for Water and Debris
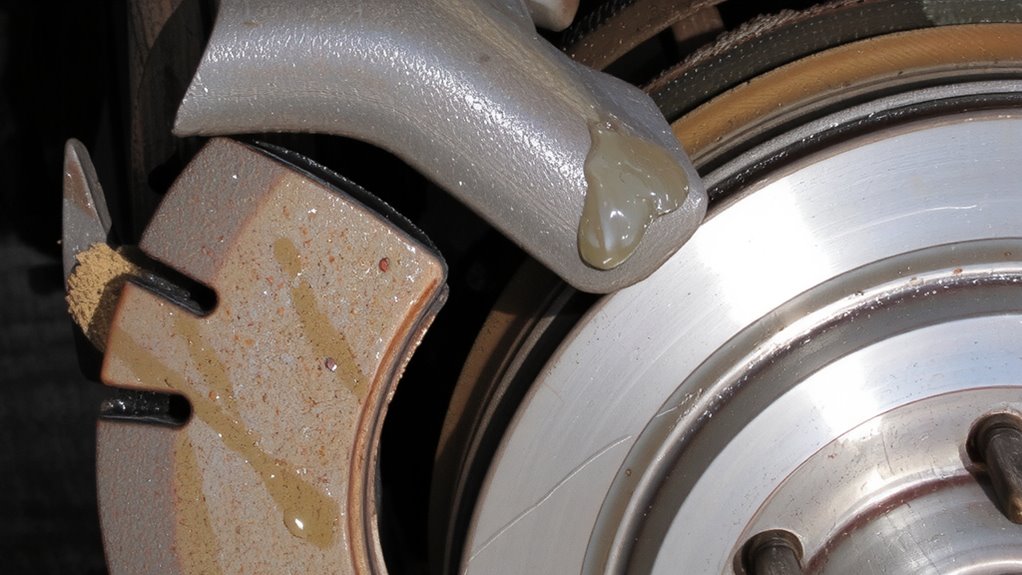
Moisture and contamination are silent threats to braking performance. You must inspect brake pads immediately after a deep water crossing. Water saturation reduces friction material effectiveness, increasing stopping distances. Check pad thickness thoroughly-minimum acceptable thickness is typically 3mm; if below, replacement is required. Reduced thickness compromises heat dissipation and braking force. Debris accumulation between pad and rotor disrupts contact, causing uneven wear and squealing. Use a flashlight to examine caliper pockets for mud, stones, or organic material. Even small debris can create hot spots. Clean pads with brake-safe solvent if contamination is found. Never use compressed air alone-it can force moisture deeper. Pad material type-ceramic, semi-metallic, or organic-affects water resistance and recovery time. Allow multiple light brake applications to dry surfaces before full-load use. Upgrading to high-performance rotors can improve wet-weather stopping power and heat management, especially when paired with compatible pads; consider top-rated options such as best brake rotors when replacing worn components.
Check Rotors for Rust and Warping
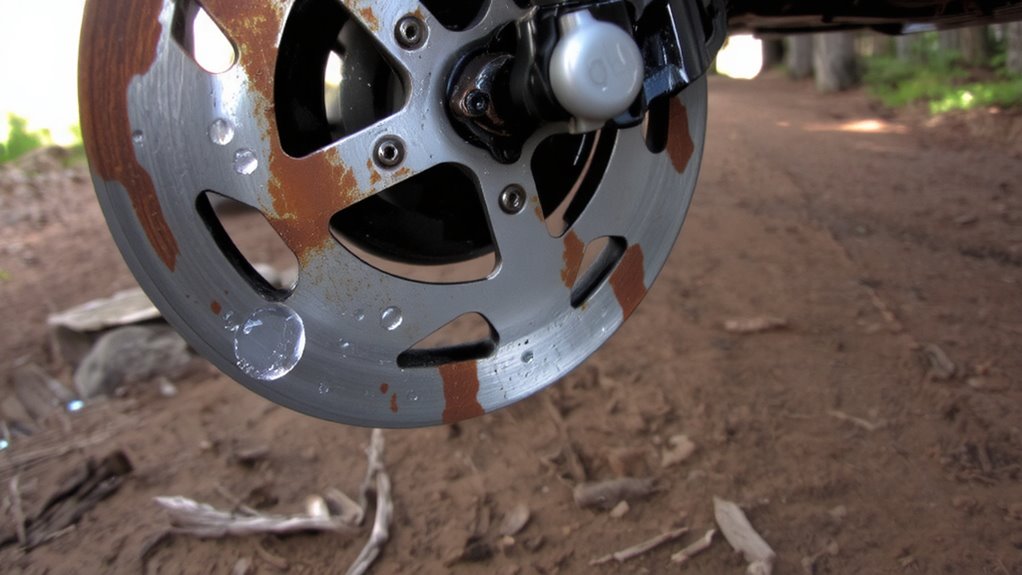
After a water crossing, your rotors need immediate inspection for rust and warping-both compromise braking efficiency and safety. Surface finish plays a critical role in brake performance; any visible rust layer disrupts pad-to-rotor contact, reducing friction. Light surface rust may burn off after several stops, but heavy corrosion requires resurfacing or replacement. Warping occurs due to thermal stress, especially if cold water contacts hot rotors, causing uneven expansion. Measure rotor thickness with a micrometer; compare readings to the manufacturer’s minimum specification stamped on the rotor. Variations greater than 0.001 inches in flatness indicate warping. Use a dial indicator to check runout-exceeding 0.003 inches affects pedal feel and braking. Warped rotors create pulsation in the brake pedal. Consistent surface finish and dimensional accuracy guarantee peak stopping power. Replace compromised rotors to maintain safety. For reliable performance and corrosion resistance, consider replacing with high-quality options like Raybestos rotors.
Check Brake Fluid for Water Contamination
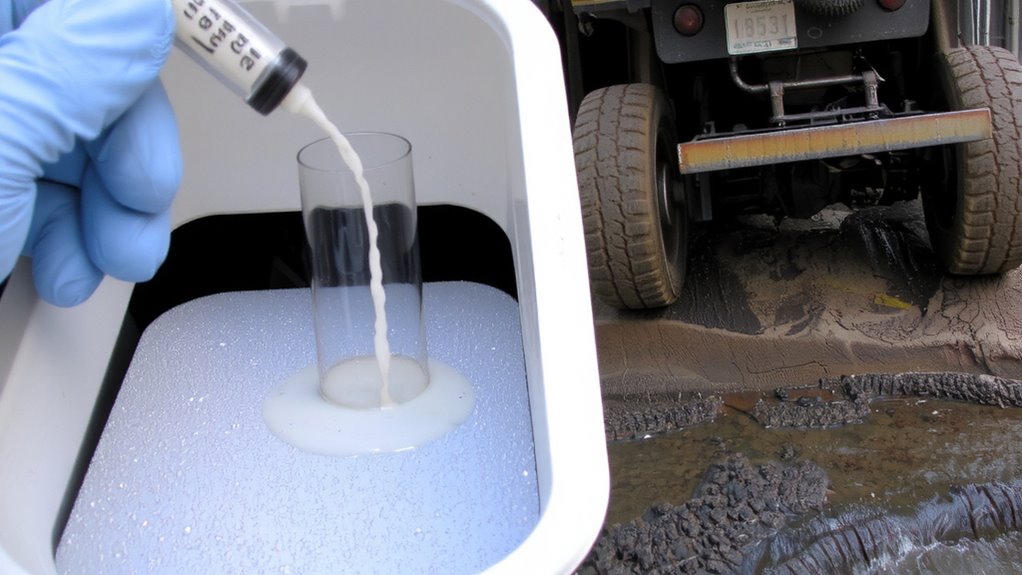
Even a small amount of water in your brake fluid can drastically reduce braking performance. Water lowers the boiling point of brake fluid, increasing the risk of vapor lock under heavy braking. Check brake fluid color regularly-fresh fluid is amber and transparent, while contaminated fluid appears brown or murky. Use a moisture detection strip or digital tester to confirm water content; levels above 3% require immediate fluid replacement. Glycol-based fluids (DOT 3, 4, 5.1) absorb moisture over time, making post-flood inspection critical.
| Condition | Risk Level |
|---|---|
| Clear amber fluid | Low |
| Dark brown fluid | High |
| Moisture >3% | Critical |
| Cloudy appearance | Severe |
| Failed test | Immediate action needed |
Accurate moisture detection guarantees system integrity. Replace fluid if in doubt.
Inspect Calipers and Seals for Damage
Start by visually examining each brake caliper for signs of damage, corrosion, or misalignment. Check caliper alignment to guarantee it’s centered over the rotor without binding or rubbing. Misaligned calipers reduce braking efficiency and cause uneven pad wear. Inspect the piston boots and sliding pins for tears, swelling, or displacement-these indicate compromised seal integrity. A damaged seal can allow water and debris into the piston bore, leading to corrosion or seizure. Use a flashlight to verify that seals are seated properly and show no signs of extrusion or hardening. Proper seal integrity maintains hydraulic pressure and prevents fluid leakage. Tactilely probe seal edges for nicks or splits invisible to the eye. Replace any caliper showing structural cracks or thread damage. Even minor breaches impair function. Guarantee mounting brackets are secure and corrosion-free to support correct caliper alignment. Do not reuse damaged seals-always install OEM-specified replacements.
Inspect Brake Lines and Hoses for Leaks
You’ve checked the calipers and seals for damage, and now it’s time to examine the system’s vascular network-your brake lines and hoses. Look closely for leaks at connections, bends, and along brake line routing paths. Even minor seepage can signal trouble. Over time, water exposure accelerates hose material degradation, especially in rubber sections. Check for cracks, bulges, or soft spots. Steel lines can corrode internally if water侵ates, reducing pressure tolerance.
| Inspection Point | What to Look For |
|---|---|
| Hose connections | Dampness, drips, loose fittings |
| Rubber hose sections | Cracking, swelling, texture changes |
| Steel brake lines | Pitting, kinks, altered routing |
| Protective sleeves | Missing, damaged, allowing friction |
Ensure lines follow factory brake line routing. Misaligned paths cause wear. Replace any hose showing material degradation.
Look for Corrosion in Brake Components
After inspecting the brake lines and hoses, shift your attention to metal components exposed during the water crossing-corrosion can compromise structural integrity and braking efficiency. Check calipers, rotors, and brackets for surface pitting, a sign of early corrosion caused by moisture and contaminants. Pitting appears as small, rough depressions and weakens metal over time. Severe cases show metal flaking, where oxidized layers spall off, reducing component thickness and strength. Use a flashlight and magnifier if needed. Stainless steel parts resist corrosion but aren’t immune. Iron-based rotors are prone to rust; light surface rust is normal, but deep pitting beyond 0.5 mm depth warrants replacement. Flaking on mounting brackets or caliper bodies indicates prolonged exposure and potential failure risk. Address corrosion early to prevent brake fade, reduced clamping force, or structural failure. Replace any part showing advanced degradation.
Take a Test Drive to Verify Performance
With corrosion checked and any damaged components replaced, it’s time to confirm the brakes function properly under real-world conditions. Perform a test drive in a safe, controlled environment. Begin at low speed, around 15 mph, and gently apply the brakes. You should feel consistent brake responsiveness-no delay or sponginess in the pedal. A properly functioning system delivers firm feedback within 1–2 inches of pedal travel. Increase speed to 35 mph and execute a moderate stop. Measure stopping distance; it should match factory specifications, typically 90–100 feet from 60 mph on dry pavement. Uneven braking or longer distances indicates residual issues. Listen for grinding or squealing. Repeat several times to guarantee heat doesn’t reduce performance. Final verification confirms safety and reliability after water exposure.
On a final note
You’ve completed the post-submersion brake inspection. Brake pads must be dry and free of debris; contamination reduces friction efficiency by up to 30%. Rotors should show no blue tint or scoring-indicative of warping or overheating. Brake fluid must meet DOT 3 or DOT 4 standards, with a boiling point above 205°C when dry. Any leak exceeding 5 mm in diameter compromises hydraulic integrity. Corrosion on caliper slides restricts movement, delaying response. Test drive at 30 mph to verify full stop within 100 feet.