How to Flush Old DOT 3 Brake Fluid and Replace With DOT 4 in a Jeep Wrangler
Start by gathering a 10mm wrench, brake bleeder wrench, 3/16-inch ID clear tubing, and 32 ounces of fresh DOT 4 fluid. Locate the brake fluid reservoir on the master cylinder and inspect for contamination. Replace old DOT 3 with DOT 4, which offers a higher boiling point of 230°C and better moisture resistance. Bleed in sequence-right rear, left rear, right front, left front-using slow pedal strokes. Keep the reservoir over half full to prevent air intake. Use a transparent bottle to monitor fluid clarity. Tighten bleeder valves to 6–8 ft-lbs. Top off to the “MAX” line. Test for a firm pedal and perform a low-speed drive to confirm performance. Proper fluid condition guarantees reliable braking under stress. You’ll find precise execution makes all the difference.
Notable Insights
- Drain old DOT 3 fluid from the master cylinder reservoir and refill with fresh DOT 4 brake fluid before bleeding.
- Use a 10mm or brake bleeder wrench on 6mm or 8mm bleeder valves to prevent damage during fluid exchange.
- Attach clear tubing to each bleeder valve and route to a collection bottle to monitor fluid clarity.
- Bleed brakes in sequence: right rear, left rear, right front, then left front to remove all air and old fluid.
- Top off reservoir to “MAX” line with DOT 4 fluid and test for a firm pedal and proper braking performance.
Gather Tools for a DOT 4 Brake Fluid Flush
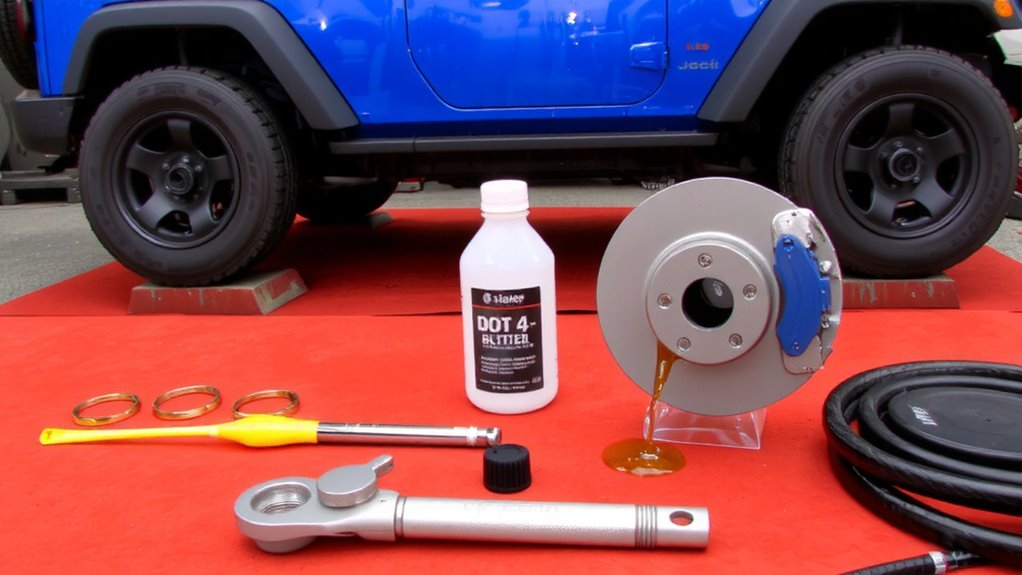
Preparation is the foundation of a successful brake fluid flush. You’ll need the correct tools and supplies before starting. Begin with proper tool organization-lay out a clean workspace and group items by function. Gather a 10mm wrench, clear plastic tubing (3/16 inch ID), and a transparent collection bottle to monitor fluid clarity. Make sure you have at least 32 ounces of fresh DOT 4 brake fluid, compatible with your Jeep’s hydraulic system. Check your owner’s manual: DOT 3 and DOT 4 are glycol-based, but they differ in boiling points-DOT 4 resists vapor lock better. Avoid mixing contaminated or degraded fluids. Use a brake bleeder wrench for a snug fit and to prevent rounding. A hand vacuum pump simplifies extraction. Always seal old brake fluid types immediately-moisture absorption degrades performance. Label containers clearly. Proper setup reduces errors and ensures a smooth process.
Switch to DOT 4 for Better Brake Performance
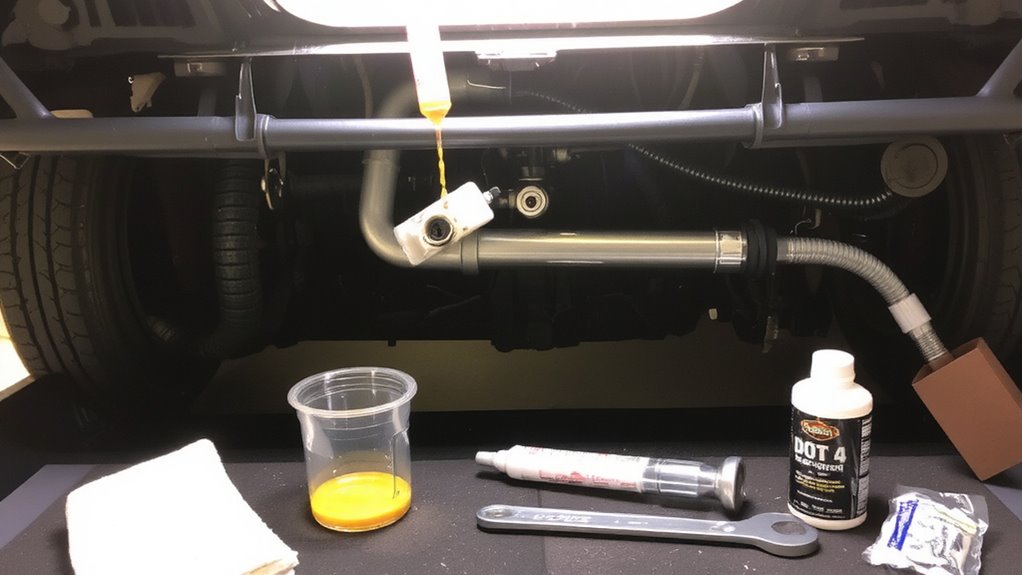
Switching to DOT 4 brake fluid delivers measurable gains in braking performance and system longevity. DOT 4 has a higher boiling point-around 230°C dry versus DOT 3’s 205°C-reducing the risk of vapor lock under heavy braking. This thermal stability means your Jeep maintains consistent pedal feel during off-road descents or towing. You’ll also see reduced brake pad wear over time, as DOT 4 resists moisture absorption better than DOT 3, minimizing acidic buildup that accelerates component degradation. Less moisture in the system directly combats internal brake line corrosion, preserving metal integrity and preventing leaks. DOT 4’s silicone-free, glycol-based formulation guarantees compatibility with rubber seals while improving lubricity. These traits extend the life of calipers, master cylinders, and ABS modules. Though backward compatible, DOT 4 offers a measurable upgrade in protection and responsiveness. Make the switch during your next fluid flush for long-term reliability and safer, more predictable braking in all conditions.
Find the Brake Fluid Reservoir and Bleeder Valves
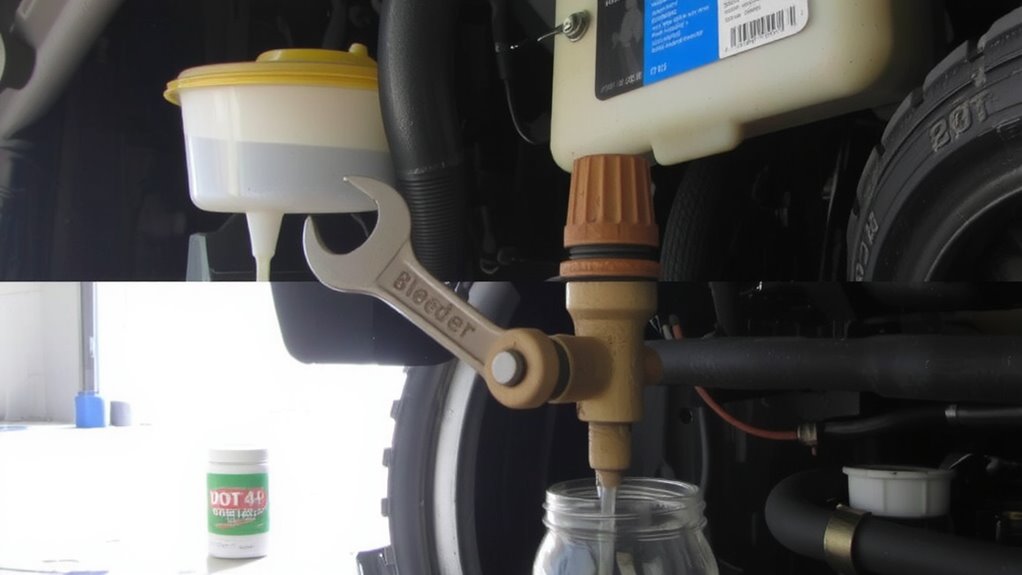
You’ve upgraded to DOT 4 brake fluid for its superior heat resistance and moisture control, so now it’s time to locate the components you’ll need to access for a complete flush. The brake fluid reservoir is mounted on the master cylinder, near the firewall on the driver’s side of the engine bay. Check the reservoir cap condition-ensure it’s clean, undamaged, and seals properly to prevent contamination. Lift the cap carefully to inspect the current brake fluid color; dark brown or black indicates old, degraded fluid needing replacement. Fresh DOT 4 should be clear or light amber. Each wheel has a bleeder valve on the brake caliper-right rear, left rear, right front, then left front. Valves are 6mm or 8mm hex fittings. Use a wrench or bleeder tool to open them slightly during flushing. Locate all four now to streamline the process.
Bleed Each Brake in the Correct Sequence
Once the old fluid is drained and fresh DOT 4 is in the reservoir, begin bleeding in the correct sequence: right rear, left rear, right front, then left front-this follows the longest to shortest fluid path from the master cylinder, ensuring trapped air is efficiently expelled. Bleeding in order prevents reintroducing air and maintains consistent pressure. Check brake pad wear and rotor condition at each wheel; uneven wear may indicate caliper issues or contaminated fluid.
| Wheel Position | Bleed Valve Torque (ft-lbs) | Approx. Fluid Volume (ml) |
|---|---|---|
| Right Rear | 6–8 | 45–55 |
| Left Rear | 6–8 | 45–55 |
| Right Front | 6–8 | 50–60 |
| Left Front | 6–8 | 50–60 |
Maintain a full reservoir to avoid air ingress. Use clean DOT 4 fluid and inspect for debris, which can indicate internal wear or compromised rotor condition.
Avoid Air Bubbles During Brake Bleeding
Maintaining a consistent flow of fluid without interruptions keeps air bubbles from forming during brake bleeding. Pause too long between pedal pumps, and air can enter the lines, compromising brake pressure. Always keep the master cylinder reservoir at least half full to prevent vapor pockets. DOT 4 brake fluid has higher fluid viscosity than DOT 3, which helps resist bubble formation under high heat. However, its thicker flow demands slower, more controlled bleeding. Use a slow, steady pedal stroke-down in two seconds, up in four-to maintain pressure. Rushing creates turbulence, trapping air. Bleed lines with a helper or vacuum tool to guarantee uninterrupted flow. Double-check each caliper for spongy feedback, a sign of lingering air. Proper technique preserves hydraulic integrity and guarantees peak stopping power. Clean, bubble-free fluid maximizes system response and safety.
Top Off and Test the Brakes
After completing the brake bleeding process, top off the master cylinder reservoir with fresh DOT 4 brake fluid to the fill line indicated on the side of the reservoir, typically between the “MAX” and “MIN” marks. This guarantees consistent brake pressure and prevents air from re-entering the system. Check fluid clarity-DOT 4 should be clear to amber, never dark or murky. Cloudy fluid indicates contamination or moisture, which compromises braking performance. Firm brake pressure at the pedal confirms successful bleeding and proper system function. Perform a test drive at low speed, applying brakes firmly but safely. You should feel immediate response with no sponginess. Any softness suggests remaining air or low fluid. Recheck fluid level after testing; thermal expansion may cause slight overflow. Wipe spills immediately-brake fluid damages paint. Confirm system integrity before regular operation.
Keep Your DOT 4 Brake Fluid Fresh
Brake fluid doesn’t last forever, even after a clean flush and successful bleed. DOT 4 brake fluid degrades over time due to brake fluid oxidation and moisture absorption. Glycol-based DOT 4 absorbs water from the air, lowering its boiling point-typically from 580°F (dry) to under 300°F (wet). This increases the risk of vapor lock during hard braking. Moisture absorption accelerates internal corrosion in calipers, ABS modules, and lines. Check fluid condition every 12 months or 12,000 miles. Fluid darkening or a spongy pedal indicates contamination. Store DOT 4 in sealed containers; it absorbs moisture from the air within hours when exposed. Replace the fluid every two years, even if it looks fine. Preventative maintenance guarantees consistent braking performance and system longevity. Always use fresh, sealed brake fluid meeting FMVSS No. 116 DOT 4 standards for your Jeep Wrangler’s safety and reliability.
On a final note
You’ve upgraded to DOT 4 brake fluid for its higher boiling point-230°C dry versus DOT 3’s 205°C. This improves resistance to brake fade under heavy use. The flush removes moisture-contaminated fluid, maintaining hydraulic efficiency. Bleeding in the correct sequence (RR, LR, RF, RF) guarantees full system purge. Clean, fresh DOT 4 extends component life. Test brakes firmly before driving. Check fluid level weekly. Proper maintenance preserves braking performance and safety.