Using UV Flashlights to Identify Old Wax Residue Before Applying Paint Protection Film
You need a 365 nm UV flashlight to detect invisible wax residue before applying PPF. Most waxes contain UV-sensitive polymers that fluoresce blue-white under 365 nm light. Use a flashlight with at least 1,200 mW output and a focused 15-degree beam in complete darkness. Hold it six inches from the surface at a 45-degree angle. Fluorescence means contamination. Clean with 70% isopropyl alcohol and re-scan. Hidden wax often lingers in door jambs, wheel wells, and seams. A contamination-free surface guarantees maximum adhesion-critical since residue can reduce bond strength by up to 60%. Verifying cleanliness with UV light is non-negotiable for long-term film integrity. What steps guarantee every square inch is properly screened?
Notable Insights
- Use a 365 nm UV flashlight in complete darkness to reveal invisible wax residues that glow blue or white.
- Wax residues contain UV-sensitive polymers that interfere with PPF adhesion by reducing bond strength up to 60%.
- Scan surfaces systematically, holding the flashlight six inches away at a 45-degree angle for optimal detection.
- Focus on high-risk areas like door jambs, wheel wells, and seams where wax often hides in shadows and crevices.
- Clean with 70%+ isopropyl alcohol and re-scan until no fluorescence appears to ensure a contaminant-free surface.
Use a UV Flashlight to Find Wax Before PPF
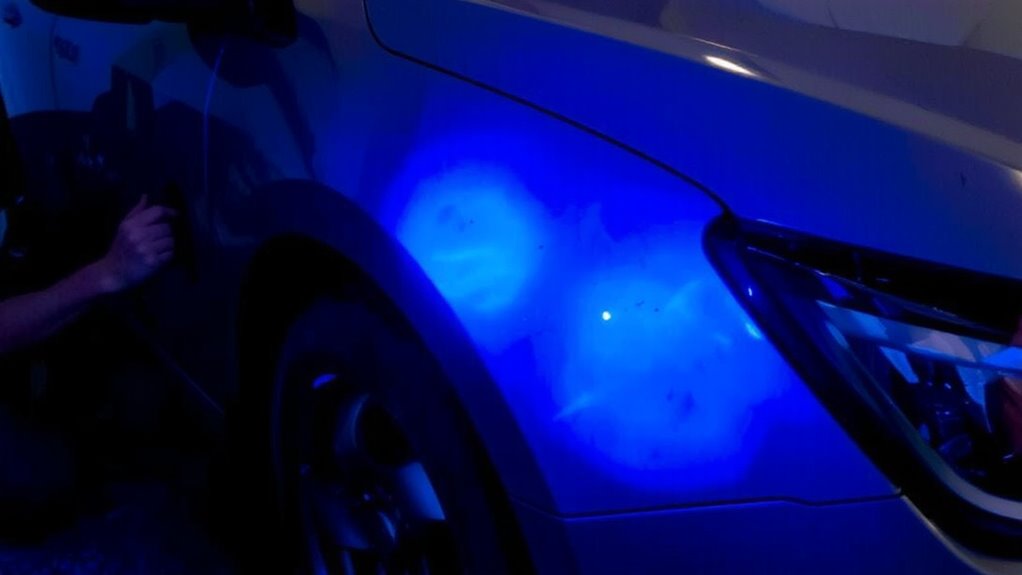
Ever wondered how to spot invisible wax residues that could ruin your paint protection film (PPF) installation? A UV flashlight helps detect leftover wax using surface fluorescence. Most car waxes contain UV-sensitive polymers that react under UV exposure. Shine a 365 nm UV flashlight across the painted surface in a dark environment. Residual wax glows blue or white due to fluorescence, making it visible. Areas near seams, edges, and trim often retain more residue. This method reveals contamination even after washing. Standard LED lights won’t work-only true 365 nm UV-C light triggers reliable fluorescence. Hold the flashlight six inches from the surface and scan slowly. Fluorescence intensity correlates with wax thickness. Clean any glowing areas with wax remover before PPF application. Proper UV inspection guarantees bare, contaminant-free paint. This step is non-negotiable for lasting adhesion and flawless PPF performance.
Why Wax Ruins Paint Protection Film Adhesion
Your vehicle’s finish is only as strong as the bond between the paint and the protective layer above it. Wax creates surface contamination that prevents paint protection film (PPF) from adhering properly. Most waxes contain silicones and polymers that leave an oily residue, invisible to the eye but detrimental to adhesion. This residue causes chemical interference with the PPF’s acrylic adhesive, reducing bond strength by up to 60%. Without proper adhesion, edges lift, trapping moisture and debris. Poor bonding also increases the risk of peeling, bubbling, and staining over time. Surface contamination must be removed completely before installation. Isopropyl alcohol (70% or higher) is recommended for decontamination. UV flashlights help locate residual wax by revealing fluorescent traces. Proper surface preparation guarantees maximum adhesion, preserving both film performance and paint integrity.
Best UV Flashlights for Detecting Car Wax
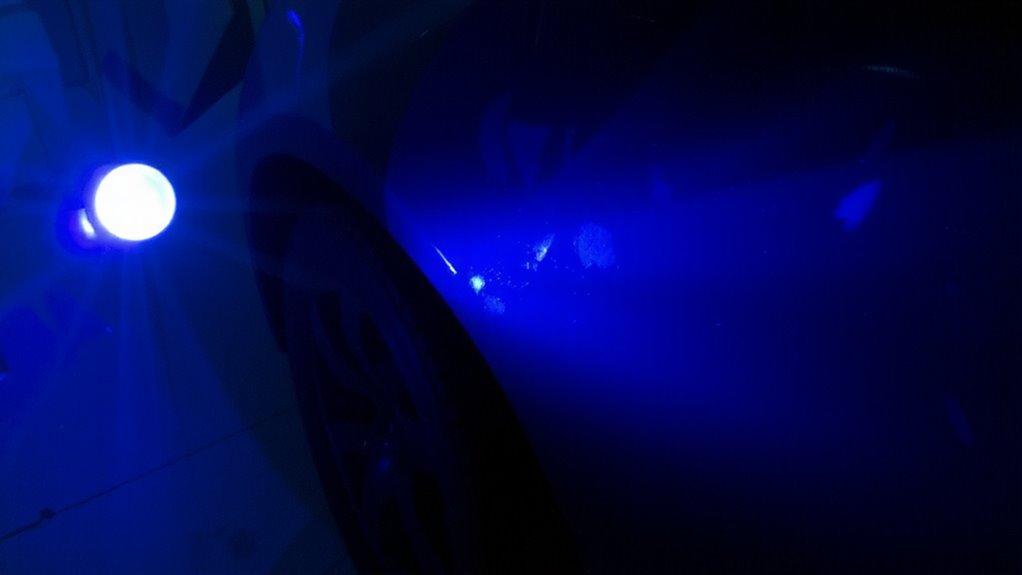
When inspecting a vehicle’s surface for wax contamination before applying paint protection film, using a high-quality UV flashlight is essential for detecting invisible residues. You need a device with strong beam intensity, ideally 365nm wavelength, to make wax residues fluoresce clearly. Look for LED models with at least 1,200 mW output-this guarantees bright, accurate detection. Beam intensity directly impacts visibility; weaker lights miss subtle contamination. Battery life matters too-choose flashlights with lithium-ion rechargeables offering 4+ hours runtime. Consistent power delivery keeps beam intensity stable throughout use. Compact models with aluminum housings provide durability without adding weight. A focused beam, 15-degree lens angle, helps isolate problem areas. Top models include the Streamlight 66368 and Convoy S2+ 365nm, both delivering excellent beam intensity and long battery life. Make sure the flashlight is UV-specific-standard blacklights won’t give accurate results.
How to Scan Your Car for Hidden Wax Residue
How can you guarantee every trace of wax is found before applying paint protection film? Use a high-intensity 365nm UV flashlight to scan each panel in complete darkness. Wax residues fluoresce under UV light, revealing contamination invisible under normal conditions. Start at the hood and work systematically toward the rear, holding the light at a 45-degree angle for maximum visibility. Any glowing spots indicate leftover wax that compromises adhesion. Before scanning, clean the surface with vapor degreasing to remove oils without residue. If persistent contamination appears, consider chemical stripping to fully decontaminate paint. These methods guarantee a bond-ready surface. Never skip inspection-even microscopic wax can cause film lifting. A flawless installation begins with absolute surface purity. Confirm cleanliness through UV assessment, not assumption.
Common Areas Where Wax Hides on Vehicles
Where does wax most often linger despite a thorough wash? Wax buildup favors shadowed zones-areas with minimal exposure to direct cleaning and light. These spots resist standard washing and trap residues, undermining PPF adhesion. Use your UV flashlight to reveal invisible contamination in these high-risk zones.
| Common Area | Reason for Wax Buildup |
|---|---|
| Door jambs | Limited airflow and shadowed zones trap wax during application |
| Wheel wells | High debris contact and recessed design retain wax buildup |
| Fuel door pockets | Deep contours shield wax from rinsing and drying |
Always inspect panel edges and seams-even small wax buildup in shadowed zones compromises bond strength. These areas receive less mechanical agitation during wash, allowing residues to persist. UV inspection highlights what microfiber cloths miss. Treat each shadowed zone as a potential contamination hotspot. Proper decontamination guarantees maximum film performance and longevity. PPF relies on molecular adhesion-contaminants disrupt that bond. For optimal results, include a thorough interior clean using a car interior cleaning kit to ensure no cross-contamination from interior surfaces during detailing.
Remove Wax After UV Inspection for PPF Prep
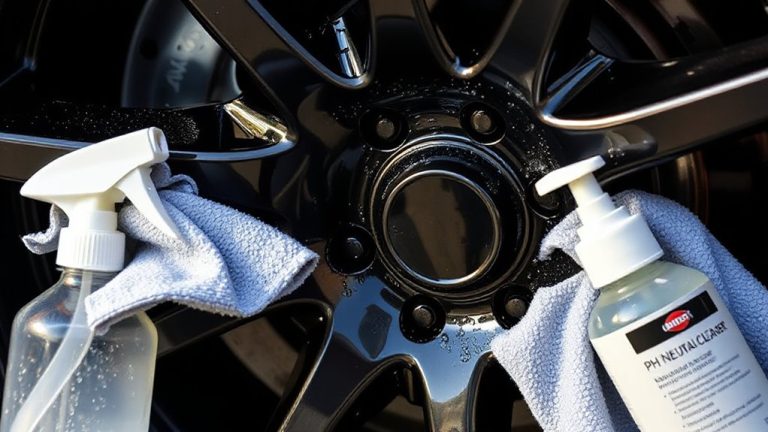
A single missed patch of wax can compromise the entire PPF installation. Once you’ve identified residue using a UV flashlight, remove it immediately. Use approved wax solvents-like isopropyl alcohol (IPA) solutions at 70% concentration or commercial prep solutions-to dissolve remaining wax. Apply solvent with a microfiber applicator, working in small 2′ x 2′ sections to prevent runoff and guarantee complete coverage. Wipe with clean, lint-free towels using overlapping strokes for uniform removal. After solvent application, allow proper surface drying-minimum 5 minutes, but 10 is ideal-so no moisture or chemical film remains. Surface drying is critical; trapped liquid causes adhesion failure. Never use household cleaners or abrasive pads, as they leave residues or swirls. Confirm solvent compatibility with your PPF manufacturer’s guidelines. This step guarantees the surface is chemically clean and ready for film bonding.
Re-Scan and Verify a Clean Surface for PPF
You’ve cleaned the surface and applied solvent to remove wax residues, but the job isn’t over yet. Re-scan the panel with your UV flashlight to verify a contaminant-free surface before PPF application. Shine the light at a 45-degree lighting angle to maximize visibility of residual fluorescence. Inspect every area slowly, overlapping passes by 50% to avoid missed spots. Pay close attention to surface texture changes, such as near seams or edges, where wax often hides in micro-irregularities. Smooth sections reflect UV more uniformly, but textured zones require slower scanning for accurate detection. Use a lint-free cloth dampened with isopropyl alcohol for any detected residue, then re-wipe and re-scan. Confirm no glowing spots remain. A clean surface guarantees peak PPF adhesion, preventing lifting or hazing. Final verification under UV eliminates risks, delivering a durable, long-lasting installation.
On a final note
You must guarantee all wax is removed before PPF application. UV flashlights with 365 nm wavelength detect invisible residue effectively. Inspect under 5,000 lux ambient light using a flashlight emitting at least 180 mW/cm² UV intensity. Scan within 6–12 inches of the surface. Wax fluoresces bright blue-white. Residue often lingers in seams, near trim, and on horizontal panels. After removal with IPA or clay, re-scan to verify cleanliness. A flawless bond demands contamination-free surfaces.