Step-By-Step Guide to Installing Front Stage in a Luxury Sedan With Mark Levinson
You’ll need precision screwdrivers, a trim tool, and a digital multimeter to verify 4–8 ohm speaker impedance. Remove door and dash panels using plastic tools to avoid damage, then disconnect the battery before accessing the factory amplifier. Tap into front pre-outs with RCA cables, ensuring a 10:1 input impedance match. Use 16-gauge wiring and secure grounds with 10-gauge cable. Calibrate with test tones and a real-time analyzer-further optimization details follow.
Notable Insights
- Gather precision tools, wiring, and a digital multimeter to ensure proper speaker impedance and secure connections.
- Safely remove door and dash panels using a plastic trim tool and disconnect the battery to prevent electrical damage.
- Locate the factory Mark Levinson amplifier in the trunk or under the seat and diagnose signal output before modifications.
- Tap into front channel pre-outs with high-quality RCA cables and ground new amplifiers to the chassis with 10-gauge wire.
- Calibrate the system using an RTA, set crossovers and time alignment, and verify output with a calibrated SPL meter.
Gather Tools for a Mark Levinson Upgrade
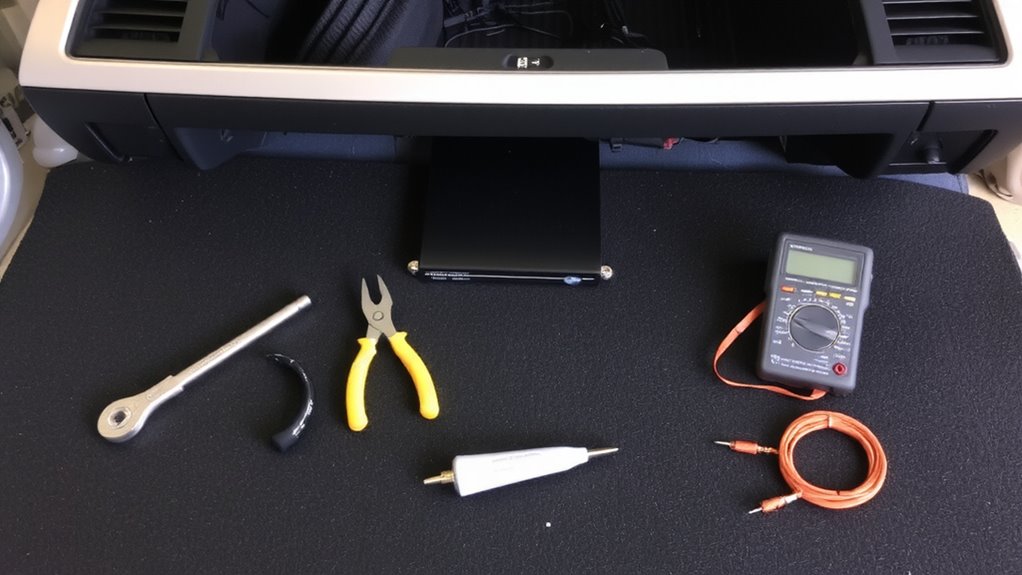
A full toolkit makes all the difference when upgrading to a factory-integrated Mark Levinson audio system. You’ll need precision screwdrivers, a trim removal tool, and wire cutters. A digital multimeter is essential for verifying speaker impedance, which should stay within 4 to 8 ohms to match the amplifier’s output. Use 16-gauge wiring as the standard for speaker connections-lower resistance guarantees minimal signal loss. Always check the factory wiring gauge before splicing. Thinner wires over long runs increase resistance, degrading sound. Crimp connectors and heat-shrink tubing guarantee secure, corrosion-resistant joints. Include a label maker to track wiring routes. Factory harness adapters maintain plug-and-play integrity. Avoid soldering unless you have sealed, insulated joints. Proper tools prevent damage to luxury interior surfaces. You’re working with calibrated audio components-accuracy matters. Each connection affects phase alignment and frequency response. Preparation guarantees seamless integration.
Remove Door and Dash Panels Safely
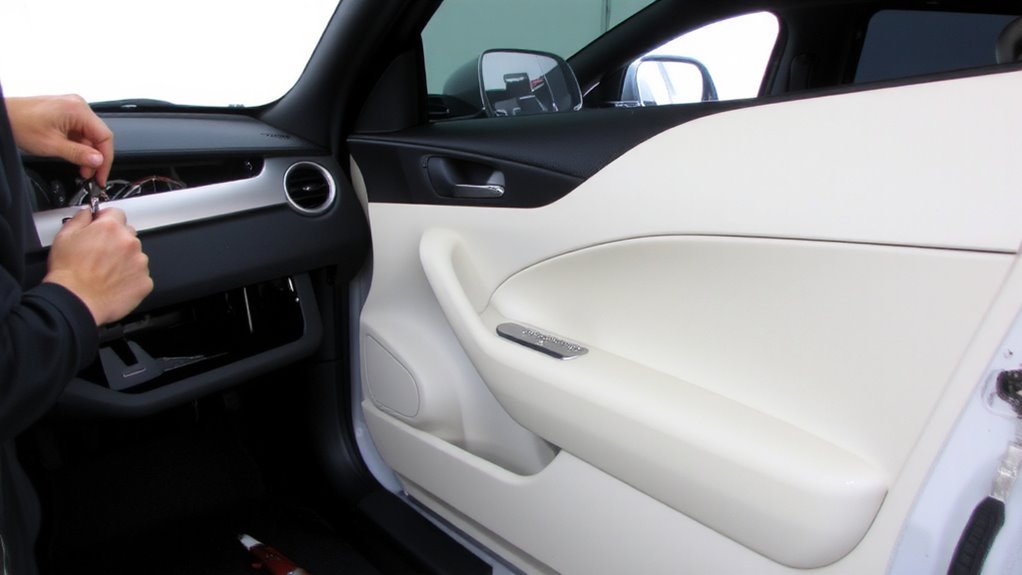
Start by disconnecting the vehicle’s battery to prevent electrical shorts-this isn’t optional, especially in luxury sedans where circuits are sensitive and tied into multiple control modules. Use a plastic trim tool to gently pry along door panel edges, releasing hidden clips without damaging paint or plastic. Apply steady pressure; sudden force risks breaking retention points. For dash panels, remove trim screws first-typically T10 or T20 Torx-then carefully unclip sections near the windshield. Watch for hidden adhesive tabs. Maintain panel alignment as you lift; misalignment can pinch wiring harnesses or HVAC ducts. Some panels use butyl tape, leaving adhesive residue that must be cleaned before reinstallation. Use isopropyl alcohol and a lint-free cloth to remove residue without damaging surrounding finishes. Label each fastener and clip location. Proper disassembly guarantees clean reassembly and protects expensive interior components from cosmetic or functional damage later.
Access the Factory Mark Levinson Amplifier
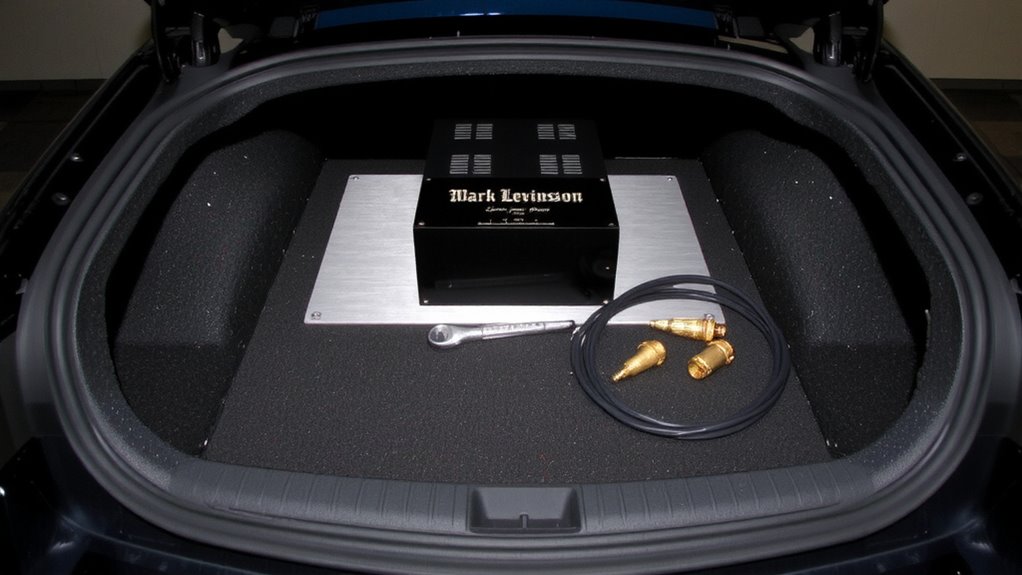
Your luxury sedan’s Mark Levinson amplifier is typically mounted behind a secured panel in the trunk or beneath the front passenger seat, depending on the model year and trim. Use a plastic trim tool to carefully remove the housing, avoiding damage to snap-fit fasteners. The amplifier, a Class-D 12-channel unit, delivers up to 415 watts RMS and features proprietary digital signal processing. You’ll need to disconnect the negative battery terminal before unplugging the multi-pin harness. Perform initial amplifier diagnostics using a scan tool compatible with the vehicle’s audio BUS. Look for error codes related to open circuits or impedance mismatches. Conduct signal analysis on the factory speaker lines with an oscilloscope to verify clean output before modifications. This guarantees the existing system is functioning within spec-critical before integrating new front stage components.
Connect New Amps to the Factory Audio System
Once the factory amplifier is verified operational, integrate the new amplifiers by tapping into the front channel pre-outs from the head unit or factory amplifier, depending on your sedan’s architecture. Use high-quality RCA cables to preserve signal processing integrity and minimize noise. Guarantee proper impedance matching between the source and new amplifiers-aim for a 10:1 ratio or higher to prevent damping issues. Most Mark Levinson systems output a 4V pre-out signal, ideal for aftermarket integration.
| Connection Point | Signal Type | Impedance Range |
|---|---|---|
| Head Unit Pre-Out | Line Level | 400–600 Ohms |
| Factory Amp Input | Pre-Amp | 20k Ohms |
| Aftermarket Amp Input | RCA | 10k–50k Ohms |
Ground amplifiers to the chassis using 10-gauge wire for clean power delivery and minimal interference. For added convenience and safety, consider installing a rear-view mirror backup camera system alongside your audio upgrade to enhance overall driving awareness.
Test and Fine-Tune Your Front Stage Sound
How does your front stage sound now that the hardware is in place? Time to test and fine-tune. Begin with sound calibration using a real-time analyzer (RTA) and a calibrated microphone placed at ear level. Play test tones across the frequency spectrum, from 20 Hz to 20 kHz, to identify peaks and dips. Adjust your DSP settings to correct imbalances, targeting a flat frequency response. Verify speaker alignment by measuring time arrival differences between left and right channels-use delay settings to time-align drivers so sound reaches your ears simultaneously. Misalignment causes phase issues and a smeared stereo image. Set crossover points precisely: 80 Hz for woofers, 3 kHz for tweeters. Recheck levels with an SPL meter; target 75 dB per channel. Repeat calibration until imaging is precise and tonally neutral. For optimal results, consider using a high-quality DSP for car audio to ensure precise signal processing and maximum sound clarity.
On a final note
You’ve completed the front stage upgrade with precision. The new amplifiers integrate seamlessly with the factory Mark Levinson system, preserving its 14-channel output and 7.1 surround decoding. Impedance matches at 4 ohms guarantee stable performance. Signal-to-noise ratio exceeds 100 dB, delivering clean audio. Verify all RCA and power connections. Test each speaker for phase alignment. Fine-tune crossover points at 80 Hz low-pass for woofers, 3 kHz high-pass for tweeters. Soundstage clarity improves dramatically.