How to Properly Ground Car Audio Components to Eliminate Noise
Keep your amplifier’s ground wire under 18 inches long and connect it to bare chassis metal near the battery using a 10 mm stainless steel bolt. Strip all paint and corrosion for solid contact, and use a star washer to guarantee conductivity. Match wire gauge to power: 8 AWG for 500W, 4 AWG for 1000W, 0 AWG for 2000W+. Crimp and solder ring terminals sized to your cable-1/4″, 5/16″, or 1/2″-for a secure, low-resistance bond. Ground all amps to one point to prevent loops, and route signal cables away from power lines. Test resistance between the ground and battery negative; it should be under 0.1 ohms. A poor ground can cause voltage drops over 0.05V, introducing hum from alternators or fans. Use dual-shielded RCA cables and a ground loop isolator if noise remains. Proper grounding guarantees clean power and noise-free playback-discover how each step impacts system performance.
Notable Insights
- Choose a grounding point within 18 inches of the amplifier and ensure bare metal contact by removing paint and corrosion.
- Connect to the vehicle’s main chassis using a stainless steel bolt and star washer for secure, low-resistance bonding.
- Use appropriately sized copper wire (e.g., 4 AWG for 1000W) and match ring terminals to both wire gauge and bolt size.
- Crimp and solder ring terminals to the wire to create a solid, low-resistance connection that resists vibration and corrosion.
- Ground all amplifiers to a single point near the battery to prevent ground loops and measure resistance below 0.1 ohms.
Find the Best Spot to Ground Your Car Amplifier
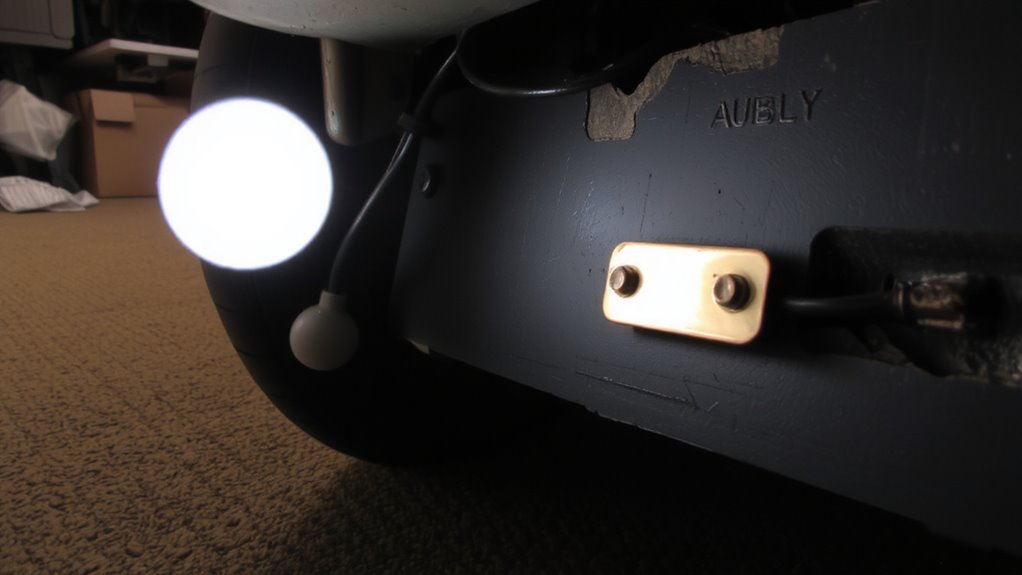
Where should you ground your car amplifier for peak performance? Select a point within 18 inches of the amplifier to minimize resistance. You need solid frame contact-bare metal free of paint, rust, or coatings. Use a rotary tool or sandpaper to expose clean metal. The grounding spot must connect directly to the vehicle’s main chassis, ensuring uninterrupted chassis integrity. Avoid hinge points, seams, or plastic-coated areas; they compromise conductivity. Drill a hole only if necessary, using a stainless steel bolt no smaller than 10 mm to prevent loosening from vibration. Secure the ring terminal tightly so the metal-to-metal bond remains stable. A poor connection introduces noise and voltage drops. Think of it like a bridge: if the foundation cracks, the whole structure fails. Maintaining chassis integrity preserves signal accuracy and protects amplifier efficiency. This is not optional-it’s essential for clean, powerful audio output.
Connect Your Amp’s Ground Wire the Right Way
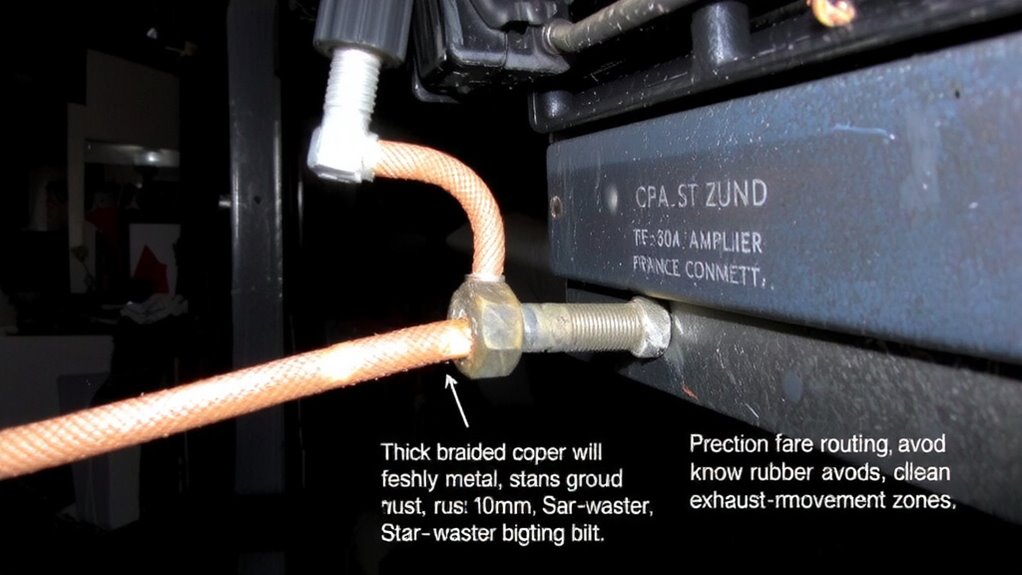
Once you’ve picked the ideal grounding location, it’s time to attach the ground wire correctly. Use the proper cable thickness based on your amp’s power-typically 8 AWG for 500W, 4 AWG for 1000W, and 0 AWG for 2000W+. A too-thin cable increases resistance and noise. Strip the insulation cleanly and secure a compatible terminal type-ring terminals are standard, ideally tin-coated copper for corrosion resistance. Crimp then solder for a solid, low-resistance connection.
| Power Range | Cable Thickness | Terminal Type |
|---|---|---|
| Up to 500W | 8 AWG | 1/4″ Tin Ring Terminal |
| 500–1000W | 4 AWG | 5/16″ Tin Ring Terminal |
| 1000–1500W | 2 AWG | 3/8″ Tin Ring Terminal |
| 1500–2000W | 0 AWG | 3/8″ Tin Ring Terminal |
| 2000W+ | 00 AWG | 1/2″ Tin Ring Terminal |
Stop Noise With These Common Grounding Fixes
You’ve connected your amplifier’s ground wire using the correct gauge and terminal, but you’re still hearing a hum or whine through the speakers. This noise often stems from poor cable shielding or electrical interference. Make certain all signal cables run away from power wires-crossing them at 90-degree angles reduces interference. Upgrade RCA cables with dual shielding to block induced voltages from alternators or fuel pumps. Ground each amplifier to the same chassis point near the battery, using a star washer to pierce paint and make certain of metal-to-metal contact. A shared ground bus bar can prevent ground loops. Keep ground wires under 18 inches to minimize resistance. If noise persists, install a ground loop isolator on the audio input. Proper cable shielding acts like a Faraday cage, preventing electromagnetic intrusion. Eliminate interference sources systematically to restore clean signal transmission and peak system performance.
Test Your Ground for Clean, Quiet Sound
How solid is your ground connection really? Use a multimeter to confirm continuity between your amplifier’s ground and the car’s battery negative terminal. You should measure less than 0.1 ohms resistance-any higher and signal integrity suffers. Poor electrical isolation from chassis paint, rust, or loose fittings increases impedance, allowing noise into the audio path. Strip all paint and corrosion from the grounding point, ensuring bare metal contact. Tighten the grounding lug with a wrench to achieve full metal-to-metal bonding. A secure, low-resistance ground minimizes interference and maintains clean audio reproduction. Verify each ground point individually, especially when using multiple amplifiers. Inconsistent grounding creates potential differences, degrading performance. Treat grounding like a precision circuit-because it is. Every component relies on this path for stable reference. Clean, quiet sound starts here.
How Ground Loops and Bad Connections Cause Hum
A clean ground connection isn’t just about low resistance-it’s about preventing unwanted voltage differences that lead to audible noise. When grounding points have poor contact or multiple paths to chassis, voltage fluctuations create ground loops. These loops act like antennas, picking up electrical interference from alternators, fans, or ignition systems. Your amplifier’s reference voltage shifts slightly, but enough to induce a 50/60 Hz hum in the speakers. Even a few milliohms of resistance in a ground wire can allow measurable potential differences. Use a multimeter: under full load, voltage drop should be under 0.05V. Single-point grounding near the battery minimizes loop risks. Always sand paint and corrosion from mounting surfaces-bare metal contact is vital. A 1/0 or 4 AWG ground wire connected directly to the vehicle chassis guarantees a stable reference. Faulty grounds don’t just weaken performance-they invite noise into sensitive audio circuitry.
On a final note
You must secure a clean audio signal by properly grounding all components. Use a 4-gauge OFC copper wire for amplifiers over 1000 watts. Attach the ground wire to bare, unpainted metal within 18 inches of the amplifier. Torque the terminal to 8–10 lb-ft using a calibrated wrench. This minimizes resistance, ideally under 0.1 ohms, preventing voltage drops and noise. Confirm connections with a multimeter.