Step-by-Step: Replacing a Clutch in a Manual Transmission Coupe
Check for clutch slippage at 3,000 RPM or shuddering between 1,500 and 2,000 RPM-signs of wear that can damage the flywheel. Gather a socket set, torque wrench (±2% accuracy), transmission jack, and alignment tool (typically 19mm or 20mm). Lift using rated jack points and secure with 3-ton jack stands. Disconnect the battery, then remove the driveshaft, shifter, and transmission mounts. Support the transmission with a jack, then slide it back carefully. Remove the pressure plate in a crisscross pattern. Inspect the flywheel for scoring or heat spots; resurface if needed. Install the new clutch disc with an alignment tool, then torque pressure plate bolts to 18–25 ft-lbs in a star pattern. Torque flywheel bolts to 45–55 ft-lbs. Use anti-seize on the pilot bearing and spline. Bleed the hydraulic system if applicable. Make sure the clutch fork engages properly. There’s more to get right in the full process.
Notable Insights
- Inspect for clutch slippage, pedal vibration, or spongy feel to confirm wear before replacement.
- Gather necessary tools including a torque wrench, transmission jack, clutch alignment tool, and anti-seize lubricant.
- Safely lift and secure the vehicle using jack stands and safety straps at manufacturer-designated points.
- Disconnect drivetrain components and use a transmission jack to carefully remove the unit from the engine.
- Install new clutch components using proper torque sequences and an alignment tool for accurate fitment.
Inspect Clutch Wear Symptoms?
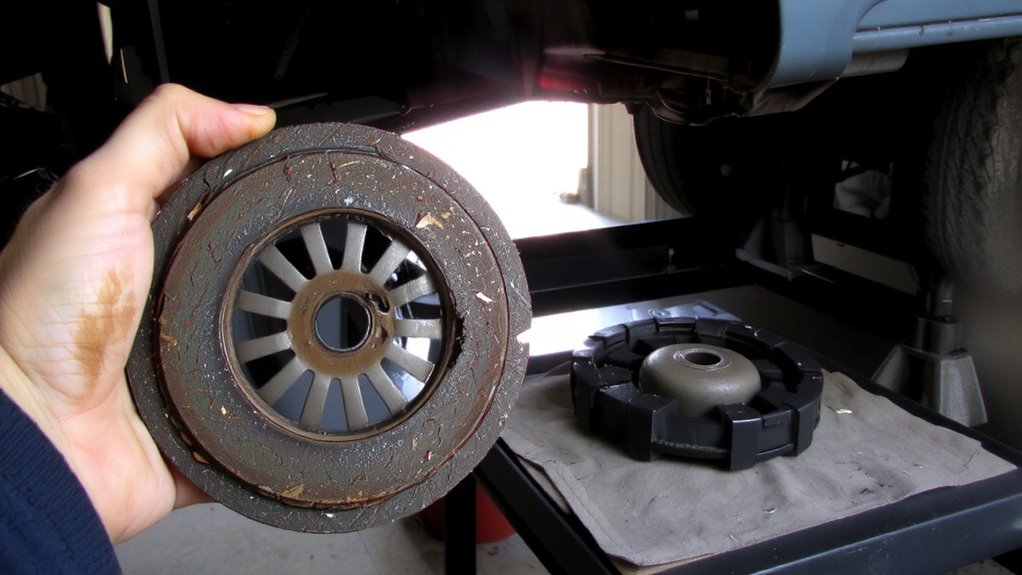
Clutch trouble often starts with subtle cues, but ignoring them can lead to costly damage. You’ll notice clutch slippage symptoms when the engine revs rise without corresponding acceleration, especially under load. This indicates the friction disc is worn and not fully engaging. Typical slippage occurs around 3,000 RPM in higher gears. Pedal vibration issues are another key sign-these often stem from a warped pressure plate or misaligned release bearing. You may feel rhythmic shuddering through the pedal at engagement, usually between 1,500 and 2,000 RPM. Inspect for inconsistent contact points or sponginess, which suggest air or contamination in the hydraulic system. Check free play: it should measure 10–15mm at the pedal pad. Early detection of these symptoms prevents flywheel scoring and transmission wear. Addressing them guarantees smoother engagement and extends drivetrain life. Don’t delay-diagnose now.
Gather Tools for Clutch Replacement
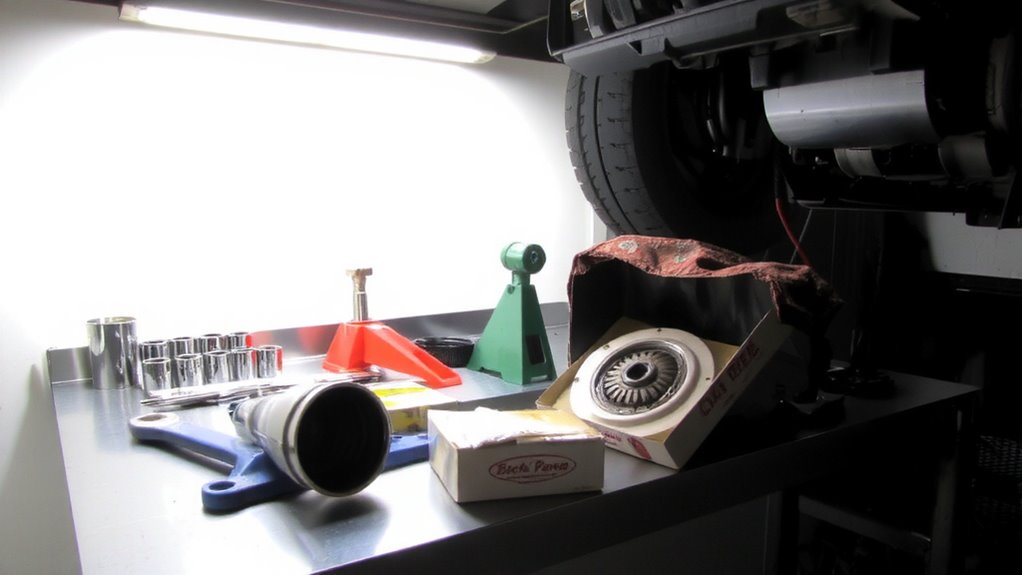
Now that you’ve confirmed the clutch is failing, it’s time to collect the right tools. You’ll need a socket set, torque wrench, jack stands, transmission jack, and pry bar. A clutch alignment tool is essential-it guarantees the clutch disc centers perfectly between the pressure plate and flywheel. Without it, you risk damaging components during installation. Use a high-quality tool matching your vehicle’s spline size, typically 19mm or 20mm. Also, obtain a new clutch kit with flywheel bolts rated for correct torque specifications-commonly 25–30 ft-lbs. Torque all fasteners to factory specs; under-tightening risks slippage, over-tightening warps metal. A torque wrench calibrated to ±2% accuracy guarantees reliability. Include anti-seize lubricant for pilot bearing and spline protection. Label hardware as you disassemble. Organize tools within reach to maintain workflow. Precision now prevents mechanical failure later.
Lift and Secure Your Coupe
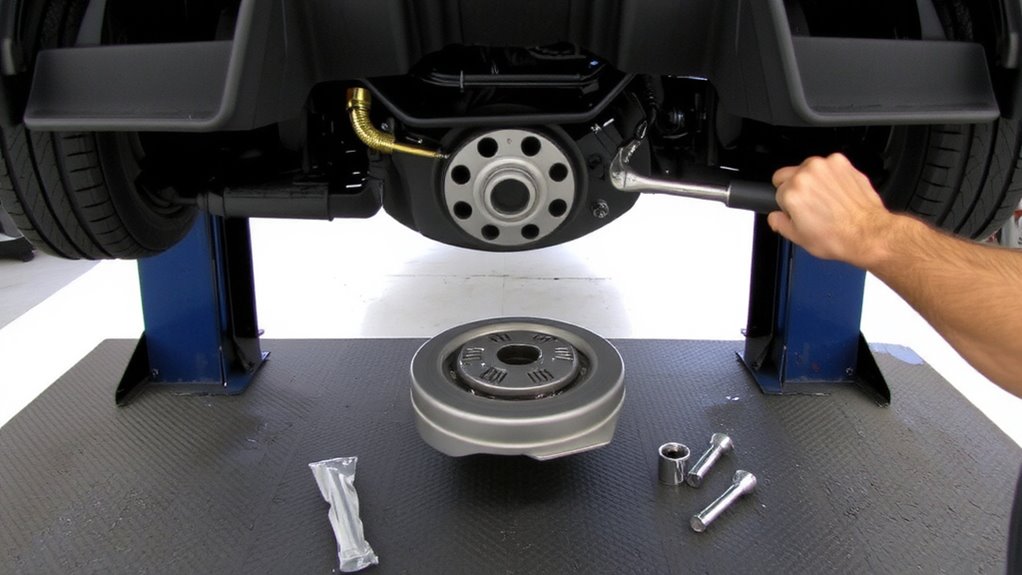
Your safety starts with properly lifting and securing the coupe. Always use a floor jack rated for at least 3,000 pounds and lift at the manufacturer’s designated jack points-never on frame rails or suspension components. Incorrect jack placement risks damaging the undercarriage or causing sudden collapse. Once the coupe is off the ground, support it with jack stands rated for your vehicle’s weight, typically 3-ton capacity per stand. Position stands under reinforced chassis points near the rocker panels. Attach safety straps from the frame to the stands to prevent accidental slippage or movement. Safety straps add a redundant layer of protection in case of jack or stand failure. Never rely solely on a hydraulic jack. Work only under the vehicle when it’s fully secured on stands with safety straps engaged-your life depends on it. For heavy-duty performance and durability, consider a floor jack rated for trucks that can handle the weight and rigors of frequent use.
Remove the Transmission
With the coupe safely raised and secured on jack stands with safety straps firmly in place, you can now access the transmission for removal. Begin by disconnecting the negative battery cable to prevent electrical shorts. Remove the air intake, shifter assembly, and driveshaft to clear the path. Unbolt the transmission mounts and disconnect the speedometer cable, clutch linkage, and any wiring harnesses. Carefully separate the transmission from the engine block using a transmission jack. Maintain precise transmission alignment during extraction to avoid damaging pilot bearings or input shafts. Misalignment can hinder gear shifting post-installation. Support the engine with a brace if needed. Gently slide the transmission rearward until the input shaft clears the clutch plate. Keep the unit level to prevent fluid leaks and internal damage. Use alignment guides if necessary. This step demands patience and precision for proper reassembly.
Replace the Clutch Kit
Once the transmission is out of the way, you’re ready to take off the old clutch components and install the new kit. Begin by removing the pressure plate bolts in a crisscross pattern to prevent warping. Pull off the pressure plate and clutch disc, then inspect the flywheel for heat spots or grooves. Replace or resurface it if needed. Before installing the new clutch, verify compatibility with your coupe’s make, model, and engine torque output. Use the recommended clutch alignment tool to center the disc during installation-this guarantees smooth engagement and prevents drivetrain damage. Position the new pressure plate and torque the bolts gradually in stages, following the manufacturer’s torque specs, usually between 18–25 ft-lbs depending on the vehicle. Even tension distribution prevents distortion. A misaligned or improperly torqued clutch causes vibration, slippage, or premature failure. Precision here guarantees reliable performance and extended component life.
Avoid These Reassembly Mistakes
Even small errors during reassembly can compromise the entire clutch installation, so pay close attention to detail. Improper torque on flywheel bolts-typically 45–55 ft-lbs-can warp the flywheel or damage threads. Always use a torque wrench and follow a star-pattern sequence to guarantee even clamping force. Misaligned components, like a crooked pressure plate, lead to clutch shudder or failure. Double-check that the disc is centered using an alignment tool before tightening. Never force components together; if parts don’t fit, something’s misaligned. Reinstall transmission bolts gradually, tightening in stages to prevent binding. Inspect input shaft splines for burrs-they must slide smoothly. Use thread locker on critical fasteners, but avoid over-application. Verify clutch fork engagement with the throw-out bearing. A poorly seated clutch line or pinched wiring harness can mimic mechanical faults. Recheck all connections, then bleed the clutch if hydraulic.
On a final note
You’ve completed the clutch replacement with precision. Always torque flywheel bolts to manufacturer specs-usually 45–75 ft-lbs, depending on engine. Misalignment during reassembly causes slippage or grabbing. Guarantee the clutch disc is centered and the transmission input shaft engages smoothly. A proper bleed of the hydraulic system restores pedal feel. Test drive at low speeds first. Correct installation extends clutch life to 50,000–100,000 miles.