Step-by-Step: Replacing a Clutch in a Manual Transmission Wagon
You’ll need a complete clutch kit with OEM-spec components and a 1/2-inch torque wrench (50–200 ft-lbs) for accurate fastening. Use a 3-ton floor jack and jack stands rated 2–2.5 tons each at factory lift points. Remove the driveshaft first, then unbolt the transmission mount and linkage. Support the transmission with a jack before removing bellhousing bolts. Inspect the flywheel for warping; resurface if needed. Install the clutch disc with the damped spring side toward the transmission. Torque pressure plate bolts to 18–25 ft-lbs in a star pattern. Use an alignment tool to center the disc on the input shaft. Carefully align the transmission and torque bolts to 25–30 ft-lbs. Reconnect all linkages, lines, and mounts securely. Check for leaks at the rear main seal. Test the clutch pedal-five firm pumps should result in a solid hold. Proper setup guarantees smooth engagement and long-term reliability. More technical details follow.
Notable Insights
- Lift the wagon safely using factory jack points and secure it with jack stands rated for 2–2.5 tons each.
- Remove the driveshaft first, then disconnect shift linkage, clutch components, and transmission mount before unbolting the bellhousing.
- Support the transmission with a jack rated for long tail shafts and separate it carefully to avoid input shaft damage.
- Inspect and resurface the flywheel if needed, then install the clutch disc and pressure plate with proper alignment and torque.
- Reinstall the transmission using a torque wrench, reconnect all linkages, and test the clutch pedal for firm engagement.
Tools and Parts Needed for Clutch Replacement
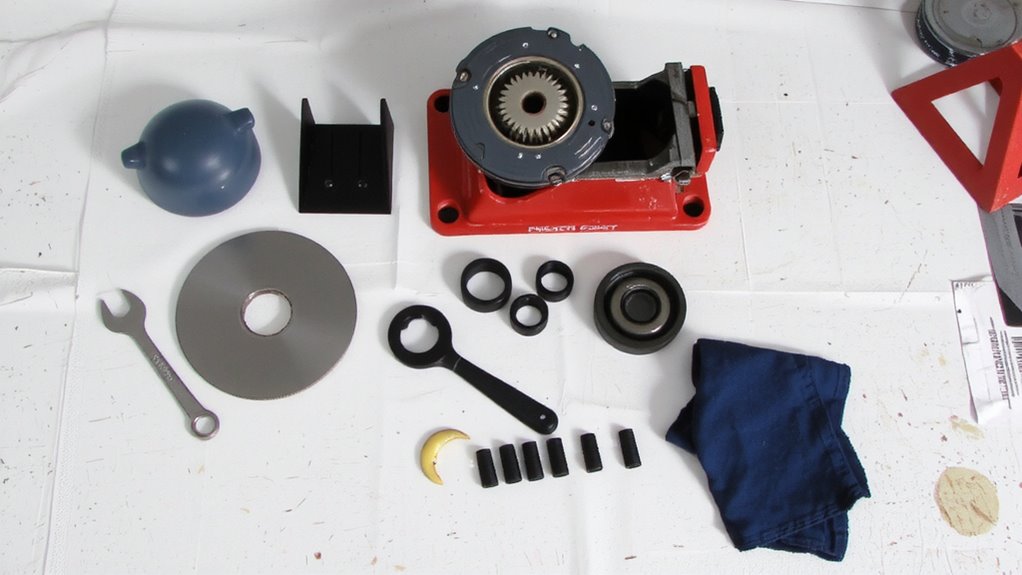
You’ll need the right tools and parts to replace a clutch in a manual transmission wagon-skipping even one item can stall the job. Start with a complete clutch kit: clutch disc, pressure plate, release bearing, and alignment tool. Use OEM-spec components for proper fit; aftermarket kits from brands like Sachs or Exedy meet or exceed factory tolerances. Include a torque wrench (1/2-inch drive, 50–200 ft-lbs range) for precise fastener specs. A socket set with 8mm to 18mm sizes and a universal joint helps access tight bolts. Don’t forget transmission jack support-manual wagons have long tail shafts requiring steady handling. A pry bar aids in transmission separation. For clutch inspection, use a mechanic’s mirror to check flywheel wear. Perform a fluid check on the clutch master and slave cylinders-low fluid suggests leaks affecting engagement. Include fresh hydraulic fluid rated DOT 3 or 4.
Lift and Secure Your Wagon Safely
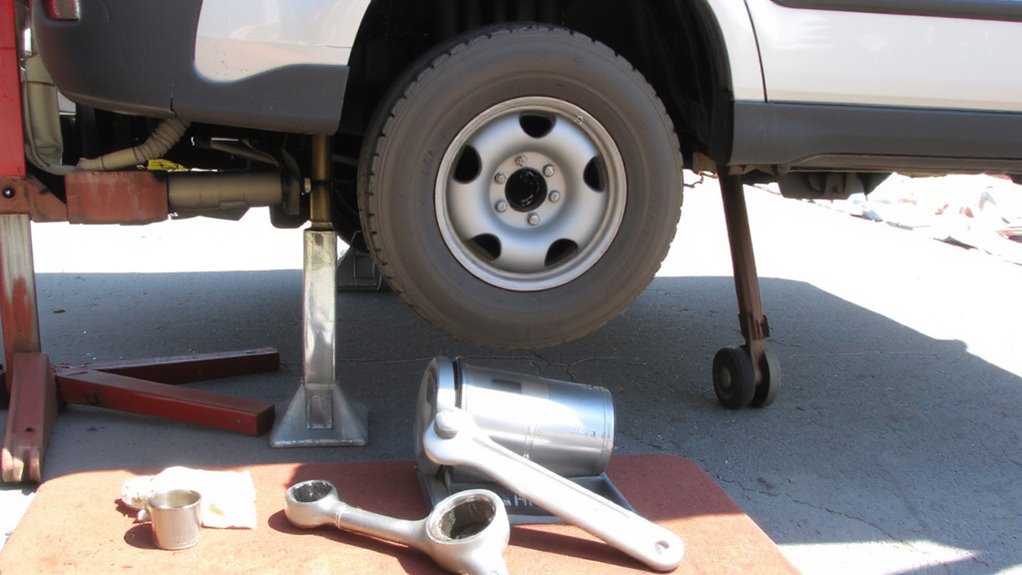
Before reaching for tools or parts, the vehicle must be elevated and held securely to guarantee safety and access during the clutch replacement. Use a floor jack rated for at least 3 tons, lifting the wagon at factory-reinforced jack points only-improper jack placement risks frame damage and instability. Once raised, support the vehicle with jack stands rated for your wagon’s weight, typically 2–2.5 tons per stand. Position stands under the vehicle’s subframe or solid axles, never on control arms or plastic components. Attach safety straps from the frame to secure anchor points, creating redundancy in case a stand fails. Safety straps should be nylon or polyester with a minimum 6,000-pound tensile strength. For heavy-duty applications, consider using 6-ton jack stands to exceed safety margins and accommodate unexpected load shifts. Guarantee the wagon sits level and doesn’t rock. Double-check all contact points. Working under a poorly secured vehicle risks serious injury-treat every lift as a critical safety checkpoint.
Remove the Transmission Step by Step
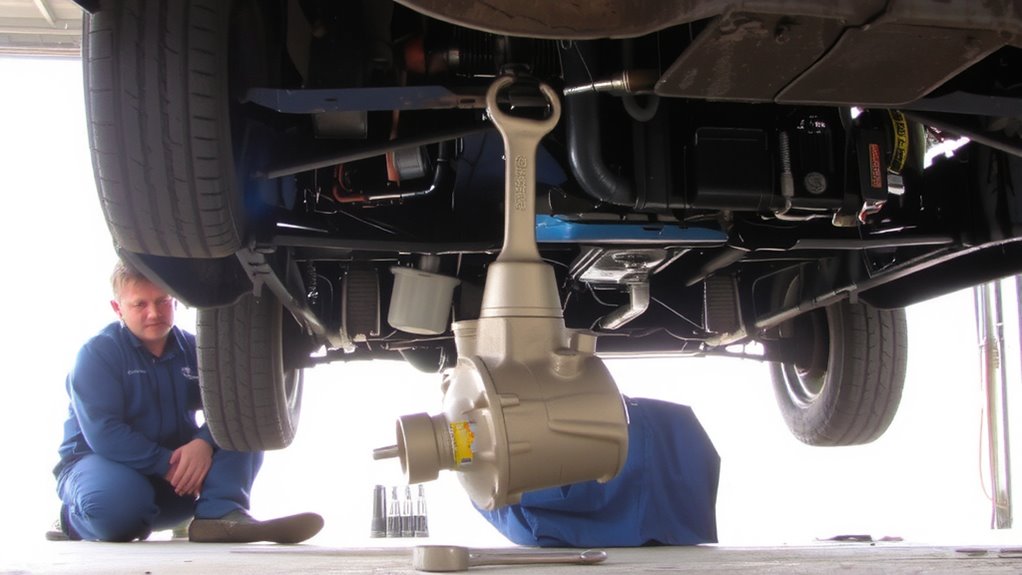
While the wagon remains securely lifted, begin disconnecting the transmission by first removing the driveshaft to prevent binding during separation. Unbolt the transmission mount and detach the shift linkage and speedometer cable. Next, disconnect the clutch linkage or hydraulic slave cylinder. Support the transmission with a jack before removing the bellhousing bolts. Carefully separate the transmission from the engine block. Maintain transmission alignment during removal to avoid damaging the input shaft or pilot bearing. Misalignment can restrict gear shaft rotation and cause binding. Use alignment markers if available. Rotate the gear shaft slightly if resistance occurs to ease separation. Never force components apart. Label and store all hardware securely. Keep the transmission level during lowering to prevent fluid leaks. Guarantee the flywheel remains undisturbed. This step prepares the system for clutch replacement without disturbing engine components. Maintain a clean work area to prevent contamination.
Replace the Clutch Kit Components
Start by inspecting the flywheel for scoring, warping, or cracks before installing new clutch components. If the surface is damaged, resurface or replace it to guarantee proper contact. Clean the flywheel with brake cleaner and a lint-free cloth-any oil or debris will compromise grip. Place the new clutch disc against the flywheel, ensuring the damped spring side faces the transmission. Install the pressure plate, aligning it evenly. Use a torque wrench to tighten the pressure plate bolts to manufacturer specs-usually 18–25 ft-lbs-in a star pattern. This even pressure plate torque prevents warping and slippage. Use a clutch alignment tool through the input shaft hole to maintain clutch alignment. A misaligned disc binds during installation, damaging components. Slide the tool in until it contacts the pilot bearing. Confirm the disc is centered and doesn’t wobble. Proper clutch alignment guarantees smooth engagement and extended lifespan.
Reinstall the Transmission and Reassemble
With the clutch components properly aligned and secured, you can now reinstall the transmission. Carefully align the input shaft with the clutch disc to avoid damaging the bearing. Use a transmission jack for control and precision. Proper gear alignment guarantees smooth engagement and prevents premature wear. Once positioned, bolt the transmission to the engine block using the manufacturer-specified torque of 25–30 ft-lbs.
| Step | Action |
|---|---|
| 1 | Align transmission with engine mating surface |
| 2 | Insert and tighten bolts gradually in a star pattern |
| 3 | Reconnect shift linkage and inspect for wear |
| 4 | Check rear main seal area for fluid leakage |
Reattach all electrical connectors, lines, and mounts. Confirm all connections are secure. A single loose fitting can cause fluid leakage or misalignment. Reassembly accuracy directly impacts drivetrain performance.
Test the Clutch Before Driving
How do you know the clutch is ready for the road? Test the clutch pedal resistance before starting the engine. Press the pedal fully-it should feel firm, not spongy. A soft pedal often means air in the hydraulic system. Check the hydraulic fluid level in the master cylinder reservoir; it should be between the “MIN” and “MAX” marks. Low fluid can reduce pressure and impair engagement. With the engine off, pump the pedal five times, then hold it down. If the pedal sinks slowly, there’s a leak or trapped air. Bleed the system if needed. Start the engine and try shifting into first gear. It should engage smoothly with no grinding. The clutch should disengage fully when the pedal is fully depressed. If shifting feels stiff or noisy, recheck pedal resistance and fluid level. Confirm everything operates as specified before driving.
On a final note
You’ve completed the clutch replacement with precision. The new clutch kit-including the pressure plate, clutch disc, and throw-out bearing-is installed to factory specifications, typically torqued to 25–30 ft-lbs using a star pattern. The transmission aligns perfectly with the bell housing bolts tightened to 18 ft-lbs. Proper fluid levels and secure connections prevent leaks. A smooth engagement point at roughly 1 inch above the floor confirms correct hydraulic function. Test results verify reliable power transfer and no slippage at 3,000 RPM.