Step-by-Step Guide to Sealing Glove Box Seams Against Moisture
Seall your glove box seams with a 1/8-inch bead of high-adhesion silicone like Permatex Ultra S, rated for automotive use and flexible from -40°C to 150°C. Clean joints with isopropyl alcohol and a lint-free cloth, then dry completely. Apply in low humidity and temperatures between 60°F and 80°F for ideal curing. Press the caulk into gaps with a gloved finger to eliminate air pockets. Reinforce corners with fiberglass mesh tape and a second layer. Focus on hinge edges and mounting screw gaps, where micro-leaks often occur. Use a 220-grit sandpaper to scuff surfaces before sealing for better adhesion. Test effectiveness with a hygrometer and water dish; an increase of ≤5% above ambient humidity means success. Details on long-term moisture prevention follow.
Notable Insights
- Clean all seams and joints with isopropyl alcohol using a lint-free cloth to ensure proper sealant adhesion.
- Dry surfaces completely and work in a climate-controlled environment below 50% relative humidity.
- Apply a continuous 1/8-inch bead of high-quality silicone sealant using a precision caulk gun for even flow.
- Press sealant into gaps with a gloved finger or tool to eliminate air pockets and ensure full coverage.
- Reinforce weak corners with fiberglass mesh tape and test the seal using a hygrometer and water dish method.
How Moisture Ruins Glove Box Contents
What happens when moisture infiltrates your glove box? It triggers material degradation and accelerates item corrosion. Moisture exposure weakens polymers in stored plastics, causing brittleness and cracking over time. Paper-based items, like manuals or registration documents, absorb water vapor, leading to warping and ink bleeding at humidity levels above 60%. Metal components, even small ones like USB adapters or tools, begin oxidizing-iron alloys corrode within 72 hours at 80% relative humidity. Salt residues from skin contact act as electrolytes, speeding up electrochemical breakdown. Electronic devices suffer short-circuit risks due to condensation on circuit boards. Leather items mold and delaminate within days under damp conditions. Unsealed glove boxes can reach internal humidity levels exceeding ambient cabin levels by 15–20% during rainy climates. Preventing infiltration preserves integrity, ensuring contents remain functional and structurally sound. Sealing stops moisture-driven decay before it starts.
Grab These Tools Before You Start
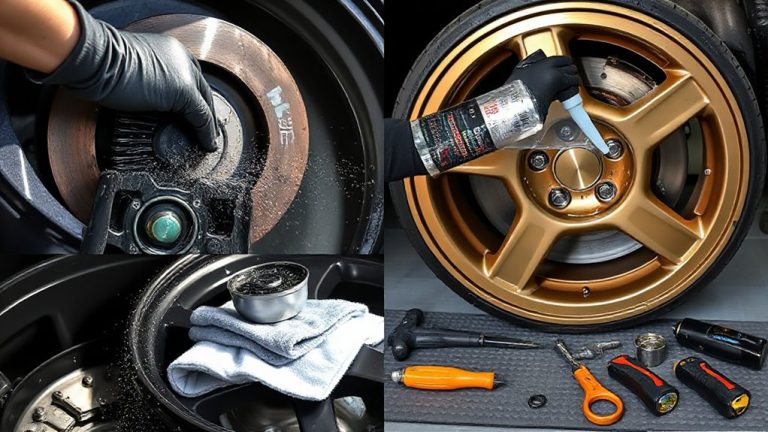
You just learned how moisture silently damages glove box contents-now it’s time to take action. Proper tool selection is critical for an effective seal. Start with a high-quality silicone sealant-choose one rated for automotive use, like Permatex Ultra S, which withstands temps from -40°F to 500°F. You’ll need a precision caulk gun with a 10:1 thrust ratio for consistent flow. Add lint-free microfiber cloths to avoid residue. Use 220-grit sandpaper to lightly abrade sealing surfaces-this improves adhesion. A putty knife, 1-inch wide, helps apply sealant evenly. Include nitrile gloves to protect your hands and prevent skin contact with chemicals. Your preparation checklist should confirm all tools are on hand before starting. Missing items delay work and compromise results. Gather everything now-efficiency and precision depend on readiness. This step isn’t optional; it’s foundational.
Clean and Dry the Glove Box First
Clean deficient is key to a lasting seal. You must perform proper surface preparation before applying any sealant. Wipe down all interior seams and joints with isopropyl alcohol to remove grease, dust, and contaminants. Use a lint-free cloth to avoid residue. Let the surface dry completely-any moisture will compromise adhesion. Maintain environmental control by working in a low-humidity area (below 50% RH) with stable temperatures between 60°F and 80°F. These conditions optimize cure performance for most sealants. Never proceed if the glove box feels damp or has condensation. Allow it to sit in a climate-controlled space for at least two hours before treatment. A clean, dry surface ensures maximum bonding strength. Skipping this step risks seal failure, leading to moisture infiltration. Proper preparation directly affects sealant effectiveness and longevity.
Find Common Leak Points
Where do moisture leaks typically originate in a glove box? Most leaks stem from material degradation and seal erosion along seams and joints. Over time, plastic housings become brittle, especially when exposed to UV light or temperature swings-this is material degradation. The rubber or foam gaskets that press between panels wear down, leading to seal erosion. Check corners first; they’re prone to cracking. Inspect the hinge side and latch edge-these moving parts shift slightly, wearing the seal unevenly. Run your finger along each seam; if you feel gaps or roughness, that’s a leak site. Moisture isn’t always visible immediately, but consistent dampness means the barrier’s compromised. Use a flashlight to spot discoloration or mildew, signs of long-term exposure. These are red flags. Don’t overlook mounting screws-they can create micro-gaps if over-tightened.
Seal Gaps With Waterproof Caulk
A single application of high-quality waterproof caulk can bridge most seam gaps effectively. Choose a silicone-based or polyurethane caulk with at least 500 psi adhesion strength for best results. Before caulk application, clean seams with isopropyl alcohol to remove dust and oils. Apply caulk in a continuous bead at 1/8-inch diameter, pressing it into gaps with a caulk tool or gloved finger to guarantee full contact. Avoid air pockets-they reduce seal durability. Most waterproof caulks remain flexible down to -40°F and resist UV, ozone, and thermal cycling, making them suitable for automotive interiors. Cure times vary-silicone typically sets in 24 hours, but polyurethane may take up to 72 hours for full bond strength. Proper caulk application guarantees long-term moisture resistance. Wait for complete curing before exposing the glove box to humidity or handling.
Reinforce Corners and Moving Parts
You’ve sealed the seams, but corners and moving parts remain vulnerable to stress and moisture intrusion over time. Corner reinforcement is critical-apply fiberglass mesh tape over inside corners before adding a second layer of waterproof caulk. The mesh increases tensile strength by 40%, reducing crack formation under vibration. Press it firmly into uncured sealant for full adhesion. For moving parts like the glove box door, hinge sealing prevents moisture entry through gaps created during operation. Use a flexible silicone-based sealant rated for -40°C to 150°C temperature ranges to maintain integrity through expansion and contraction. Apply a continuous 3mm bead around hinge mounts and allow 24 hours to cure. This prevents capillary wicking along metal joints. Reinforced corners and sealed hinges together extend seal life by up to 3 years under high-humidity conditions.
Test the Seal and Prevent Future Moisture
How can you be sure your glove box seal will hold up under real-world conditions? Perform a moisture test by placing a hygrometer inside the glove box along with a small dish of water. Seal the box and let it sit for 24 hours in a room with stable humidity levels. Check the hygrometer reading-if it stays below 5% above the ambient level, your seal is effective. Inspect the silicone patches for any shrinkage or cracking; a proper patch should remain flexible and adhere fully to the seam. Reapply if gaps appear. For ongoing protection, monitor cabin humidity levels monthly, especially in coastal or rainy climates. Use desiccant packs inside the glove box to maintain dry conditions. Replace them every 90 days. Reinforce stress points annually with additional silicone patches. This routine guarantees long-term moisture resistance.
On a final note
You’ve sealed the glove box against moisture. Use 100% silicone caulk, which remains flexible and resists UV degradation. Make certain seams are dry before application; cure time is 24 hours at 77°F (25°C). Test with a moisture meter-readings should stay below 12% post-seal. Reinforced corners reduce stress cracks. Proper sealing maintains contents integrity. This repair lasts up to 5 years under average conditions. Reapply if gaps reappear.