Test Trailer Wiring Power & Ground: 12V Test Light Guide
You’ll need a 12-volt test light, multimeter, and insulated gloves to properly test trailer wiring. Connect the test light to a clean spot on the trailer frame and probe each pin while someone operates the tow vehicle’s lights. Check for bright, steady illumination-dim or flickering light means voltage drop or poor grounding. Ground resistance should be under 0.5 ohms; clean connections and use dielectric grease. Confirm fuse integrity and wire gauge compatibility-then verify every circuit functions under load. Further diagnostics reveal hidden issues like insulation breakdown or circuit imbalance.
Notable Insights
- Use a 12-volt test light to check each trailer connector pin while the tow vehicle is running.
- Clamp the test light to a clean metal part of the trailer frame for a reliable ground reference.
- Probe each pin as an assistant activates lights to confirm power in turn signals, brakes, and tail lights.
- Inspect the white ground wire connection to bare, corrosion-free metal on the trailer frame.
- Verify ground integrity by testing for continuity and resistance under 0.5 ohms with a multimeter.
Get Your Tools Ready
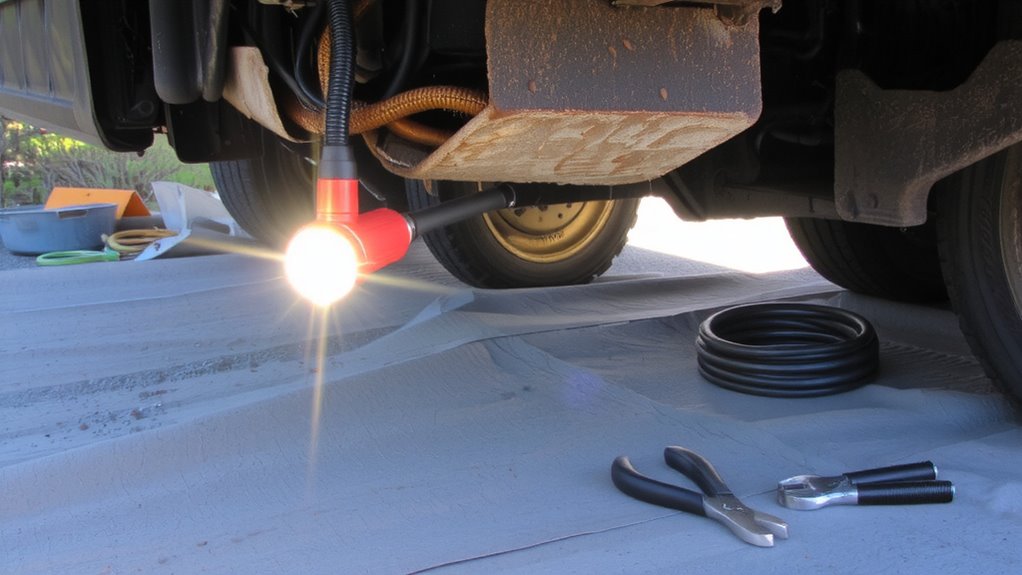
Start by gathering the essential tools needed for testing trailer wiring with a test light. You’ll need a 12-volt test light, a multimeter, insulated gloves, and wire probes. Know your trailer adapter types-common ones include 4-pin flat, 5-pin round, 6-pin, and 7-pin blades-each serving different trailer functions. Matching the correct adapter guarantees accurate diagnostics. Familiarize yourself with standard wiring color codes; brown is tail lights, yellow and green are turn signals, white is ground, and blue often controls brakes. These codes vary slightly by region and trailer type, so consult manufacturer schematics. Use a wiring diagram specific to your adapter to avoid misreading circuits. A sharp probe tip helps pierce insulation without damaging wires. Keep connections clean and secure. Proper tools and knowledge streamline troubleshooting and prevent electrical faults.
Test Trailer Wiring for Power
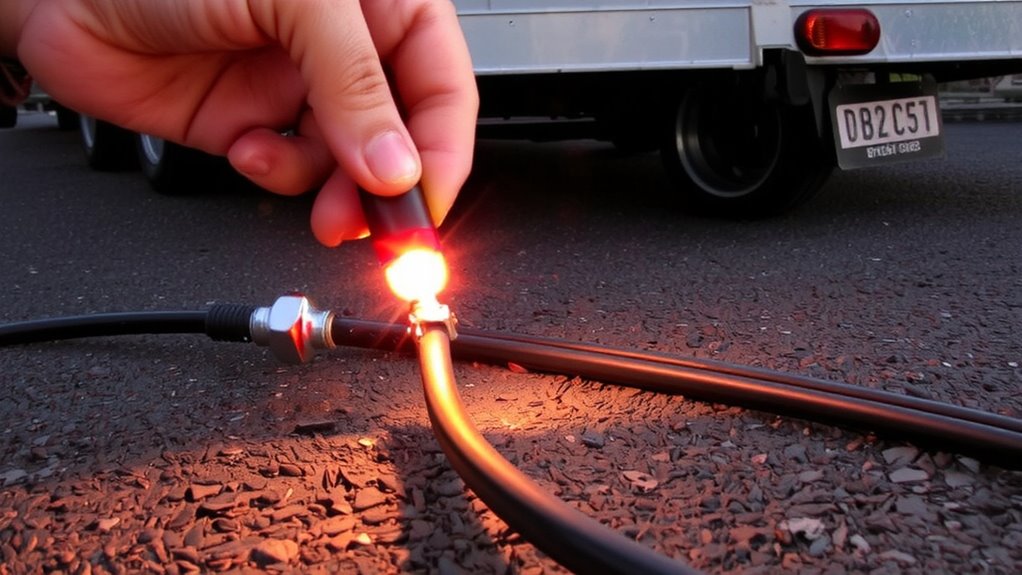
How do you know if your trailer’s wiring is delivering power where it’s needed? You test each circuit with a test light while the tow vehicle is running. Connect the test light’s clamp to a clean metal part of the trailer frame-this gives a reference ground. Probe each pin in the trailer connector while activating the corresponding function: turn signals, brake lights, running lights. A bright flash indicates proper power delivery. Dim or no light suggests poor circuit integrity or excessive voltage drop. Voltage drop over 0.5 volts across a circuit indicates corrosion, loose connections, or undersized wiring. Use a multimeter to confirm; anything above 2% power loss degrades performance. Guarantee all connections are tight and corrosion-free. Good circuit integrity means consistent brightness and response. Test every circuit under load to mimic real conditions. Accurate testing prevents failures on the road.
Check the Ground Circuit
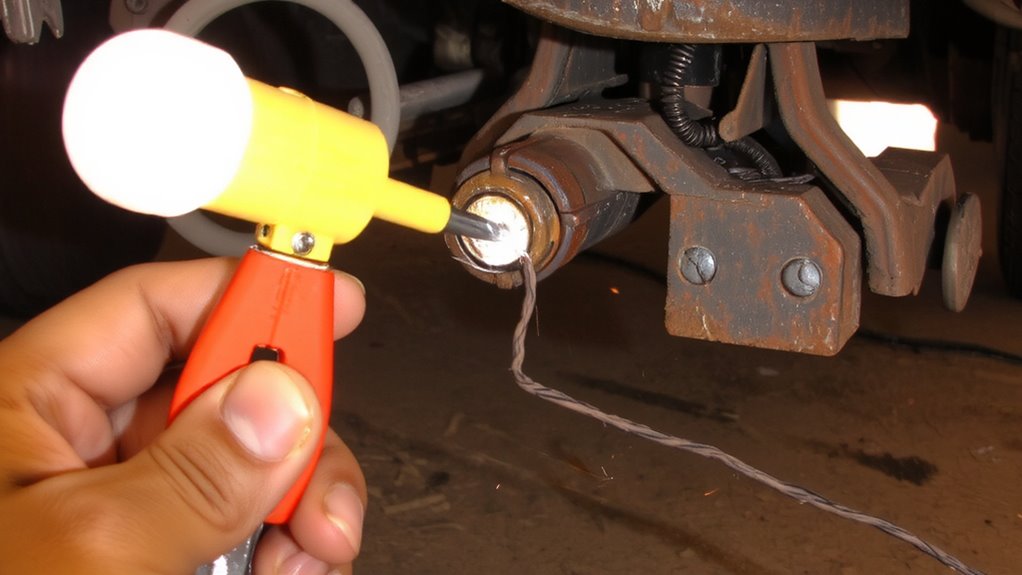
With the ground circuit, everything depends on a solid connection-without it, no trailer light works right. A poor ground interrupts current flow, causing dim or non-functional lights. Begin by inspecting the trailer’s white ground wire at the connector; it must attach directly to clean, bare metal on the frame. Trailer corrosion or paint can block conductivity, creating resistance over 5 ohms-the maximum acceptable is less than 0.5 ohms. Use a multimeter to verify continuity between the connector’s ground pin and the frame. Also check for socket moisture inside light housings, which leads to short circuits or degraded grounding. Moisture combined with trailer corrosion accelerates connection failure. Guarantee all ground points are tight, sealed, and free of rust. A failed ground renders even a perfect power supply useless-like a battery with no return path. Ground integrity is non-negotiable for safe, reliable operation.
Verify Lights With a Helper
Now that you’ve confirmed a solid ground circuit, you can move on to testing the actual light operation with a helper. Have your assistant sit in the tow vehicle and operate the turn signals, brake pedal, and headlights as you inspect each trailer light. This guarantees real-time validation of signal integrity across all circuits. Watch for delayed or dim responses, which may indicate a voltage drop due to loose connectors or undersized wiring. A voltage drop exceeding 0.5 volts can degrade light performance and reduce visibility. Test each circuit individually and compare brightness to specifications. Consistent, bright illumination confirms proper function. Use the test light to verify power at each socket while the corresponding function is activated. Any flickering or failure suggests compromised signal integrity. This step confirms all lights operate safely under normal load conditions.
Fix Blown Fuses and Bad Connections
If you notice any lights failing to activate during testing, start by checking the fuse box in the tow vehicle, as blown fuses are a common cause of trailer lighting issues. Replace any blown fuses with the correct amperage-typically 10 to 15 amps for trailer circuits. If fuses blow repeatedly, inspect for short circuits or overloaded lines. Test for proper trailer voltage at the tow vehicle’s connector; you should read 12 to 14 volts when the circuit is active. Low voltage indicates resistance, often due to poor connections or connector corrosion. Clean corroded pins with electrical contact cleaner and a wire brush. Corrosion disrupts conductivity and can mimic wiring faults. Guarantee pins are snug and fully seated. Damaged or loose connectors reduce signal integrity and may cause intermittent operation. Verify continuity after repairs using your test light to confirm consistent power delivery. A reliable automotive test light is essential for accurately diagnosing these electrical issues.
On a final note
You’ve confirmed power and ground with your test light. Each circuit should show 12 volts when energized. A solid ground reads zero volts and connects directly to the trailer chassis. Weak connections cause dim or flickering lights. Replace blown fuses and clean corroded terminals. Test all lights with a helper. Proper wiring guarantees brake, turn, and running lights function correctly. Safety depends on reliable electrical contact.