How to Set Sag and Static Ride Height Correctly on Street-Race Hybrid Coilovers
Set static ride height first by adjusting the coilover’s threaded body to achieve baseline chassis height-measured from fender lip to axle center-before adding weight. This guarantees correct suspension geometry. Measure preload by comparing spring free length to installed length on level ground to prevent false height readings. Aim for 25–30mm of static sag, which maintains ideal camber gain and tire contact. Use 30–35% of suspension travel under load, preserving 10–15mm bump stop clearance. Stiffer setups need less sag; always verify corner balance. Adjust damping in 1–2 click increments, starting with rebound slightly higher for track use. Fine-tuning reveals how small changes affect grip and wear patterns.
Notable Insights
- Set static ride height first by adjusting coilover length with no preload, measuring from fender to axle center.
- Measure preload by checking spring free-length versus installed length to avoid false ride height readings.
- Adjust sag after setting ride height, targeting 25–30mm static sag for balanced street-track performance.
- Ensure 30–35% of suspension travel is used at rest with rider to maintain optimal tire contact and stroke.
- Recheck ride height and sag after damping adjustments, tuning rebound in 1–2 click increments for use case.
How Sag and Ride Height Affect Handling and Wear
While your car sits on the ground, the way it handles corners and wears its tires depends heavily on how you set the sag and ride height of your coilovers. Incorrect sag alters suspension geometry, reducing camber gain and lateral stiffness during compression. This misalignment increases inside-edge tire wear under hard cornering. Proper sag guarantees the suspension maintains ideal contact patch throughout its travel. Ride height affects the lower control arm angle, changing caster and camber curves. Too low, and you risk bind in the joints; too high, and you reduce roll center, inducing understeer. Both settings directly influence tire wear and predictability. Adjusting them correctly keeps suspension geometry within design limits, maximizing grip and tread life. You need precise measurements-typically 25–30mm of static sag for street-track hybrids-to balance compliance and control without accelerating tire wear.
Set Your Static Ride Height (Without Sag First)
Why start with static ride height before adjusting sag? Because static ride height sets the foundation for proper suspension geometry and corner balance. You adjust the coilover’s threaded body to raise or lower the chassis to your target measurement-typically from the fender lip to the center of the axle. This baseline must be consistent before accounting for rider weight. Setting it early guarantees ride stiffness remains predictable, as preload adjustments won’t distort your starting point. Use a tape measure and level surface, checking each corner meticulously. Correct static height allows fine-tuning corner balance later, guaranteeing even weight distribution. Ride stiffness is affected by spring rate and initial compression, but only when static ride height is fixed can you make accurate adjustments. Skipping this step leads to inaccurate sag settings, uneven handling, and poor tire wear. Precision here improves overall chassis behavior.
Measure Preload to Avoid False Ride Height Readings
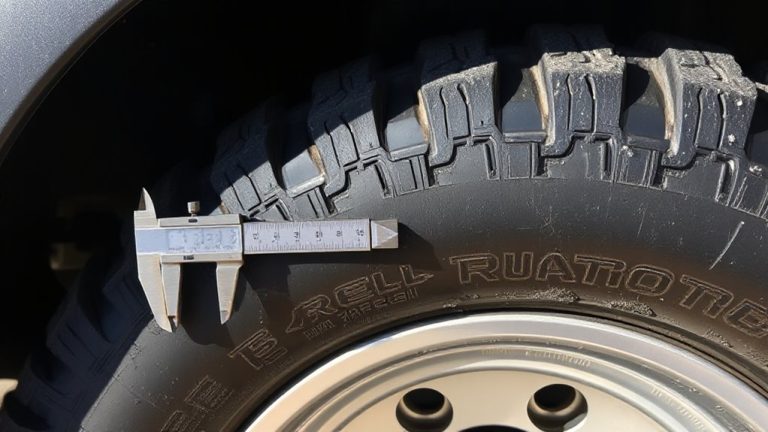
You’ve set your static ride height, but that number means nothing if preload isn’t properly measured. Preload is the initial compression applied to the spring before the vehicle’s weight settles on it. Too much preload can mask an incorrect ride height, giving false readings. Your spring rate determines how much force is needed to compress the spring; higher spring rates require more precise preload control. Excessive preload increases stress on components and may alter intended damping bias, negatively affecting handling balance. Damping bias refers to the front-to-rear shock absorption distribution, essential for maintaining control. Always measure preload with the car at static ride height on level ground. Use a ruler to measure spring free-length outside the coilover, comparing it to the specified installed length. This guarantees consistent, measurable results across all four corners. Accuracy here maintains suspension design integrity.
Dial In Sag for Maximum Tire Contact and Travel
After setting preload and confirming static ride height, the next critical step is dialing in sag to guarantee the suspension operates within its ideal range. Proper sag ensures maximum tire contact and balanced wheel travel. Your spring rate directly affects how much sag you’ll need-stiffer springs require less sag, softer ones need more. Always maintain at least 10–15mm of bump stop clearance to prevent harsh bottoming and preserve ride quality.
| Ride Position | Suspension Travel Used |
|---|---|
| Full Extension | 0% |
| At Rest (No Rider) | 25% |
| At Rest (With Rider) | 30–35% |
| Full Compression | 100% |
Adjust preload to fine-tune sag while keeping bump stop clearance and spring rate in mind. This balance optimizes grip and control.
Tune Ride Height and Damping for Street or Track
How low should you go without sacrificing handling? Set ride height so you maintain enough suspension travel for real-world bumps or track curbs. Lowering too much reduces shock absorption and increases bottom-out risk. Your spring rate determines how much load the suspension can handle before compressing-stiffer springs suit track use but may hurt street comfort. Match your rebound control to the spring rate: too fast, and the tire skips on bumps; too slow, and the chassis feels unsettled. On the street, use moderate rebound to control body motion without harshness. On track, increase rebound slightly to stabilize rapid weight transfer. Always test changes in real conditions. Adjust damping in small increments-1–2 clicks at a time-and recheck ride height and sag. Proper balance maximizes grip, response, and ride quality without compromising performance. For daily-driven setups, consider prioritizing comfort and longevity by selecting best coilovers for daily driving.
Don’t Preload to Correct Height: Common Setup Mistakes
While adjusting coilover ride height, never rely on spring preload to achieve the desired stance. Preloading compresses the spring before the vehicle’s weight settles, distorting suspension function. Excessive preload restricts wheel travel, reducing traction and increasing the risk of coilover misalignment. It also leads to spring binding, where coils contact each other under compression, preventing smooth operation. Spring binding creates harsh ride quality and accelerates component wear. Your coilovers should operate within their designed range-typically 1–2 inches of bump travel. Adjust ride height using the lower collar, not preload. This maintains proper spring rate behavior and guarantees the suspension responds accurately to road inputs. Always measure static ride height from the wheel center to fender lip. Correct setup preserves handling balance and tire contact. Misalignment or binding degrades performance and compromises safety. Adjust methodically. For street-race hybrids, choosing the right setup involves evaluating top suspension kits based on performance, adjustability, and intended use.
On a final note
Set sag and ride height correctly to optimize handling and tire wear. Static ride height determines chassis clearance-adjust it first without accounting for sag. Measure preload to guarantee spring tension isn’t skewing results. Set 25–30mm of sag for street-track hybrids to maintain full suspension travel. Incorrect preload creates false ride height, reducing bump compliance. Finalize settings by tuning damping for intended use-street or track. Accuracy guarantees balanced weight transfer and consistent grip.