Intake Manifold Runner Actuator Cleaning for Improved Throttle Response
You can restore sharp throttle response by cleaning a gummed-up intake manifold runner actuator. A failing unit causes hesitation, especially above 3,000 RPM, and triggers codes like P2004 or P2005. Disconnect the battery, then remove the actuator using a socket wrench-tighten mounting screws later to 4.9 Nm. Clean the housing and pivot shaft with electrical-safe solvent, avoiding abrasives. Reassemble with new gaskets, torque manifold bolts to 10 Nm, and test idle stability. Proper runner movement improves airflow and combustion efficiency. Further steps clarify how to verify sensor operation and reset adaptation values.
Notable Insights
- Clean carbon deposits from the intake manifold runner actuator to restore proper airflow and improve throttle response.
- Use intake-safe solvent and a soft-bristled brush to clean the actuator without damaging sensor contacts.
- Inspect the actuator’s pivot shaft and gears for wear or binding before reassembly to ensure smooth operation.
- Reinstall with new seals and torque mounting bolts to 43 in-lbs (4.9 Nm) for proper alignment and sealing.
- Test drive after cleaning to verify reduced hesitation, improved acceleration, and absence of fault codes.
Diagnose a Failing Intake Manifold Actuator
Why is your engine running rough or losing power under load? These are common symptoms engine issues trace back to a failing intake manifold actuator. When the actuator malfunctions, it disrupts airflow, directly impacting engine efficiency. You might notice hesitation during acceleration or reduced fuel economy-clear signs of performance failure. The actuator controls air passage via runner flaps, adjusting for ideal combustion. If stuck open or closed, the engine receives improper air volume, especially at mid to high RPMs. Check for fault codes like P2004 or P2005-these pinpoint actuator circuit or mechanical failure. Typical failure performance includes poor throttle response above 3,000 RPM, rough idling, and stalling under stress. Inspect the runner position sensor readings-normal sweep range should be 10% to 90% voltage. Outside this, the actuator isn’t regulating airflow correctly. Early detection prevents further damage.
Gather Your Cleaning Tools and Supplies
Before you begin cleaning the intake manifold runner actuator, make sure you have the right tools and supplies on hand to complete the job efficiently and safely. Your cleaning tools should include a soft-bristled brush, lint-free cloths, and plastic picks for removing carbon buildup without damaging components. You’ll also need carburetor cleaner or an intake-safe solvent that dissolves grease and deposits. Refer to your supply checklist: safety gloves, eye protection, a digital multimeter for post-cleaning testing, and compressed air for drying. Use only non-corrosive cleaners to prevent harming the actuator’s plastic or rubber parts. A small container helps hold loose screws or clips. Make certain your workspace is well-ventilated. Having all supplies ready prevents interruptions and maintains focus. A complete kit guarantees precision and reduces the risk of contamination or damage during reassembly.
Remove and Clean the Runner Actuator
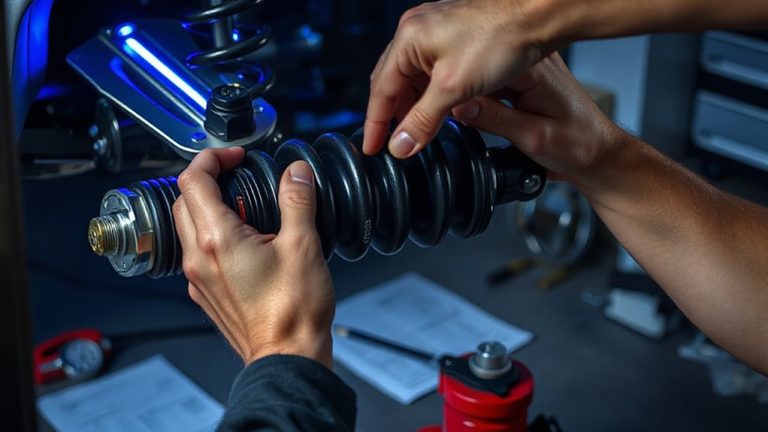
Start by disconnecting the vehicle’s battery to prevent electrical shorts during removal. Use a socket wrench to remove the actuator mounting bolts, then carefully detach the component from the intake manifold. Perform actuator disassembly by separating the housing screws while noting gear alignment for reinstallation. Inspect internal components for binding or wear, focusing on the pivot shaft and motor gear train. Conduct a thorough residue inspection using a flashlight to identify carbon buildup or oil contamination inside the chamber. Clean all surfaces with electronic-safe solvent and a lint-free cloth-avoid abrasive tools that could damage sensor contacts. Pay special attention to the rotor vane and housing bore, where restricted movement affects airflow calibration. Verify free movement of the control rod post-cleaning. Confirm electrical terminals are dry and corrosion-free before proceeding. Proper cleaning restores precise vane positioning and guarantees peak idle-to-power shift response.
Reassemble the Intake System
Once you’ve cleaned and verified the actuator’s operation, reassemble the intake system with care to guarantee proper sealing and alignment. Use correct reassembly techniques to prevent air leaks and maintain engine performance. Always reinstall components in reverse order of removal, ensuring gaskets and seals are properly seated. Refer to factory torque specifications to avoid damaging threads or creating vacuum leaks. Over-tightening can warp plastic housings, while under-tightening may cause performance issues.
| Component | Torque Specification |
|---|---|
| Intake manifold bolts | 89 in-lbs (10 Nm) |
| Throttle body bolts | 74 in-lbs (8.4 Nm) |
| Actuator mounting screws | 43 in-lbs (4.9 Nm) |
| Air intake elbow clamp | Hand-tight + 1/4 turn |
Follow manufacturer-recommended torque specifications using a calibrated torque wrench for reliable results.
Test Throttle Response After Cleaning
How does your engine respond after cleaning the intake manifold runner actuator? You should notice improved throttle performance almost immediately. Start the engine and let it idle for two minutes to stabilize. Then, perform a series of light and moderate acceleration tests in a safe, open area. Pay attention to how quickly the engine revs and how smoothly power builds. Your test results will likely show reduced hesitation and sharper response. The actuator now modulates airflow more precisely, restoring proper air-fuel mixture and combustion efficiency. A functional actuator allows ideal runner length switching, improving torque across the RPM range. If the engine still hesitates, check for error codes or vacuum leaks. Accurate test results confirm whether cleaning resolved airflow restrictions. Always document throttle performance before and after cleaning to track real improvements.
On a final note
You’ve successfully cleaned the intake manifold runner actuator. This improves airflow symmetry and throttle response. The actuator typically operates within 0.5 to 4.5 volts, modulating runner length for maximum torque. Properly cleaned vanes rotate freely, reducing lag. Reassembly must include torqueing bolts to 8–10 Nm. Post-cleaning, scan for fault codes. A responsive throttle and smoother idle confirm the repair. Maintain every 30,000 miles for peak performance.