Proper Warm-Up Techniques Before Conducting an Accurate Automatic Transmission Fluid Inspection
Start the engine and let it run for up to five minutes to begin warming the transmission fluid. Shift through Park, Reverse, Neutral, and Drive, pausing 2–3 seconds in each to circulate fluid fully. Idle for another 3–5 minutes, then drive 5–10 minutes under light load until fluid reaches 180°F–195°F. Check the dipstick while the engine is running and fluid is at operating temperature. Wipe, reinsert, and check again at eye level for accuracy. Warm fluid expands, so checking it hot prevents false low readings. Properly warmed fluid guarantees correct viscosity for hydraulic operation. You’ll also learn how temperature impacts fluid volume and component wear over time.
Notable Insights
- Start the engine and let it idle to circulate transmission fluid and begin warming it to operating temperature.
- Shift through each gear-Park to Reverse, Neutral, then Drive-pausing 2–3 seconds to ensure full fluid engagement.
- Idle the engine for 3–5 minutes after shifting to stabilize fluid viscosity and pressure throughout the transmission.
- Drive for 5–10 minutes under light load to bring fluid temperature to the optimal range of 180°F–195°F.
- Check fluid level with the engine running and transmission warmed, using the “Hot” mark on a clean, properly reinserted dipstick.
Start the Engine to Warm the Transmission
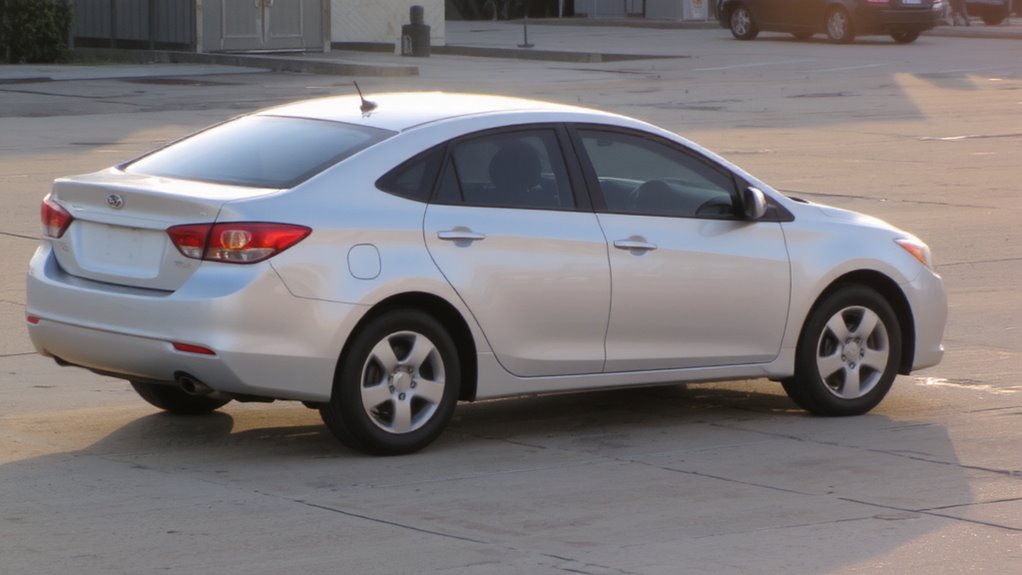
Warm transmission fluid flows like syrup on a hot day-thin enough to circulate fully, yet thick enough to protect internal components. You must start the engine to warm the transmission properly. This step guarantees accurate fluid level readings and ideal inspection conditions. During transmission startup, the torque converter and pump begin moving fluid through lines, coolers, and valve bodies. Fluid viscosity drops as temperature rises, typically reaching ideal measurement range between 175°F and 200°F. Cold fluid reads low on the dipstick, leading to overfilling. Engine performance directly affects warm-up time; a running engine heats fluid through normal drivetrain operation. Do not exceed five minutes of idle time in park. Use this period to check for leaks, listen for abnormal noises, and verify system pressure buildup. Allow the transmission to cycle internally without shifting into gear yet. Accurate assessment depends on correct thermal state.
Shift Into Each Gear to Circulate Fluid
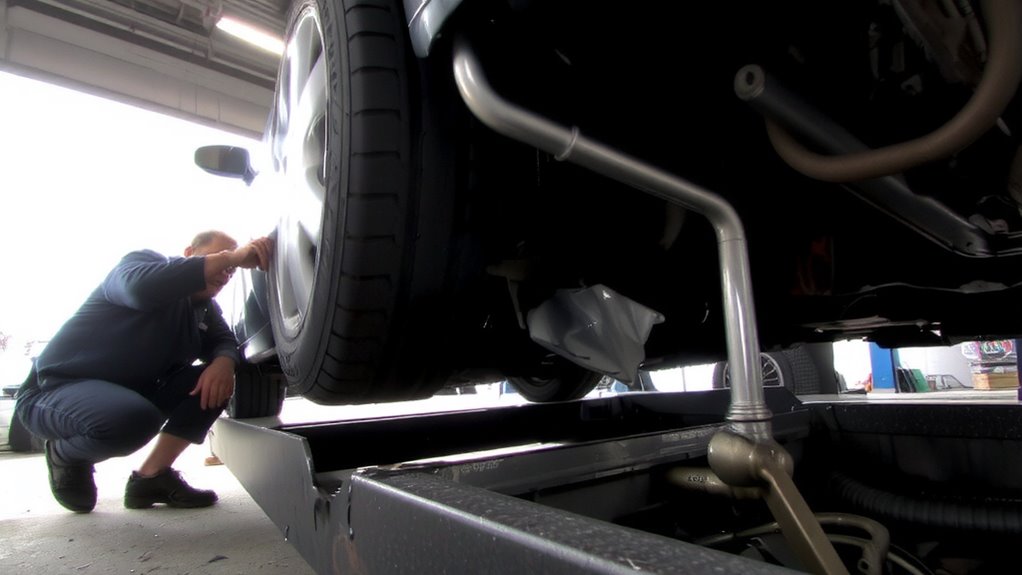
Once the engine is running and the transmission begins to warm, shift into each gear to circulate fluid fully through the system. This step guarantees correct gear engagement and best fluid circulation. Move the selector from Park to Reverse, then to Neutral, and finally to Drive, pausing two to three seconds in each position. This process allows pressurized fluid to reach all clutch packs, bands, and valve bodies. Complete gear engagement activates internal components, promoting even wear and accurate temperature distribution. Proper fluid circulation improves hydraulic efficiency and prepares the transmission for an accurate fluid inspection. Do not hold the brake too tightly-just enough to maintain control. Skipping this step risks incomplete fluid travel, leading to false dipstick readings. Think of it like warming engine oil by idling-you wouldn’t check it cold. Each gear shift opens new fluid pathways critical for system integrity.
Let the Engine Idle for a Few Minutes
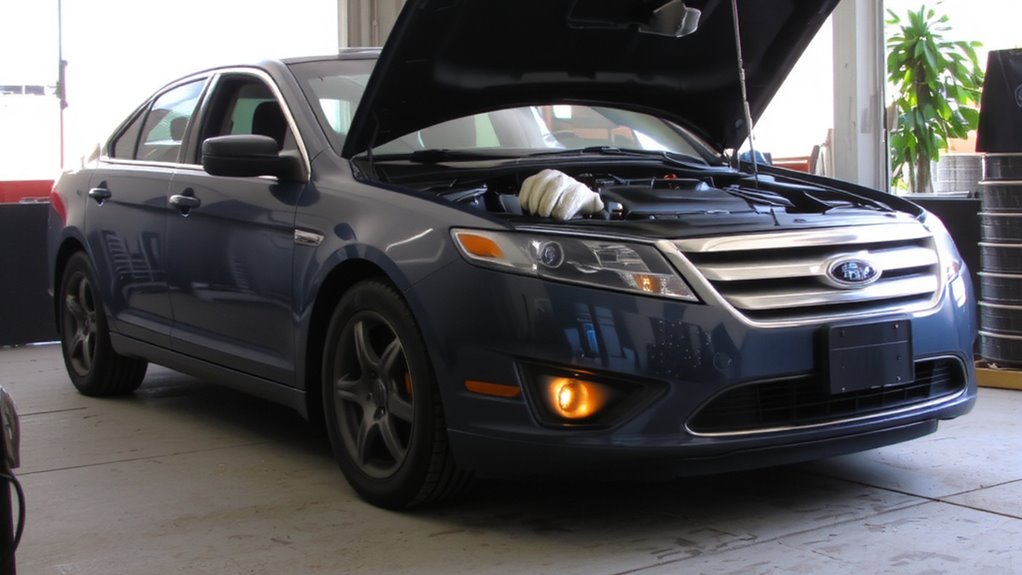
Let the engine idle for at least 3 to 5 minutes after completing the gear shifts. This stabilizes fluid viscosity, ensuring an accurate inspection. As the transmission fluid warms, it expands and flows more freely, mimicking operating conditions. You’ll notice reduced engine noise, signaling smoother internal operation. Proper fluid viscosity is critical-too thick, and readings skew low; too thin, and you risk overestimation. Most manufacturers specify checking fluid at 160°F to 200°F, where viscosity supports ideal lubrication and hydraulic performance. Keep the engine running during this phase to maintain consistent fluid circulation. Avoid shutting off the engine, as temperature drops alter viscosity rapidly. Idle time allows internal components to stabilize without introducing variables from actual driving. This step isn’t about heating the fluid fully-it’s about achieving thermal consistency for a reliable assessment.
Drive 5–10 Minutes to Heat the Fluid
Driving your vehicle for 5 to 10 minutes is one of the most effective ways to bring transmission fluid to its ideal operating temperature. This short drive cycle raises fluid temperature to 180–195°F, the range at which automatic transmission fluid reaches ideal transmission viscosity. Proper viscosity guarantees accurate flow rate and hydraulic pressure within the valve body. As the fluid warms, thermal fluid expansion occurs, increasing volume by approximately 4–6% over cold levels. This expansion affects dipstick readings, making warm checks essential. Circulating the fluid under light load conditions-such as city driving or gentle acceleration-guarantees even heating across all components. Avoid sustained high RPM or towing during warm-up, as excessive heat skews viscosity readings. The transmission’s design assumes operation within this thermal window, so achieving it guarantees consistent, reliable results during inspection.
Check Transmission Fluid When Warm
Always check your transmission fluid when it’s warm to get an accurate reading. Cold fluid contracts, giving falsely low levels on the dipstick. Warm fluid expands properly, revealing the true level within the acceptable range. Proper operating temperature-usually between 175°F and 220°F-guarantees correct fluid viscosity. If viscosity is too high or low due to incorrect temperature, the reading won’t reflect real-world performance. Temperature stability is critical; transmission fluid must maintain consistent thickness under heat stress. Modern automatic transmissions rely on precise hydraulic pressure, controlled by fluid that’s thermally stabilized. Checking when cold or overheated distorts viscosity and compromises accuracy. For most vehicles, 5–10 minutes of driving achieves the necessary thermal equilibrium. Always follow your manufacturer’s specified procedure for best results. This guarantees reliable assessments of both level and condition.
Wipe and Recheck the Dipstick for Accuracy
Once the transmission fluid reaches operating temperature, pull the dipstick and pull it out completely before wiping it clean with a lint-free cloth. This guarantees a clean surface for an accurate reading. Reinsert the dipstick fully, then remove it again to check the fluid level. Always read the dipstick at eye level to achieve a precise measurement. Transmission fluid expands when hot, so checking it warm prevents under-filling or over-filling. The dipstick has marked ranges-usually “Hot” and “Cold”-and you must use the Hot range here. Fluid should rest between the two marks, never above or below. Excess fluid causes foaming; low fluid leads to poor shifting. A consistent technique yields repeatable results. Treating this process like a lab procedure increases reliability. Accuracy matters-your transmission’s longevity depends on it.
On a final note
You must warm the transmission properly before checking fluid. Cold fluid gives false readings due to low viscosity and volume contraction. Start the engine and let it idle for three minutes to activate the torque converter. Shift through all gears for 10 seconds each to circulate fluid. Drive 5–10 minutes until fluid reaches 160–200°F, the ideal inspection range. Use the dipstick on level ground. Wipe, reinsert, and recheck to confirm accurate fluid level and condition.