Step-by-Step: Applying Anti-Corrosion Gel to Bolt Heads
Start by choosing a corrosion-inhibiting gel rated for -40°C to 150°C, like silicone- or petroleum-based formulas with VCI protection. Clean bolt heads thoroughly using a wire brush, then dry with compressed air-never leave oil or moisture. Apply a 0.5 to 1.0 mm layer evenly with a needle-tip dispenser, covering all edges. Let it cure 12 to 24 hours at 60°F–80°F. Inspect every six months and reapply if worn. Best results come from combining proper application with environmental protection strategies.
Notable Insights
- Select a corrosion-inhibiting gel compatible with your environment and use precision applicators for accurate application.
- Clean bolt heads thoroughly with a wire brush or lint-free cloth to remove all dirt, grease, and moisture.
- Apply the gel evenly using a fine-tipped dispenser, ensuring a continuous 0.5 to 1.0 mm opaque layer.
- Allow the gel to cure for at least 12 hours in dry conditions with temperatures between 60°F and 80°F.
- Inspect protection every 3–6 months and reapply if the gel layer thins, cracks, or falls below 0.5 mm.
Get Your Anti-Corrosion Gel and Tools Ready
Before you begin applying anti-corrosion gel, make sure you have the right materials and tools on hand so the job goes smoothly and effectively. You’ll need a corrosion-inhibiting gel suitable for your environment-common gel types include silicone-based, petroleum-based, and water-displacing formulas, each with distinct dielectric strengths and temperature tolerances. Select one with an operating range of at least -40°C to 150°C for broad compatibility. Use precision applicators like needle-tip dispensers for accuracy. Inspect all tools for residue or wear; proper tool maintenance guarantees consistent application and prevents contamination. Clean applicators with isopropyl alcohol after use to maintain function. Wear nitrile gloves to avoid skin contact. Store gels in sealed containers away from UV exposure. Proper preparation enhances adhesion and extends bolt life by reducing galvanic corrosion. Accuracy now prevents premature failure later.
Clean Bolts Before Applying Gel
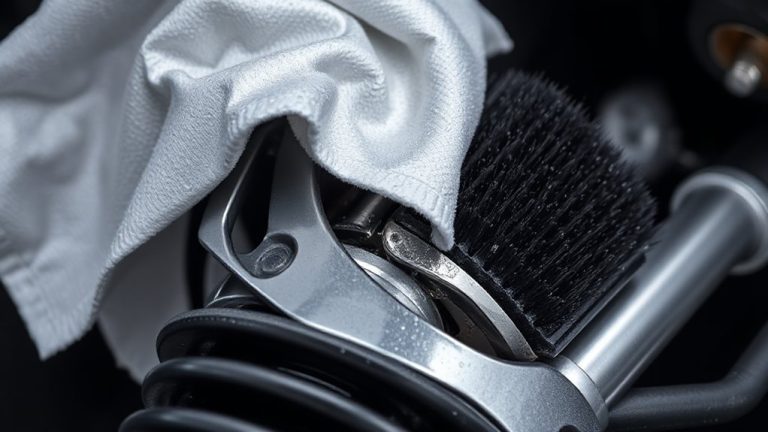
Dirt, grease, and oxidation are the enemies of effective corrosion protection-cleaning bolt heads thoroughly guarantees the anti-corrosion gel bonds properly and performs as designed. Use a wire brush or lint-free cloth to remove surface debris, ensuring all residue is gone. Any remaining dirt weakens adhesion and reduces protection. Inspect for moisture presence before application; even trapped humidity under the gel can cause future corrosion. Dry the area completely with compressed air or a clean, dry swab. For best results, clean bolts in a low-humidity environment, ideally below 50% relative humidity. Surface cleanliness directly impacts performance-contaminated surfaces reduce gel effectiveness by up to 70%. Never apply gel over oil, grease, or water residue. A properly prepped bolt head should look bare, dry, and uniformly metallic. Preparation takes little time but makes the difference between long-term protection and premature failure. Using a dedicated tool like a battery terminal cleaner can enhance removal of stubborn corrosion on metal surfaces.
Apply Anti-Corrosion Gel Evenly and Completely
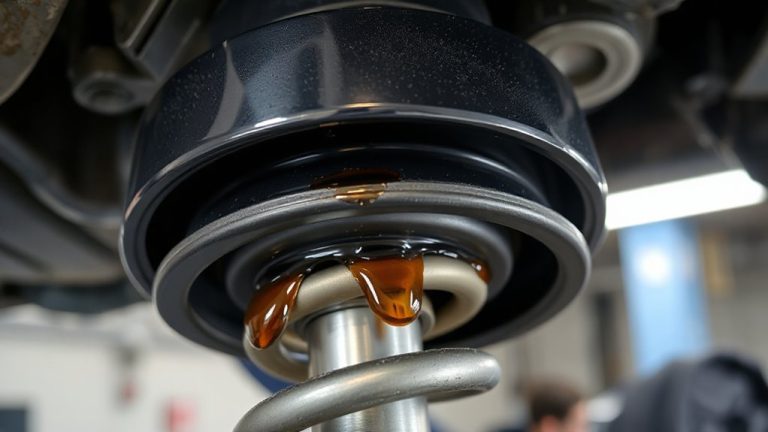
You’ve cleaned the bolt heads, removed all contaminants, and confirmed the surface is dry-now it’s time to apply the anti-corrosion gel. Use a fine-tipped applicator to guarantee precision. Apply the gel evenly, maintaining a consistent gel thickness of 0.5 to 1.0 mm across each bolt head. Too thin, and protection decreases; too thick, and the gel may drip or cure unevenly. Uniform coverage consistency is critical-skip no edges or crevices. Corrosion begins at exposed metal, so full encapsulation matters. Work methodically, one bolt at a time, to avoid missed spots. The gel should form a continuous, opaque layer that blocks moisture and oxygen. Most anti-corrosion gels contain rust inhibitors and volatile corrosion inhibitors (VCI) that migrate slightly within enclosed spaces. Proper application guarantees these active ingredients remain effective for up to 24 months. Precision now prevents metal degradation later.
Let the Anti-Corrosion Gel Cure
After applying the anti-corrosion gel, allow it to cure undisturbed to achieve full protective performance. The curing time typically ranges from 2 to 24 hours, depending on the product formulation. Most gels require at least 12 hours under standard conditions to form a durable, moisture-resistant barrier. Environmental factors like temperature and humidity directly impact curing. Ideal curing occurs between 60°F and 80°F with relative humidity below 70%. Lower temperatures slow the reaction, extending curing time; high humidity may cause surface tackiness or incomplete cure. Avoid handling or exposing the bolt heads to water or debris during this phase. Properly cured gel transforms from a semi-transparent gel to a cohesive, non-migrating film. This final state guarantees long-term corrosion resistance by sealing out oxygen and electrolytes. Always follow manufacturer specifications for exact curing parameters.
Check and Reapply Gel as Needed
Though most anti-corrosion gels form a durable protective film after curing, periodic inspection guarantees long-term effectiveness. You should examine bolt heads every three to six months, depending on environmental factors like humidity, salt exposure, or temperature swings. Harsh conditions accelerate gel breakdown, requiring higher reapplication frequency. Look for thinning, cracking, or discoloration-these indicate diminished protection. If the gel layer is less than 0.5 mm thick, reapply immediately. Use a brush or applicator to add a fresh coat of 1–2 mm thickness for best coverage. Make sure surfaces are clean and dry before reapplication. Consistent monitoring prevents unnoticed corrosion onset. Reapplication isn’t arbitrary; it’s based on observed wear and service environment. Tracking inspection dates and conditions helps determine your ideal reapplication frequency. Proper upkeep maintains the gel’s dielectric barrier, shielding metal from electrolytic reactions.
Prevent Rust on Bolt Heads Long Term
Since corrosion often begins at microscopic surface flaws, long-term rust prevention on bolt heads requires more than routine gel application-it demands a systematic approach. You must start with proper material selection: use stainless steel, galvanized, or zinc-plated bolts in high-moisture areas. These materials resist oxidation far better than standard carbon steel. Environmental exposure plays a critical role-coastal installations face salt-laden air, accelerating corrosion. In such cases, apply a lithium-based anti-corrosion gel with a minimum thickness of 0.5 mm to seal crevices. Reapply every 12 to 18 months, depending on conditions. Guarantee full coverage, especially under bolt heads, where water traps. Combine gel with protective caps or grease boots for added shielding. This layered defense reduces electrochemical reactions that cause rust. Consistent maintenance paired with smart material selection markedly extends bolt life-often over a decade in moderate environments.
On a final note
You’ve applied the gel correctly. A 0.5 mm thick, continuous layer guarantees full coverage. This seals out moisture and inhibits electrochemical reactions that cause rust. Most gels cure in 2–4 hours at 25°C. Inspect every six months. Reapply if the film is cracked or worn. Use silicone or lithium-based gels for long-term protection-they resist temperatures from -40°C to 150°C and last up to 5 years in moderate environments.